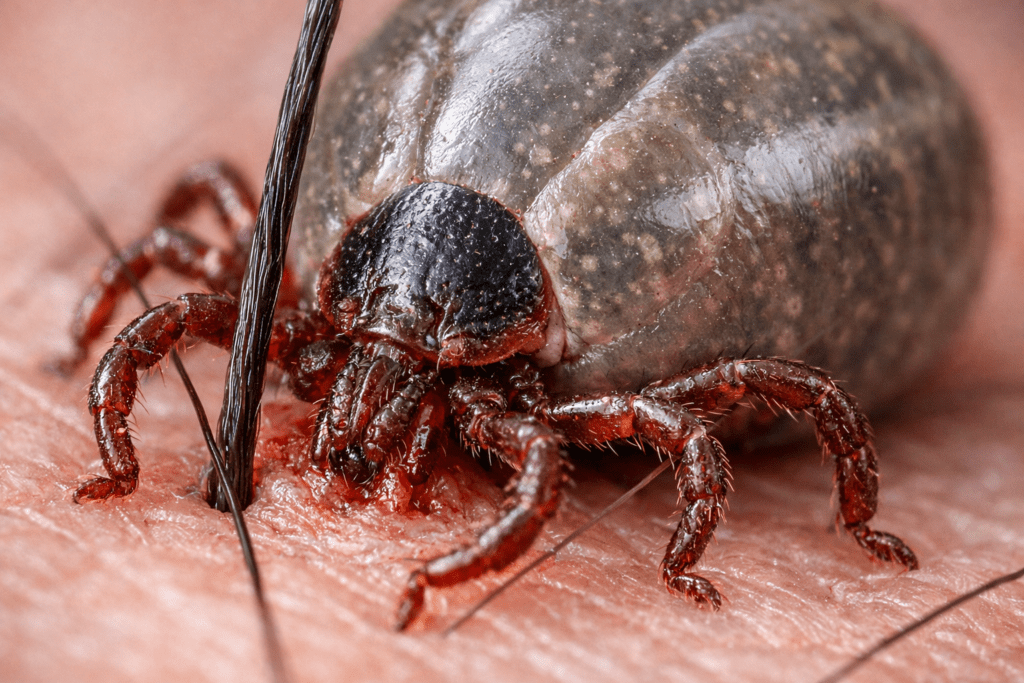
If you are wondering how to do tick removal safely after a hike, the best approach is simple: find the tick early, remove it with fine-tipped tweezers, then watch the bite site for changes. Most tick-borne illnesses require time for transmission, so a careful check right after you get home can dramatically lower your risk. This guide shows exactly where ticks hide, how to remove them without leaving parts behind, what to do with the tick afterward, and how to prevent repeat encounters on future trails.
Quick answer: how to check for ticks after hiking (and what to do next)
Use this short checklist to catch ticks before they attach for long.
Fast post-hike plan (10 minutes):
- Strip and contain: Put hiking clothes in a bag or straight into the dryer.
- Do a full-body scan: Use a mirror or partner and check “warm creases” first.
- Shower within 2 hours: It helps wash off unattached ticks and prompts a better check.
- If you find one attached, do tick removal immediately: Use fine-tipped tweezers, pull straight up, then clean the skin.
- Dry clothes on high heat for 10 minutes: Heat kills ticks that are crawling but not attached.
Where ticks hide most often (quick map):
| Body area | Why ticks like it | What to do |
|---|---|---|
| Hairline/scalp | Hard to see, warm | Part hair in rows, use a comb |
| Behind ears/neck | Protected folds | Feel with fingertips, then confirm in mirror |
| Armpits/waistband | Warm, tight clothing | Check seams and skin |
| Groin/buttocks | Warm, hidden | Use mirror, take your time |
| Behind knees/ankles | Brush contact zone | Check socks, cuffs, and skin |
For help identifying what species you found, see our tick identification guide.
Tick removal: the safest step-by-step method (and what to avoid)
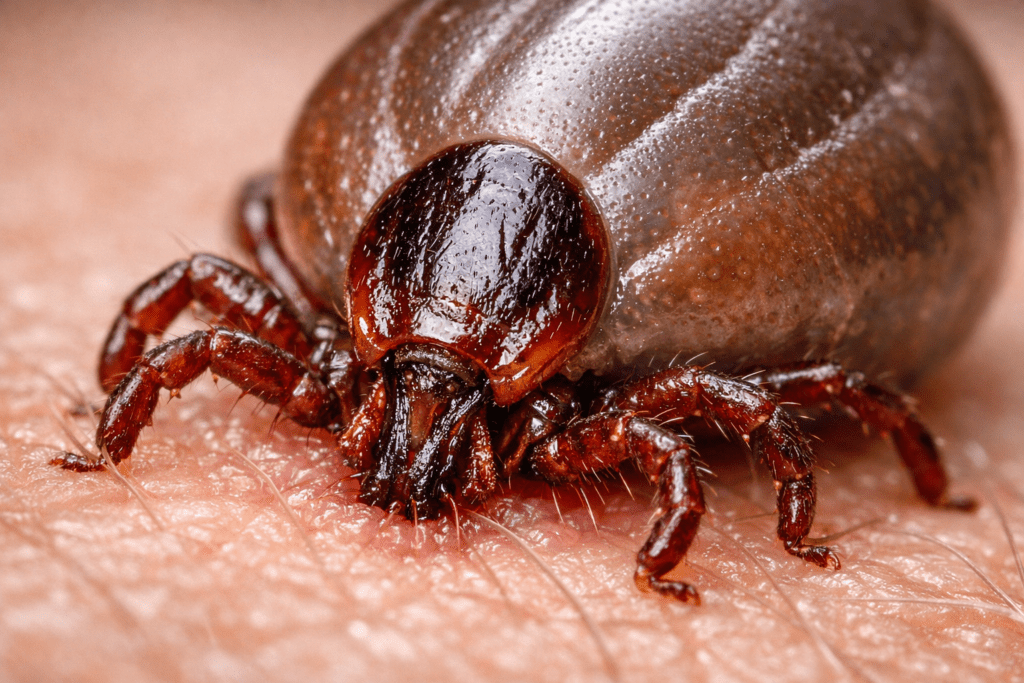
Think of a tick like a tiny, barbed seed that has anchored into skin. Your goal is to remove it cleanly without squeezing its body or snapping off its mouthparts.
Entomologists and public health guidance agree on one best method: fine-tipped tweezers. The Centers for Disease Control and Prevention tick guidance recommends grasping the tick close to the skin and pulling upward with steady, even pressure.
Step-by-step tick removal (tweezers method)
- Wash your hands (or use sanitizer if you are outdoors).
- Grab fine-tipped tweezers. Avoid blunt “cosmetic” tweezers if possible.
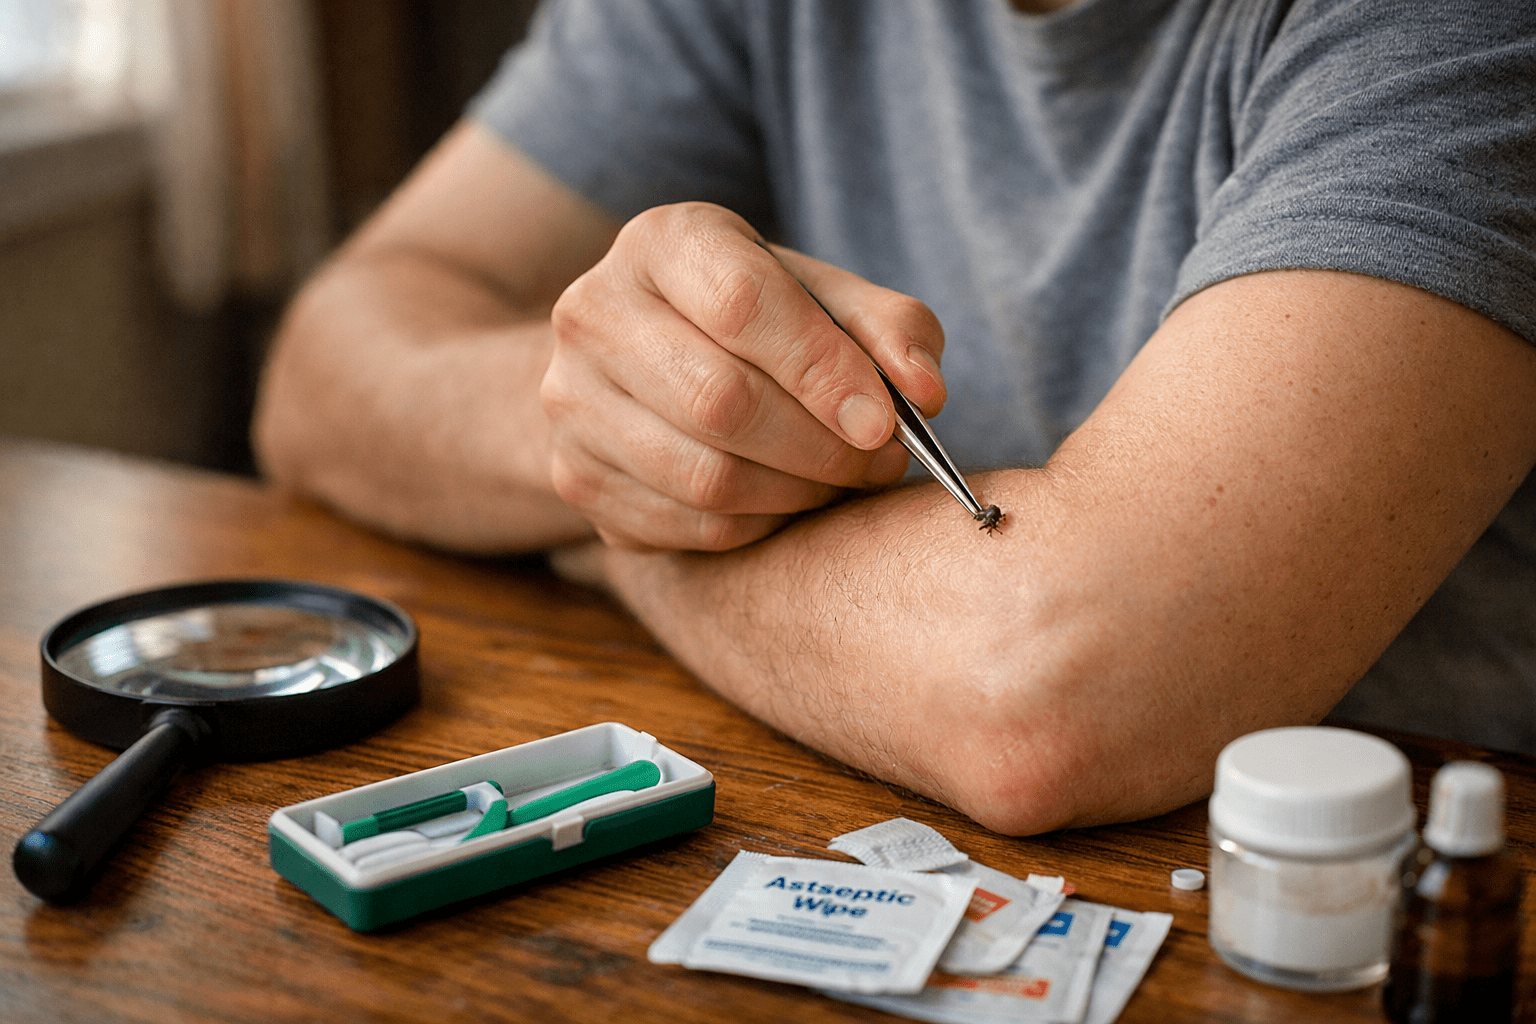
- Grasp the tick at skin level, aiming for the head/mouthparts, not the swollen abdomen.
- Pull straight up slowly and steadily.
- Do not twist, jerk, or “rock” it side to side.
- Clean the bite site and your hands with soap and water or rubbing alcohol.
- Dispose of the tick safely
- Seal it in a container, wrap it tightly in tape, or drop it into alcohol.
- Do not crush it with your fingers.
If you prefer a dedicated tool, see our field-tested roundup of Best Tick Removal Tools and compare hooks, cards, and key-style removers.
What if the mouthparts break off?
This is common and usually not an emergency. If you can lift the fragment with clean tweezers, do so gently. If not, leave it alone. Your skin often pushes it out like a splinter over time.
What not to do (common myths that backfire)
These “folk” methods can irritate the tick and increase mess and handling time:
- Do not smother with petroleum jelly, nail polish, or oils.
- Do not burn the tick with a match or lighter.
- Do not twist it off like a screw.
- Do not squeeze the tick’s body to “pop” it off.
Children’s health experts also emphasize these do’s and don’ts, including avoiding suffocation methods, in guidance from Children’s Hospital of Philadelphia.
A simple aftercare checklist
Use this quick tracker after removal:
- Take a clear photo of the tick (next to a coin for scale if you can).
- Note the date and likely exposure location (trail name, region).
- Watch for symptoms for 30 days, especially expanding rash, fever, unusual fatigue, or aches.
For a more detailed walkthrough, follow our step-by-step guide on how to safely remove a tick.
How to check for ticks after hiking: a full-body routine that actually works
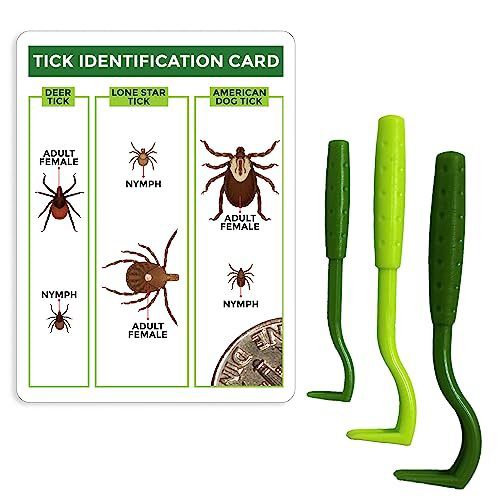
TickCheck Tick Remover Value 3 Pack – Tick Remover Tools + Tick Identification Card – for Humans, Dogs & Cats (1 Set)
This tool is specifically designed for safe and effective tick removal, making it highly relevant for the article’s focus on tick removal methods.
Most people “check for ticks” too quickly. The trick is to do it in a consistent order, under good lighting, and with the right tools. Ticks can be as small as a poppy seed when young (nymph stage), and those tiny stages are easy to miss.
The CDC’s tick prevention recommendations emphasize daily checks in tick areas, especially after being in woods, brush, or tall grass. Outdoor groups also repeat the same message: checks work best when they become a habit, not a rushed glance.
The 10-minute tick check routine (in order)
Tools: bright light, full-length mirror, handheld mirror, comb, and a lint roller.
- Start at your shoes and socks
- Check the sock cuff, ankle bones, and shoe tongues.
- Move up the legs
- Focus on behind knees and along pant seams.
- Waistband and pockets
- Ticks often crawl until they hit tight clothing edges.
- Armpits and inner arms
- Use a mirror and feel first, then look.
- Neck, ears, and scalp
- Part hair in rows and check the hairline carefully.
“Second check” the next morning
Some ticks crawl for hours before attaching. A quick re-check the next morning catches late attachments, especially around:
- Hairline and behind ears
- Waistband and underwear lines
- Behind knees
Clothing and gear check (where ticks hitchhike)
Ticks can ride home on fabric and later crawl onto skin. Add this gear routine:
- Dry clothes on high heat for 10 minutes before washing. Heat is more reliable than washing alone.
- Check backpacks and straps, especially where they brushed vegetation.
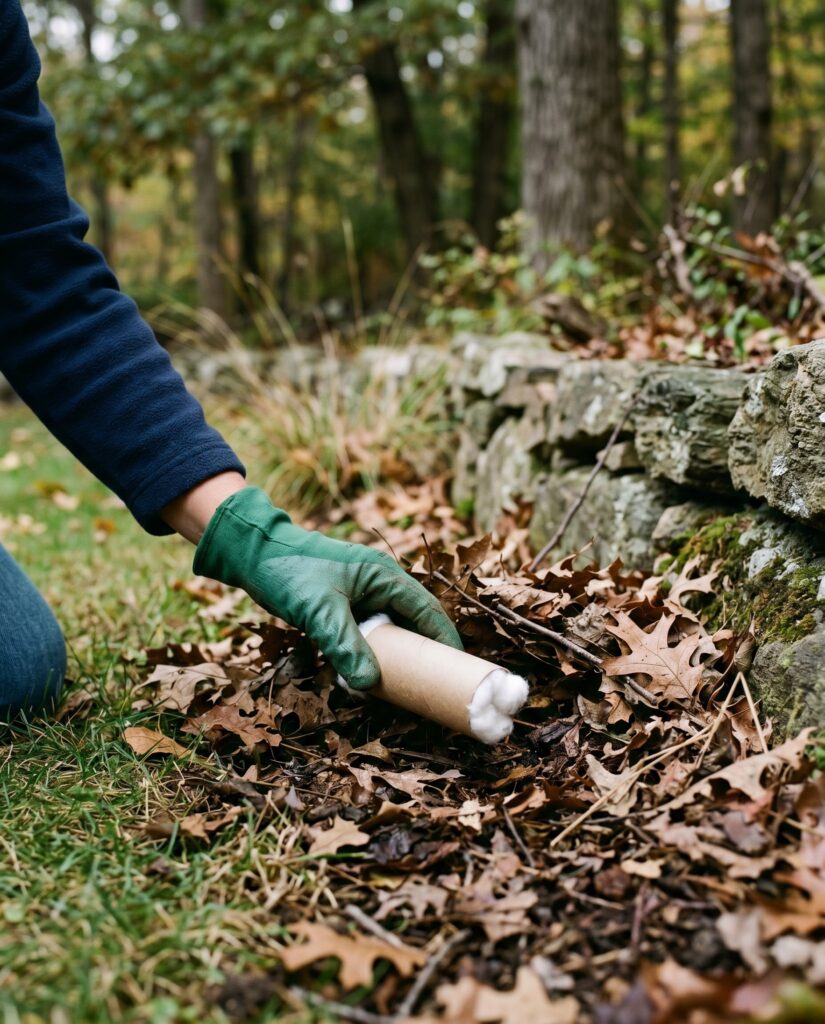
- Use a lint roller on socks, cuffs, and pant legs.
Here is a quick “where to look” visual you can screenshot:
| Item | Highest-risk spots | Fast action |
|---|---|---|
| Pants | Cuffs, seams, waistband | Dryer heat, then wash |
| Socks | Top cuff, shin area | Turn inside out, inspect |
| Backpack | Hip belt, shoulder straps | Brush off outdoors, then inspect |
| Jackets | Cuffs, pockets | Lint roll and shake out |
If you are unsure whether what you found is a tick or another tiny hitchhiker, our tick identification guide walks through common species and look-alikes.
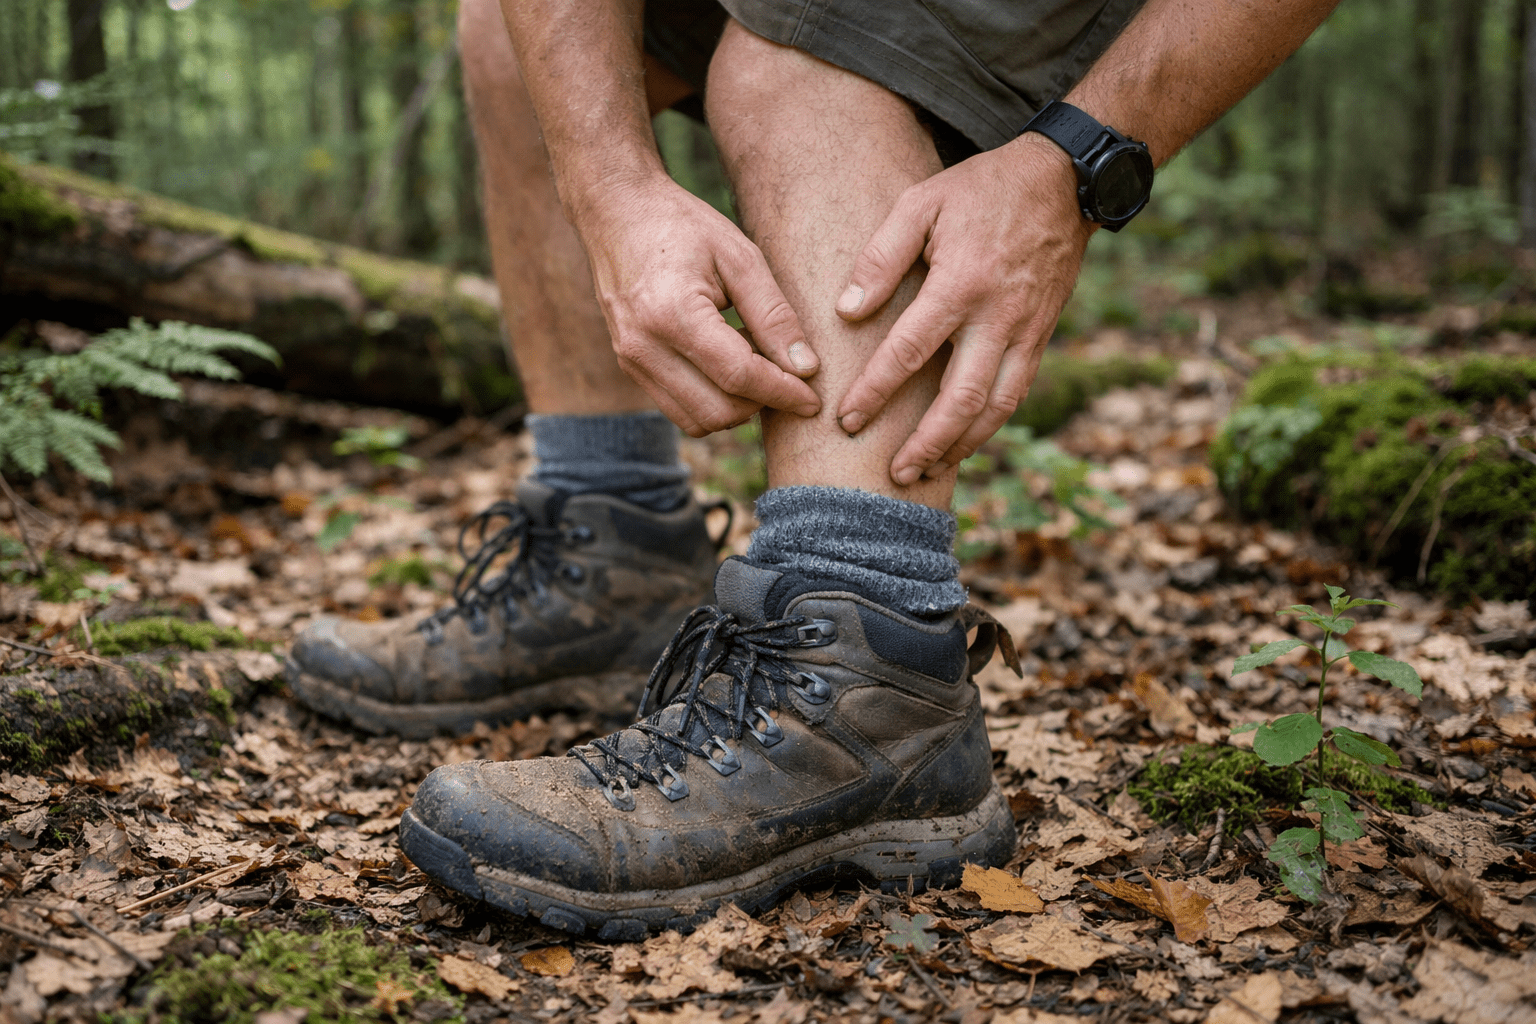
Tick prevention for hiking: what works best (and how to use it correctly)
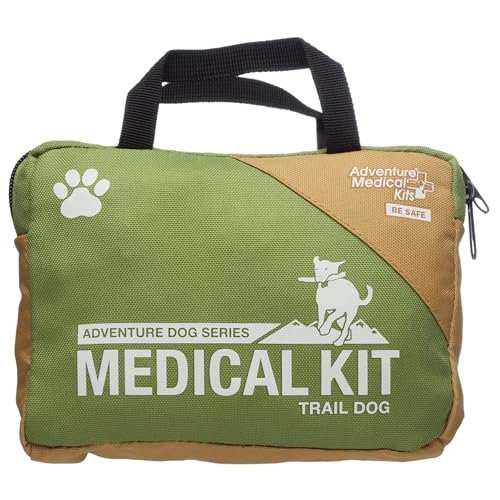
Adventure Medical Kits Trail Dog Medical Kit – Pet First Aid Kit with Dressings, Bandages, Instruction Manual & Tools – Lightweight, Compact Dog Safety Pack
This kit includes tools for tick removal and is perfect for hikers who want to be prepared for tick encounters during outdoor activities.
Prevention is not about doing one perfect thing. It is about stacking a few reliable habits so ticks have fewer chances to reach skin and attach.
One of the most effective tools for hikers is permethrin-treated clothing. A trail-focused summary from the Appalachian Trail Conservancy tick-safety guidance reports research showing permethrin-treated outfits resulted in 3.36 times fewer tick bites compared with untreated clothing. That is a big difference for a small change in prep.
The “stacked protection” approach (best to least effort)
Use this layered plan for most wooded or grassy hikes:
- Treat clothing and gear with permethrin (clothing only)
- Treat pants, socks, gaiters, and shoes.
- Many products remain effective through multiple washes. Always follow label directions.
- Use a skin repellent on exposed areas
- Apply to ankles, wrists, neck, and any gaps in coverage.
- For comparisons (DEET vs picaridin vs permethrin), see our guide to tick repellents.
- Dress to make ticks easier to spot
- Light-colored socks and pants help you see crawling ticks.
- Tuck pants into socks or use gaiters in brushy areas.
- Stay centered on the trail
- Avoid brushing against tall grass, leaf litter, and low shrubs.
- Build a post-hike system
- Clothes to dryer, shower, then a full-body check.
Quick comparison chart: prevention methods hikers ask about
| Method | Best use | Common mistake |
|---|---|---|
| Permethrin on clothing | High tick pressure trails | Applying to skin (do not) |
| DEET/picaridin on skin | Exposed skin and gaps | Missing ankles and sock line |
| Tucking pants into socks | Tall grass, brush | Leaving loose cuffs |
| Staying on trail | Overgrown paths | Cutting through brush to “save time” |
| Shower + check | Every hike in tick areas | Skipping scalp and hairline |
When are ticks most active?
In many regions, risk climbs in spring through fall, but ticks can be active any time temperatures are mild. If you hike in endemic areas, treat tick checks as a year-round habit.
If you want a concise, outdoors-focused refresher on correct removal and prevention, hiking resources like Backpacker’s Pantry’s tick removal overview echo the same core steps: remove promptly, clean the area, and keep prevention simple and consistent.
After a tick bite: when to worry, when to watch, and what to tell a clinician
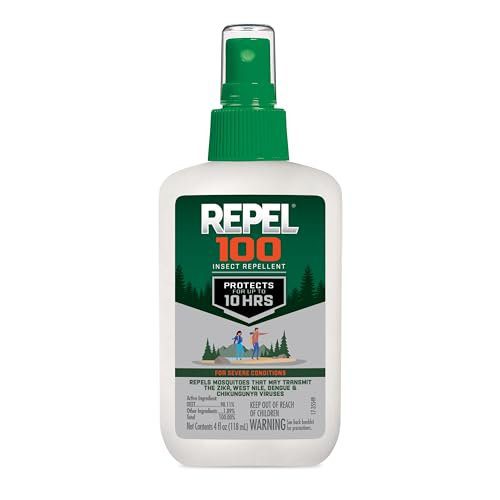
Repel 100 Insect Repellent, 4 Ounces, With DEET, 10-Hour Protection Long-Lasting Insect Repellent Pump Spray Repels Mosquitoes, Ticks, Gnats, Biting Flies, Chiggers And Fleas
This insect repellent provides protection against ticks, making it an essential product for tick prevention while hiking.
Most tick bites do not lead to illness, especially when the tick is removed promptly. Still, it helps to know what “normal” looks like and what should trigger a call to a healthcare professional.
The CDC’s advice on what to do after a tick bite emphasizes prompt removal, symptom monitoring, and seeking care if you develop signs of tick-borne disease. Clinical guidance from Mayo Clinic Health System’s tick safety overview also highlights watching for rash and flu-like symptoms in the weeks after a bite.
Normal bite reactions vs red flags
Use this quick guide:
| What you notice | Often normal | Get medical advice soon |
|---|---|---|
| Small red bump like a mosquito bite | Yes, especially first 1-2 days | If it keeps expanding |
| Mild itch or tenderness | Yes | If swelling becomes severe |
| Expanding rash (especially bull’s-eye shape) | No | Yes |
| Fever, chills, headache, muscle aches | No | Yes |
| Unusual fatigue days after bite | Sometimes | If persistent or worsening |
Should you save the tick?
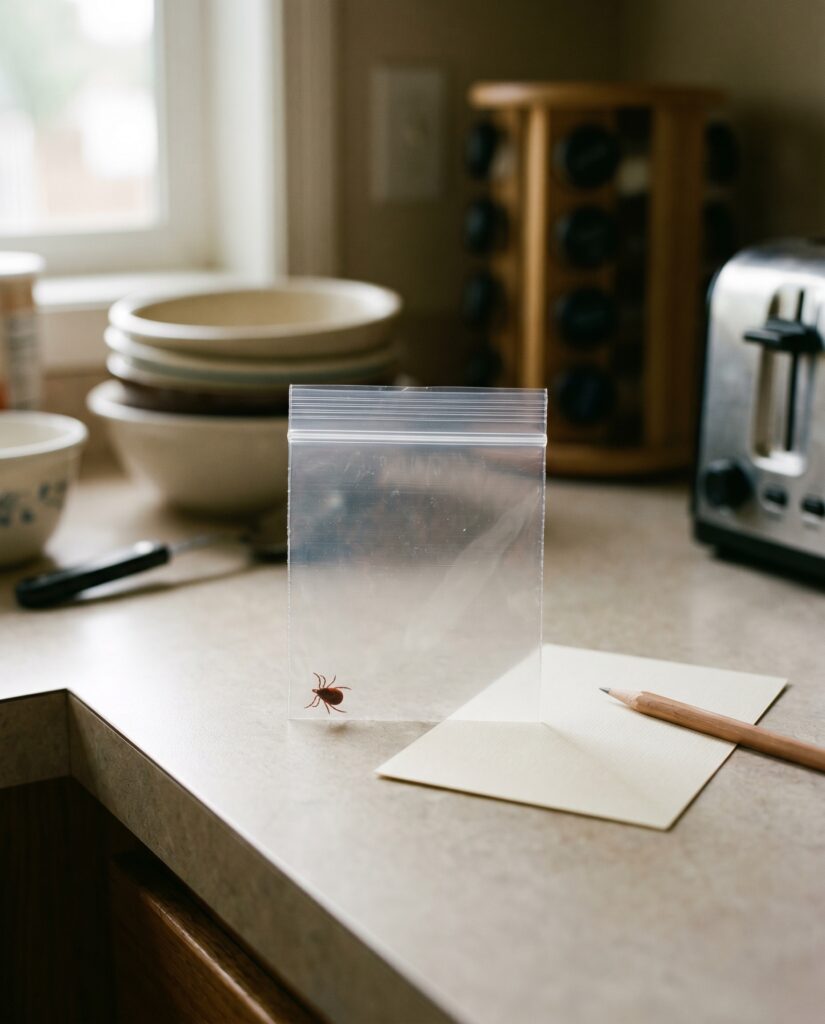
If you can do it safely, saving the tick can be helpful for identification if symptoms develop. Place it in a sealed container or zip bag with the date and location. A clear photo also helps.
What to tell your clinician (make the visit more efficient)
If symptoms appear, share:
- Date of bite and removal
- Where you likely picked it up (state, county, trail)
- Whether the tick looked engorged (gray-blue, swollen)
- Any photos you took
If you want to understand symptom timelines and the most common illnesses by region, our overview of tick-borne diseases breaks it down in plain language.
Conclusion: a simple routine that makes tick encounters manageable
A good tick routine is not complicated: check thoroughly, do tick removal with fine-tipped tweezers as soon as you find an attached tick, clean the area, and monitor for symptoms. Pair that with dryer heat for clothes and a prevention stack like permethrin-treated clothing plus a skin repellent, and you cut your risk dramatically on most trails.
Next step: build a small “tick kit” for your daypack (tweezers, alcohol wipes, a small container) and review our Best Tick Removal Tools alongside this step-by-step guide on how to safely remove a tick so you are ready before your next hike.
As an Amazon Associate, I earn from qualifying purchases. Product recommendations are based on real reviews and independent research.