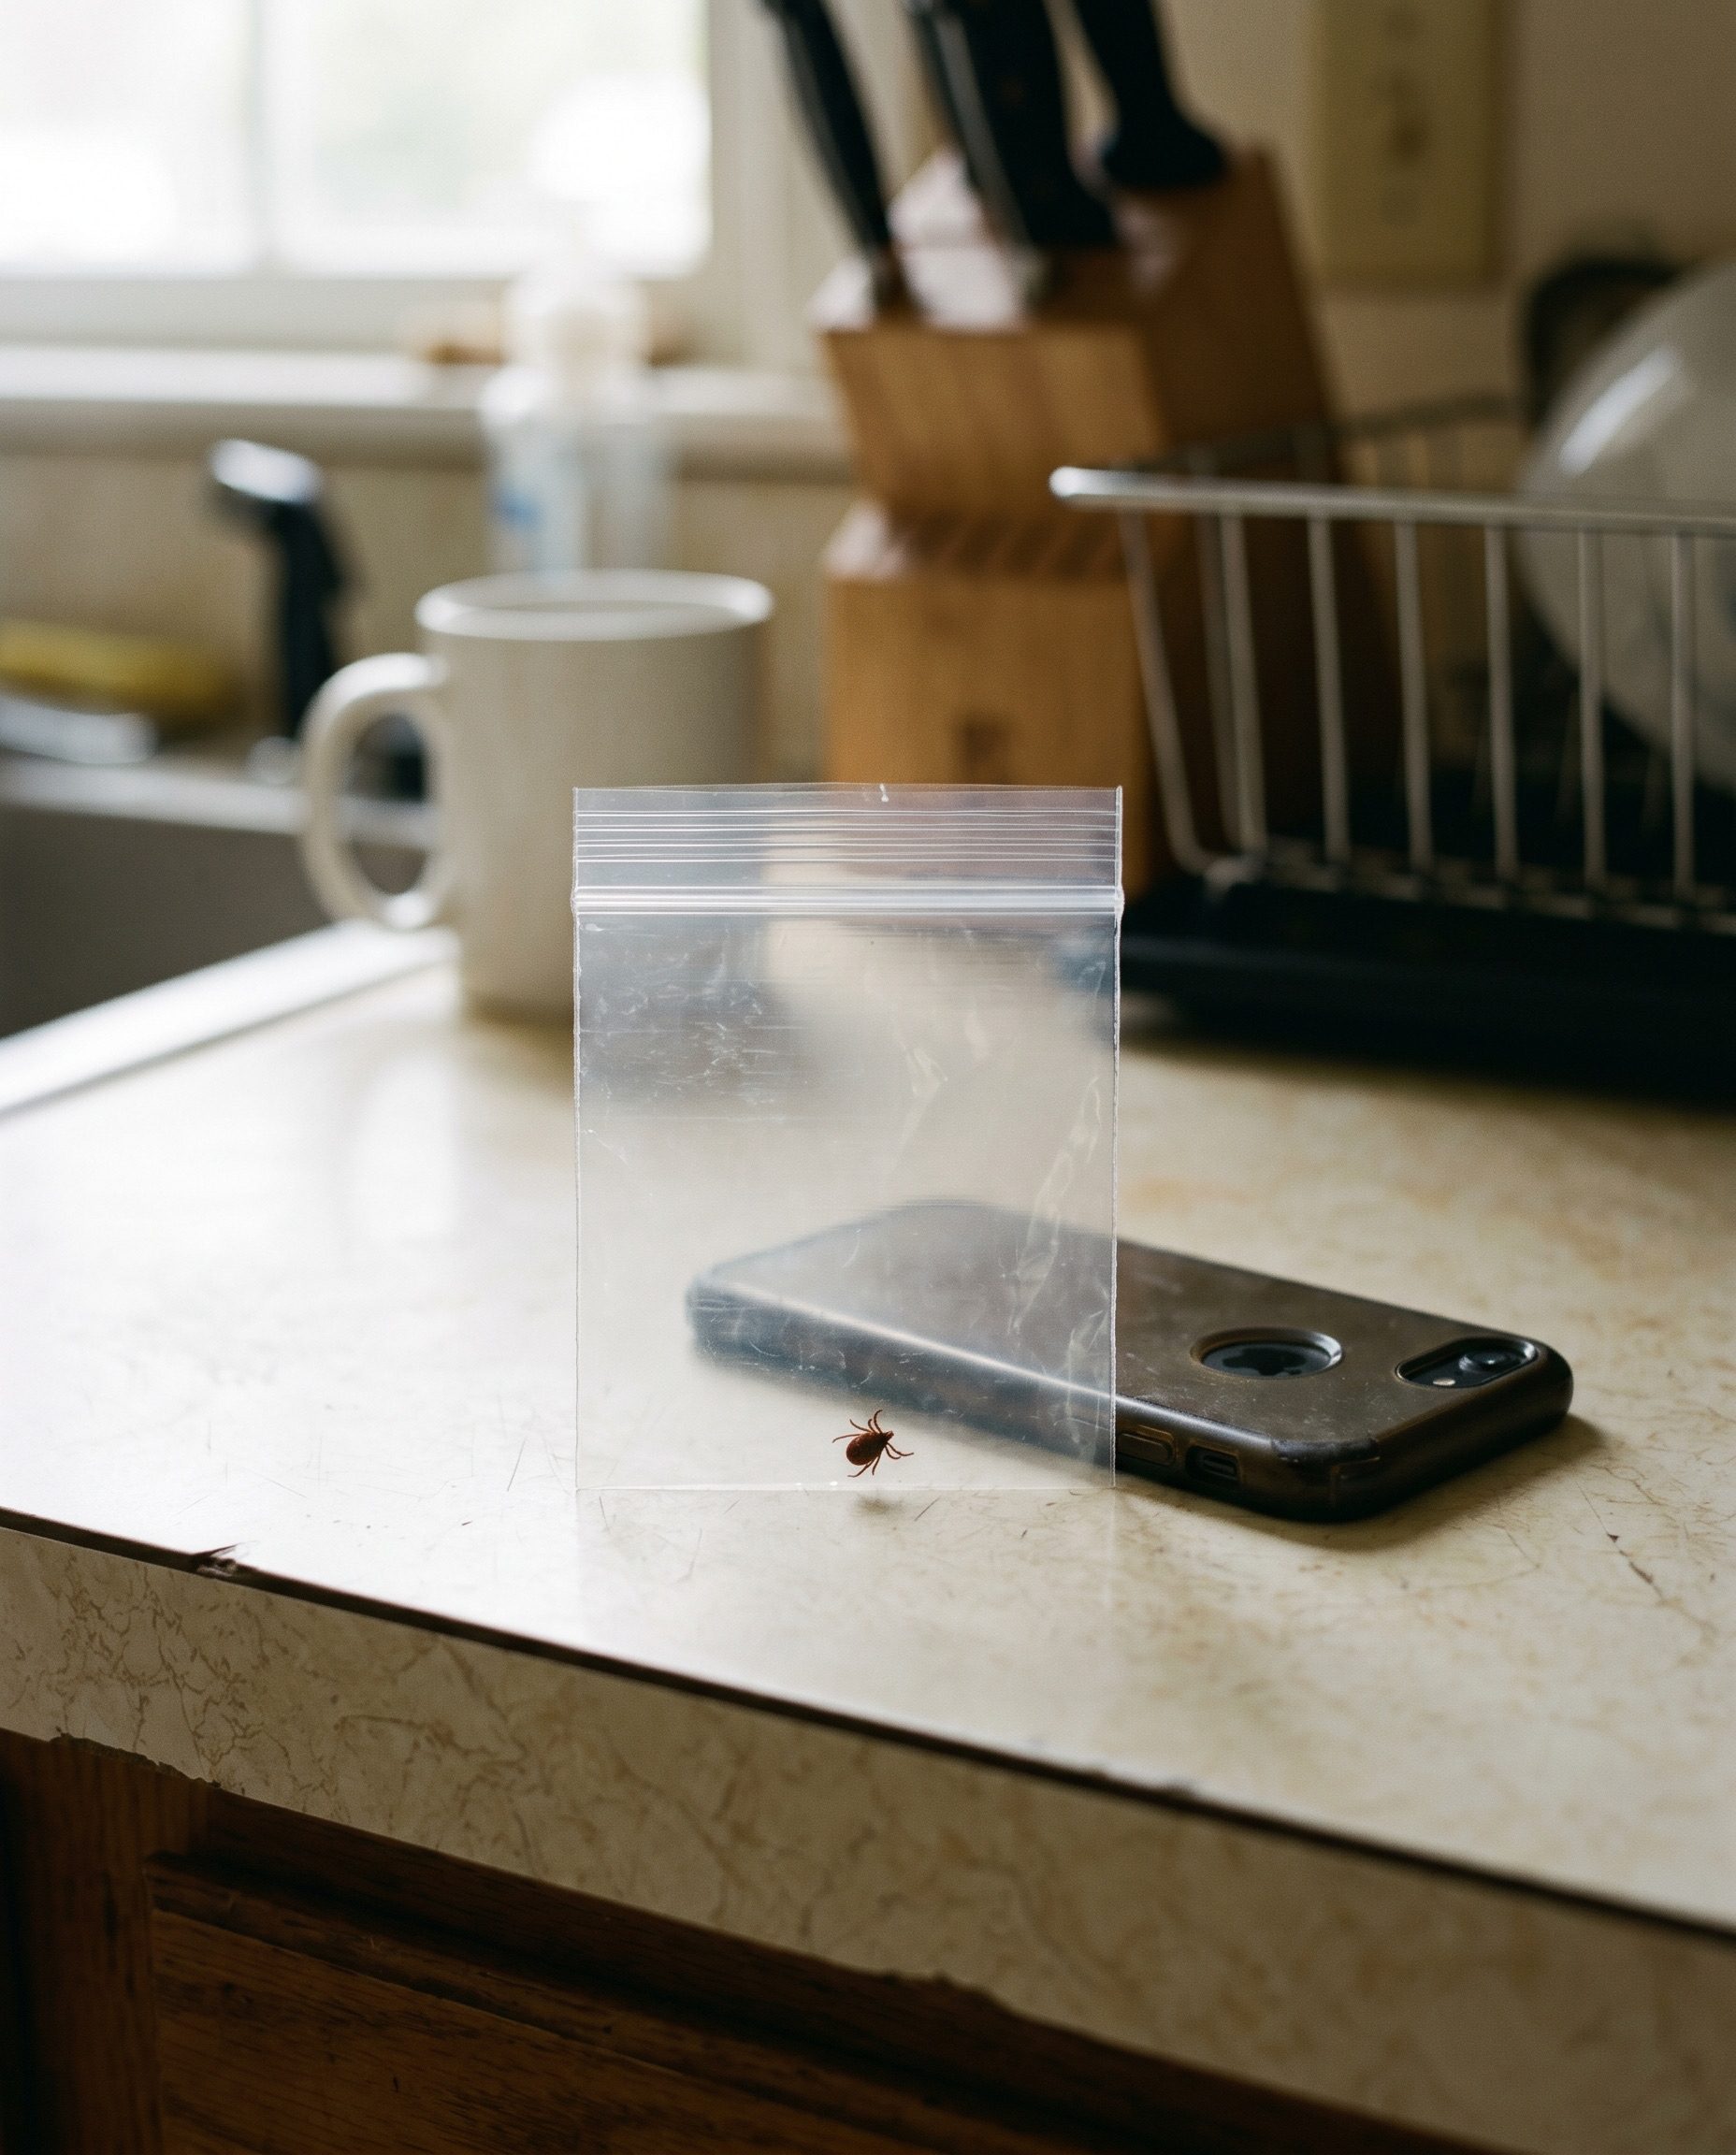
If you just found a tick attached to you or your kid, the move is simpler than most of the internet makes it. Grab a pair of fine-tip tweezers, grasp the tick right where its mouthparts enter the skin, and pull straight up with slow, steady pressure. Do not twist it, do not squeeze the bloated body, and do not reach for a lit match, nail polish, or vaseline, because all of those can stress the tick into releasing more saliva into the bite. Once it is out, clean the spot, drop the tick in a sealed bag or snap a photo so it can be identified, and write down the date. The faster a tick comes off, the less chance it has to pass anything on.
Use fine-tip tweezers, grasp the tick at the skin, and pull straight up with steady pressure; do not twist, crush the body, or try heat or petroleum tricks. Clean the bite, save the tick, note the date, and watch for symptoms.
- Do first: Grasp at the skin with fine-tip tweezers and pull straight up, slow and steady, until it lets go.
- Then: Wash the bite, save the tick in a sealed bag or photo, and note the date for your records.
- Skip: Twisting, burning, or smothering the tick with vaseline or polish; these can push more saliva into the wound.

Get it off the right way
Speed matters more than ceremony here, so do not go hunting for a special gadget if you already have decent tweezers. Reach in with the fine-tip points as close to the skin as you can get, close them on the tick’s head where it meets you, and lift in one straight, unhurried motion. The pressure should be firm and constant, not a yank. The CDC’s instructions for removing a tick promptly describe this same straight-up pull, and the reason it works is mechanical: you are backing the mouthparts out the way they went in, not levering them sideways.
The thing to avoid is twisting or jerking, which can snap the head off and leave the mouthparts buried. If that happens, try to lift the remaining bit out with the tweezer tips, and if it will not come, leave it alone and let the skin push it out on its own over a few days. A buried mouthpart is a splinter, not an emergency. What you should never do is grab the swollen body and squeeze, because that pressure pushes the tick’s gut contents back into the bite, which is exactly the wrong direction.
Why the old tricks backfire
Most of the folk methods you have heard get the cause and effect backwards. The idea behind a hot match, a dab of nail polish, petroleum jelly, or dish soap is to “make the tick let go on its own.” It does not really work, and worse, it gives the tick time. A stressed, suffocating, or burned tick may salivate or regurgitate into the bite before it backs out, and that saliva is the part that can carry pathogens. Slow removal is the actual risk, not the act of pulling.
The clock is the whole game with ticks. The longer one stays attached and feeding, the more opportunity it has to transmit whatever it might be carrying, which is why prompt mechanical removal beats any wait-and-watch trick. The team at the University of Rhode Island’s TickEncounter, which documents proper removal technique flatly recommends fine-tip tweezers and a straight pull over every home remedy. When you smother or burn a tick, you are trading two seconds of tweezer work for an unknown stretch of extra attached time. That is a bad trade.
After it’s out: clean, save, and log
Once the tick is off, clean the bite and your hands with soap and water or rubbing alcohol. A small red bump at the bite site is normal and is just your skin reacting to the bite itself; it is not the same thing as a rash spreading outward over days. Do not crush the tick with your fingers to kill it. Drop it in a sealed bag or piece of tape, or flush it, or drown it in alcohol.
Here is the step people skip that pays off later: save the tick or photograph it, and write down the date you pulled it. If you develop symptoms in the next few weeks, knowing the species and roughly how long it was attached gives a clinician real information to work with, and a clear photo is enough for most identifications. Different ticks carry different risks, and the CDC’s overview of where ticks live and which species bite people shows how much that varies by region. If you want a fast way to tell a blacklegged tick from a dog tick, our guide to tick bite symptoms and when to see a doctor walks through the markings and what each one means.
What to watch for, and when to call
A tick bite is not a medical emergency on its own, and most bites lead to nothing. But you do want to keep an eye on the site and on how you feel for the next few weeks. The signs worth a doctor’s visit are an expanding rash, fever, body aches, or fatigue that show up days to weeks after the bite. The CDC notes you should watch for fever or an expanding rash because an early, spreading rash is one of the more reliable early clues of a tickborne illness. MedlinePlus also lays out when to see a doctor about a tick bite and what to mention at the appointment.
Get emergency medical help right away if you have signs of a severe allergic reaction after a bite, such as trouble breathing, swelling of the throat or tongue, dizziness or fainting, or hives spreading fast, and use an epinephrine auto-injector if one has been prescribed to you. That is rare with ticks, but it is worth knowing the line. For pets, a tick on a dog comes off the same way, with fine-tip tweezers at the skin and a straight pull, and any worrying symptoms afterward are a question for your veterinarian, not a guess.
Stop the next one before it bites
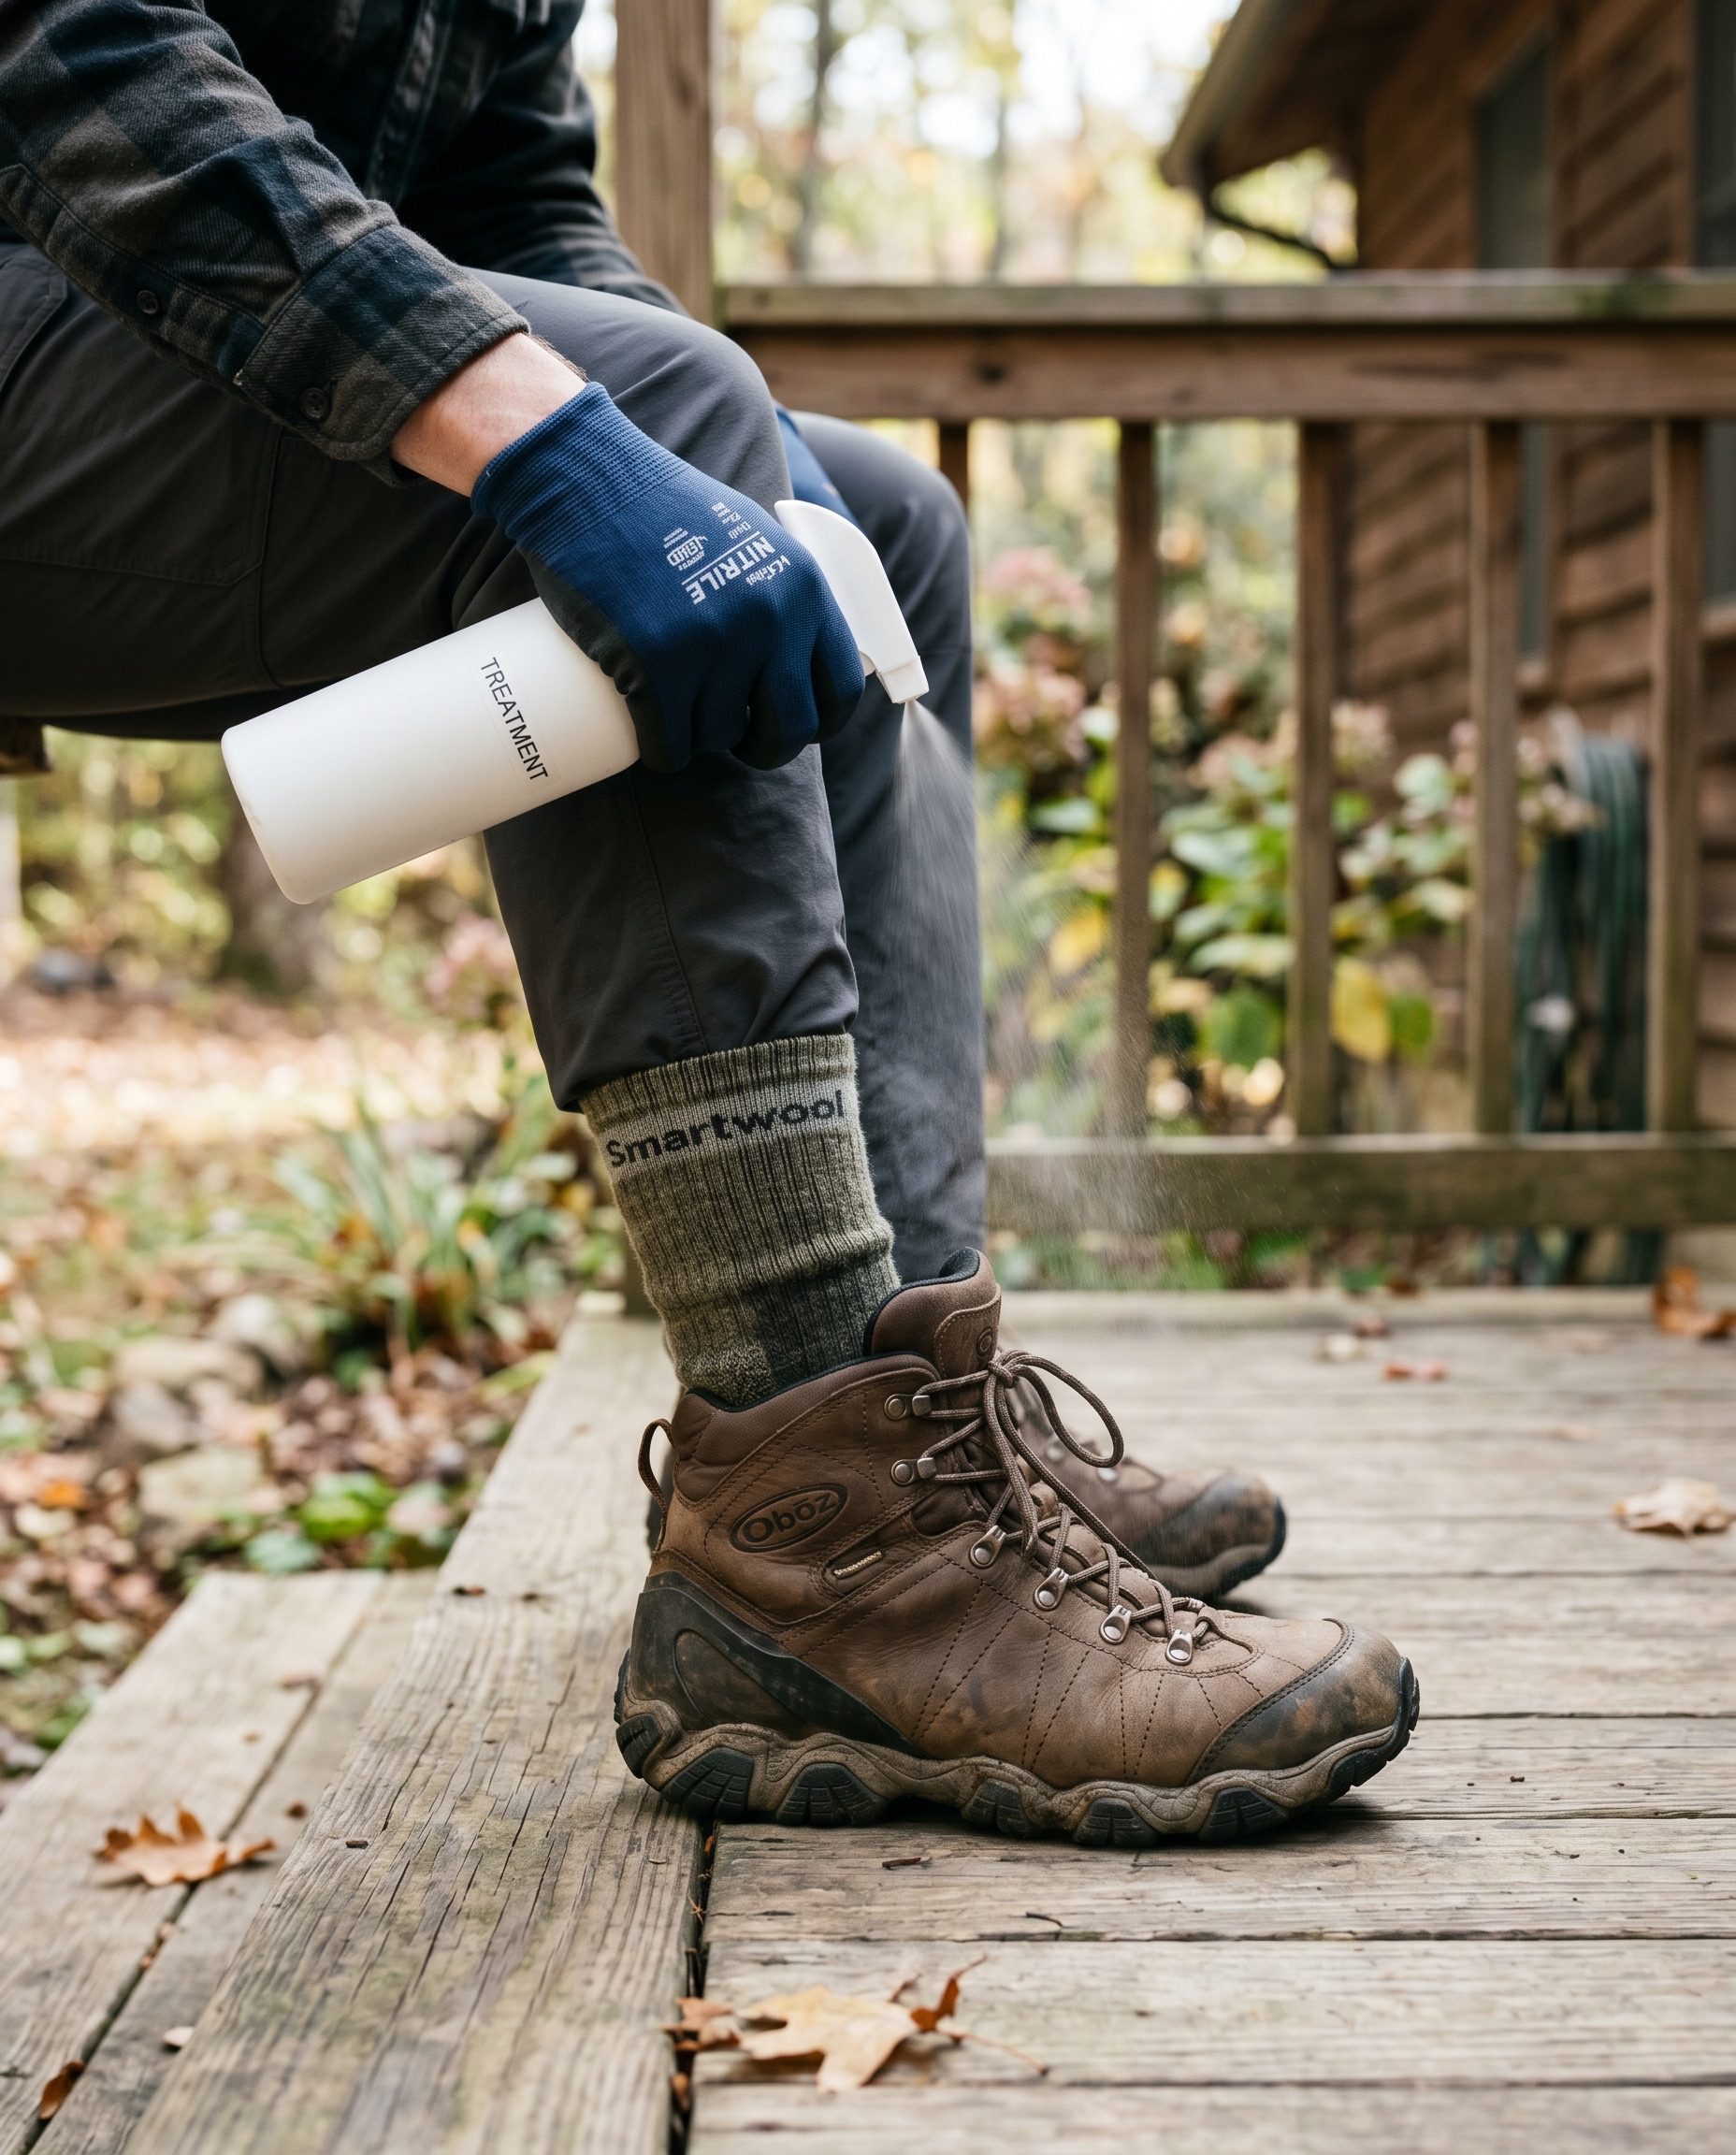
Removal is damage control. The cheaper win is not getting bitten, and that is mostly about clothing and a habit. The single most effective thing you can do is treat your hiking and yard-work clothes with permethrin, which bonds to fabric and stays put through several washes. The EPA’s guidance on treating clothing with permethrin covers how it works on shoes, socks, and pants, and the practical rule is to never put permethrin on skin, only on fabric.
For exposed skin, pick an EPA-registered skin repellent with DEET, picaridin, or oil of lemon eucalyptus and use it per the label. A word on pets, because permethrin gets confused: it is fine on dogs in dog-specific products but highly toxic to cats, so keep treated items away from cats and ask your veterinarian before using anything on an animal. The behavioral half is just as important as the chemical half.
A tick check beats every product because no repellent is perfect. After time outdoors, do a full-body scan, paying attention to the warm tight spots ticks like: behind the knees, the waistband, the armpits, the scalp, and behind the ears. The CDC’s prevention checklist for permethrin clothing, repellents, and tick checks and our Lyme disease prevention guide both put the daily tick check at the center, because catching a crawler before it attaches is the bite that never happens.
The right tool for the job
Not all “tick tools” are equal, and the situation changes which one is best. Here is the quick map.
| Situation | Best tool | Watch out for |
|---|---|---|
| Tick already attached | Fine-tip pointed tweezers | Blunt household tweezers crush the body |
| Engorged or tucked-in spot | Tick removal hook or fine-tip tweezers | Grab at the skin, never the body |
| On a child or a pet | Fine-tip tweezers, steady hands | Calm the wriggling first, then pull straight |
If you spend real time outdoors, it is worth keeping a dedicated pair in the first-aid kit and another in the car. Our breakdown of tick removal tools, tested and ranked sorts the pointed tweezers from the slotted cards and hooks, but the honest truth is that a good fine-tip tweezer handles almost every bite you will actually get.
Common questions
What is the best way to remove a tick?
Fine-tip tweezers, grasped as close to the skin as possible, pulled straight up with slow, steady pressure. That is the method public-health and university sources agree on, because it backs the mouthparts out cleanly without squeezing the body or leaving you waiting for a folk remedy to “work.”
Should I use vaseline, nail polish, or a match?
No. Those methods are meant to make the tick detach on its own, but they are slow and can stress the tick into releasing more saliva into the bite before it lets go. Slow removal is the part that raises risk, so skip the tricks and use tweezers right away.
What if the head breaks off?
Try to lift the remaining mouthparts out with the tweezer tips. If they will not come, leave them alone, keep the area clean, and let your skin push the fragment out over a few days like a splinter. A leftover mouthpart is a minor irritation, not a reason to dig aggressively.
Do I need to see a doctor after every tick bite?
Not usually. Most bites cause nothing more than a small bump. Watch the site and how you feel for a few weeks, and see a doctor if you get an expanding rash, fever, aches, or fatigue, or if you are unsure what kind of tick it was or how long it was attached.
How long does a tick have to be attached to transmit disease?
It varies by pathogen, but the general rule is that longer attachment raises the risk, which is exactly why prompt removal matters so much. Finding and pulling a tick the same day, or doing a tick check before it ever attaches, is the most reliable way to stay ahead of it.
Final verdict
Removing a tick the right way is two seconds of tweezer work, not a science project. Grasp it at the skin with fine-tip tweezers and pull straight up, slow and steady; do not twist, do not crush the body, and do not reach for heat or vaseline, because those tricks just buy the tick more time to release saliva into the bite. Clean the spot, save the tick or photograph it, and write down the date so you have something useful if symptoms appear. Then play the long game: treat your clothes with permethrin, use an EPA-registered repellent on skin, and run a tick check every time you come in from outside. Prompt removal and a daily check do more to protect you than any single product on the shelf.
Next steps:
– Match your tick to a species and learn the symptoms to watch with our tick bite symptoms and when to see a doctor guide.
– Stock the right tweezers before you need them using our tick removal tools tested and ranked.
– Build a prevention routine that fits your yard and trail habits with our Lyme disease prevention guide.
Reviewed by Daniel Brooks, licensed pest control professional, focused on safe and effective control.