If carpenter bees are drilling into your eaves or deck rail, the move that actually solves it is to redirect and exclude them, not exterminate them, because these big black-and-yellow bees are important native pollinators. The short version: protect bare wood with paint or hardwood now, wait until fall when the tunnels are empty, then plug and seal them so no bee reuses the gallery, and offer a decoy or a carpenter-bee house off to the side. Treat an active tunnel only as a last resort. The good news for anyone nervous about the dive-bombing: the loud males that buzz your head cannot sting at all, and the females almost never do.
Carpenter bees are native pollinators, so redirect and exclude them instead of killing them: protect bare wood with paint, plug and seal the tunnels in fall once they are empty, and offer a decoy nesting block nearby.
- Do first (free): Paint or seal exposed wood and hang a decoy block away from the house to pull the bees off your eaves.
- Best for the common case: In fall, plug each empty tunnel with a dowel and filler, then paint over it so no bee re-bores the gallery.
- Skip: Spraying every bee on sight; the males cannot sting and you lose a pollinator for nothing.

The fix in one minute
Here is the whole plan for the reader who scrolled past the box. First, take the pressure off your house by painting or sealing the bare wood the bees are drilling, since they almost always pick raw, weathered, unpainted softwood. Second, give them somewhere better to go by mounting a decoy nesting block or a carpenter-bee house on a post away from the structure. Third, and this is the part with the timing rule, wait until fall once the brood has matured and left, then plug each tunnel and seal it so it cannot be reused. A new bee will not chew a fresh gallery into wood that is painted and sound nearly as fast as it will move into an old hole left open. Killing on sight is the move that does the least and costs you a pollinator.
Why they pick your house
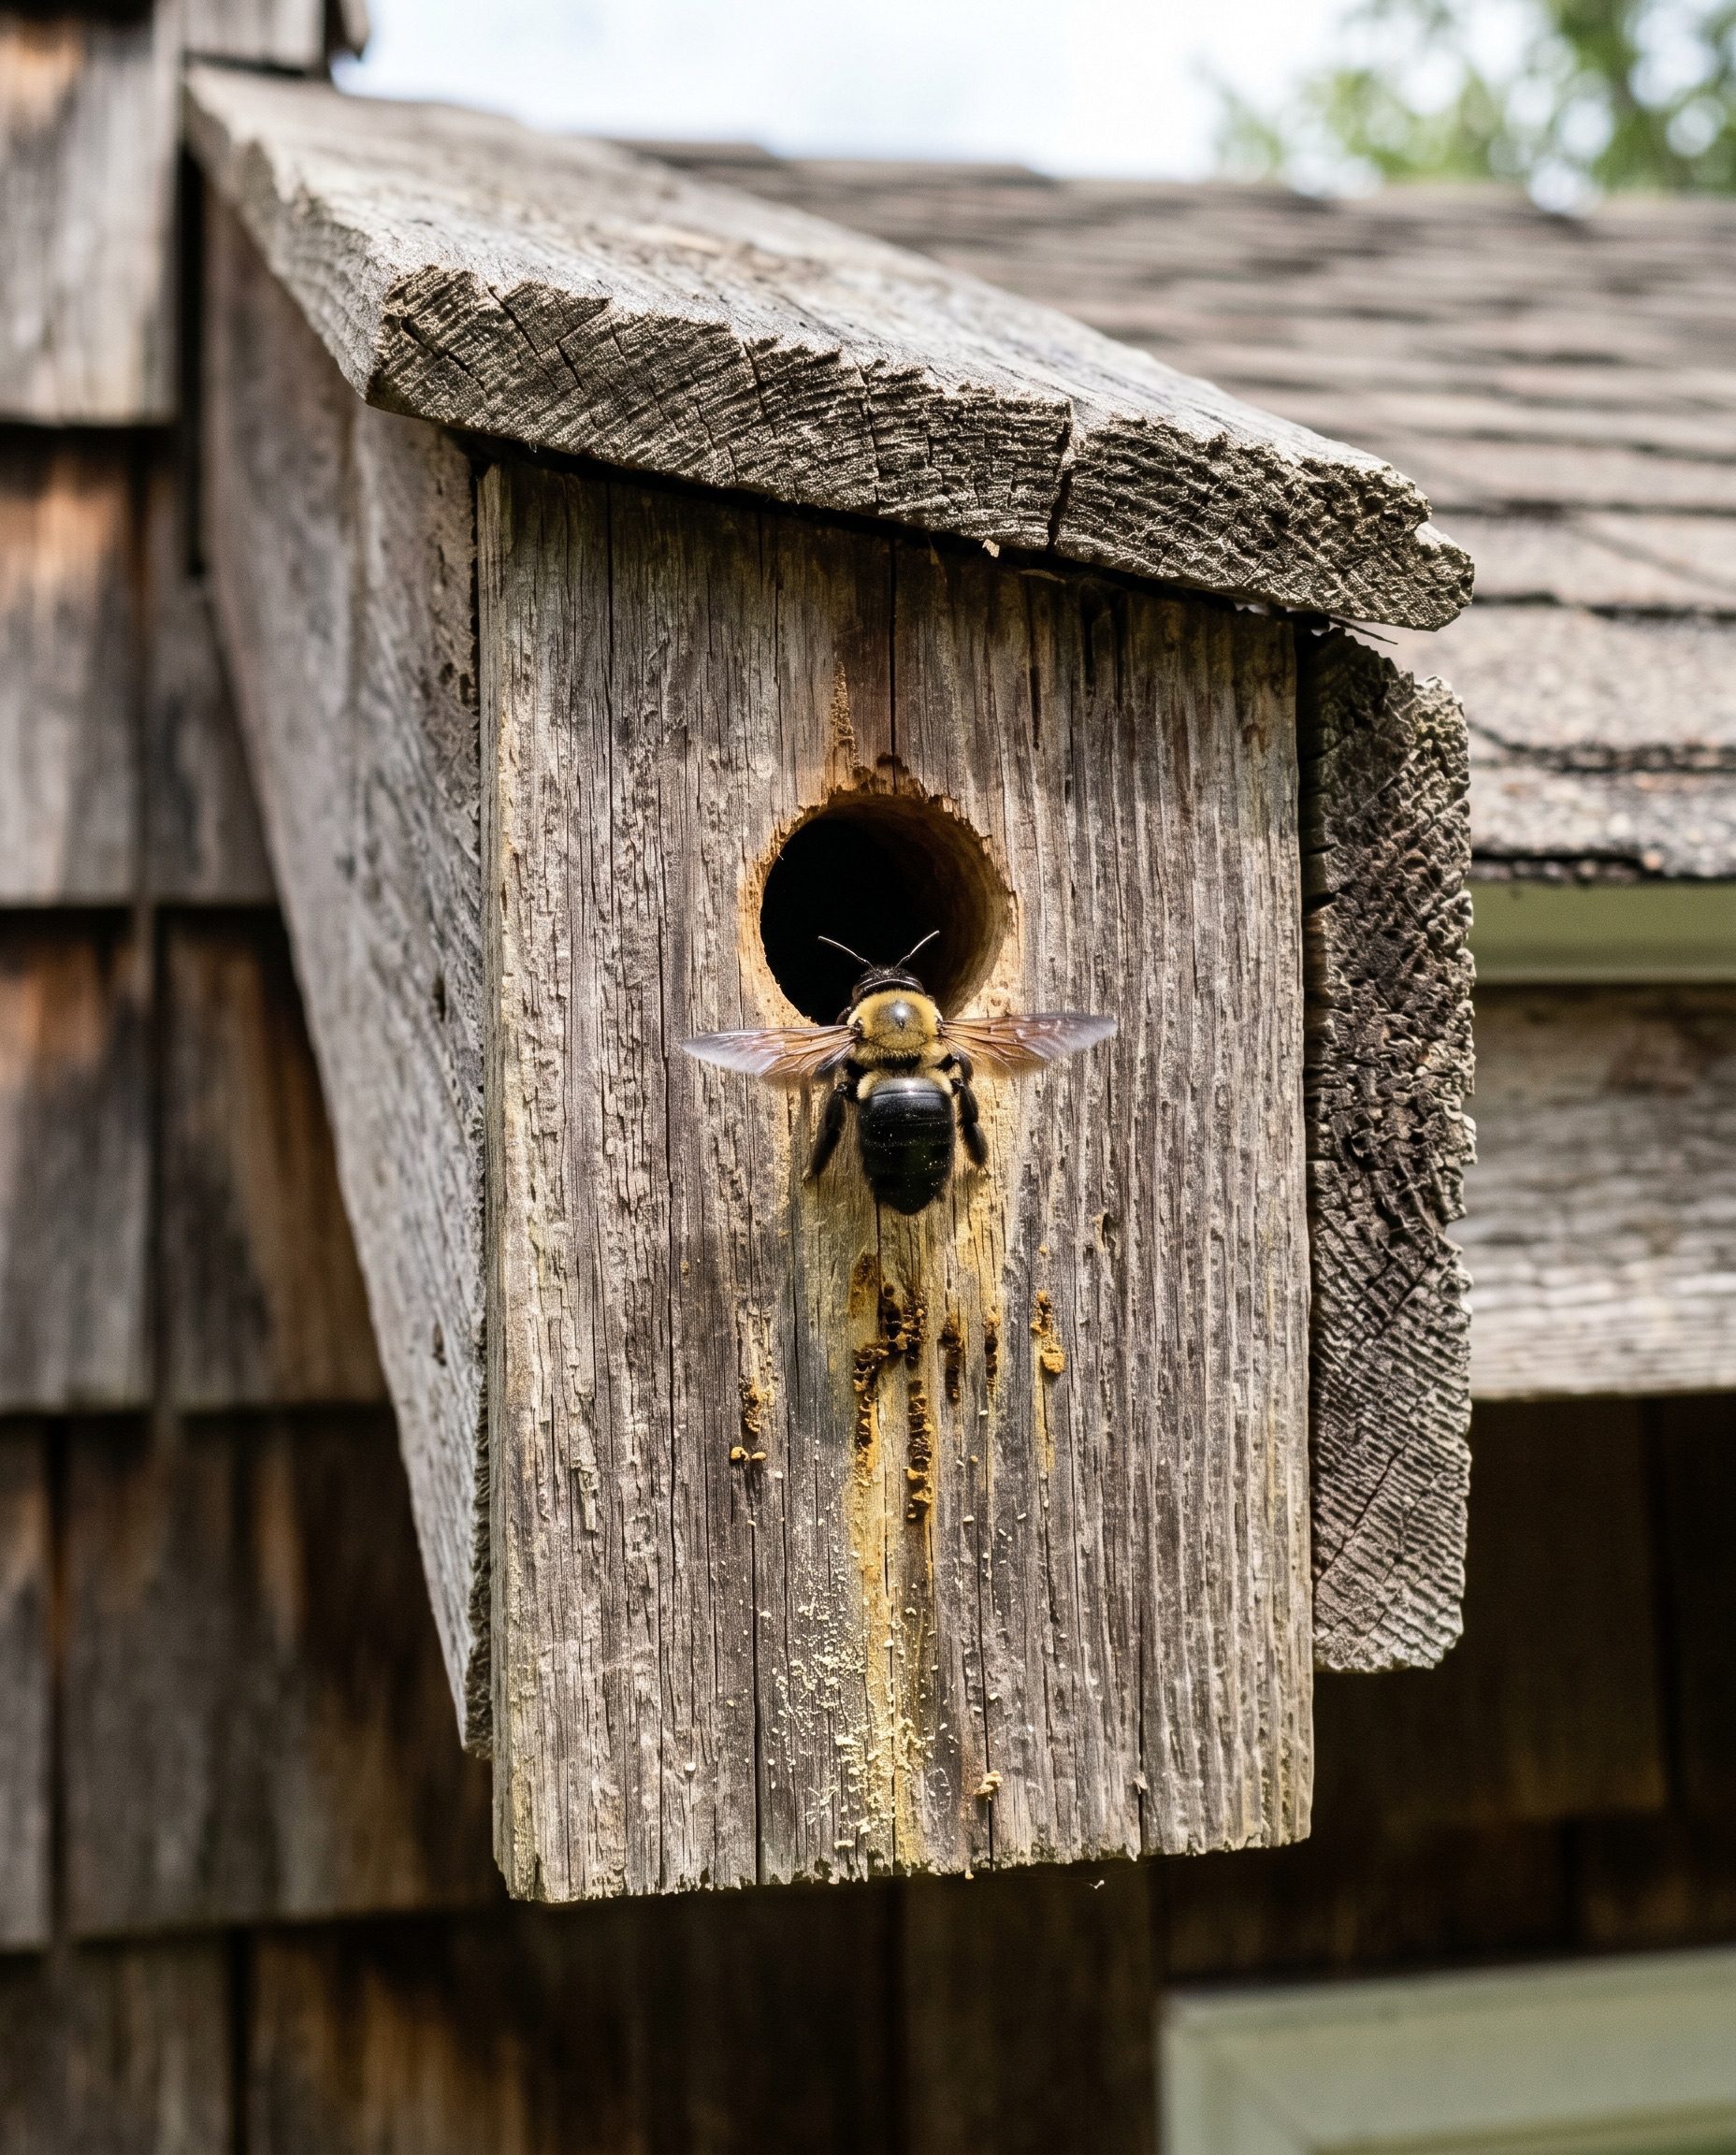
Carpenter bees look like bumblebees but with a shiny, hairless black abdomen, and a single female bores a near-perfect half-inch round hole into wood, then tunnels with the grain to lay her eggs in a row of cells. They are not eating the wood, just excavating a nursery, and they overwhelmingly choose bare, weathered, unpainted softwood like cedar, redwood, pine, fir, and cypress on eaves, fascia, deck rails, fence posts, and the underside of porch beams. Paint and hard finishes are a real deterrent because the bees prefer to start in raw grain.
The reason to stay measured about all this is that carpenter bees are important native pollinators worth keeping around, and they pollinate a long list of native plants and some crops through buzz pollination that honeybees do not do as well. The males are the ones that put on the aggressive air show around your head in spring, but they have no stinger, so the buzzing is pure bluff. The females can sting and simply do not unless you grab one. If you are not even sure these are carpenter bees, our bee versus wasp versus hornet comparison sorts the look-alikes so you treat the right insect.
Protect the wood first
The work that costs the least and prevents the most is making your wood unattractive before the next female goes looking for a tunnel site, which lines up with the EPA’s integrated pest management principles of changing the conditions before reaching for chemicals. Do this and most carpenter-bee pressure on a house quietly fades over a couple of seasons.
Start with the surfaces they already hit or are likely to. Paint, varnish, or a hard polyurethane finish on bare wood is the strongest single deterrent, since a smooth painted surface gives the female nothing to grip and chew. Stains and oils help far less than a real film finish, so a true paint or polyurethane beats a thin stain every time. Where you can, swap the most-attacked trim for a hardwood or a composite, because carpenter bees rarely bore hardwoods. For gaps and existing damage, fill cracks and old holes with wood filler so the surface reads as solid.
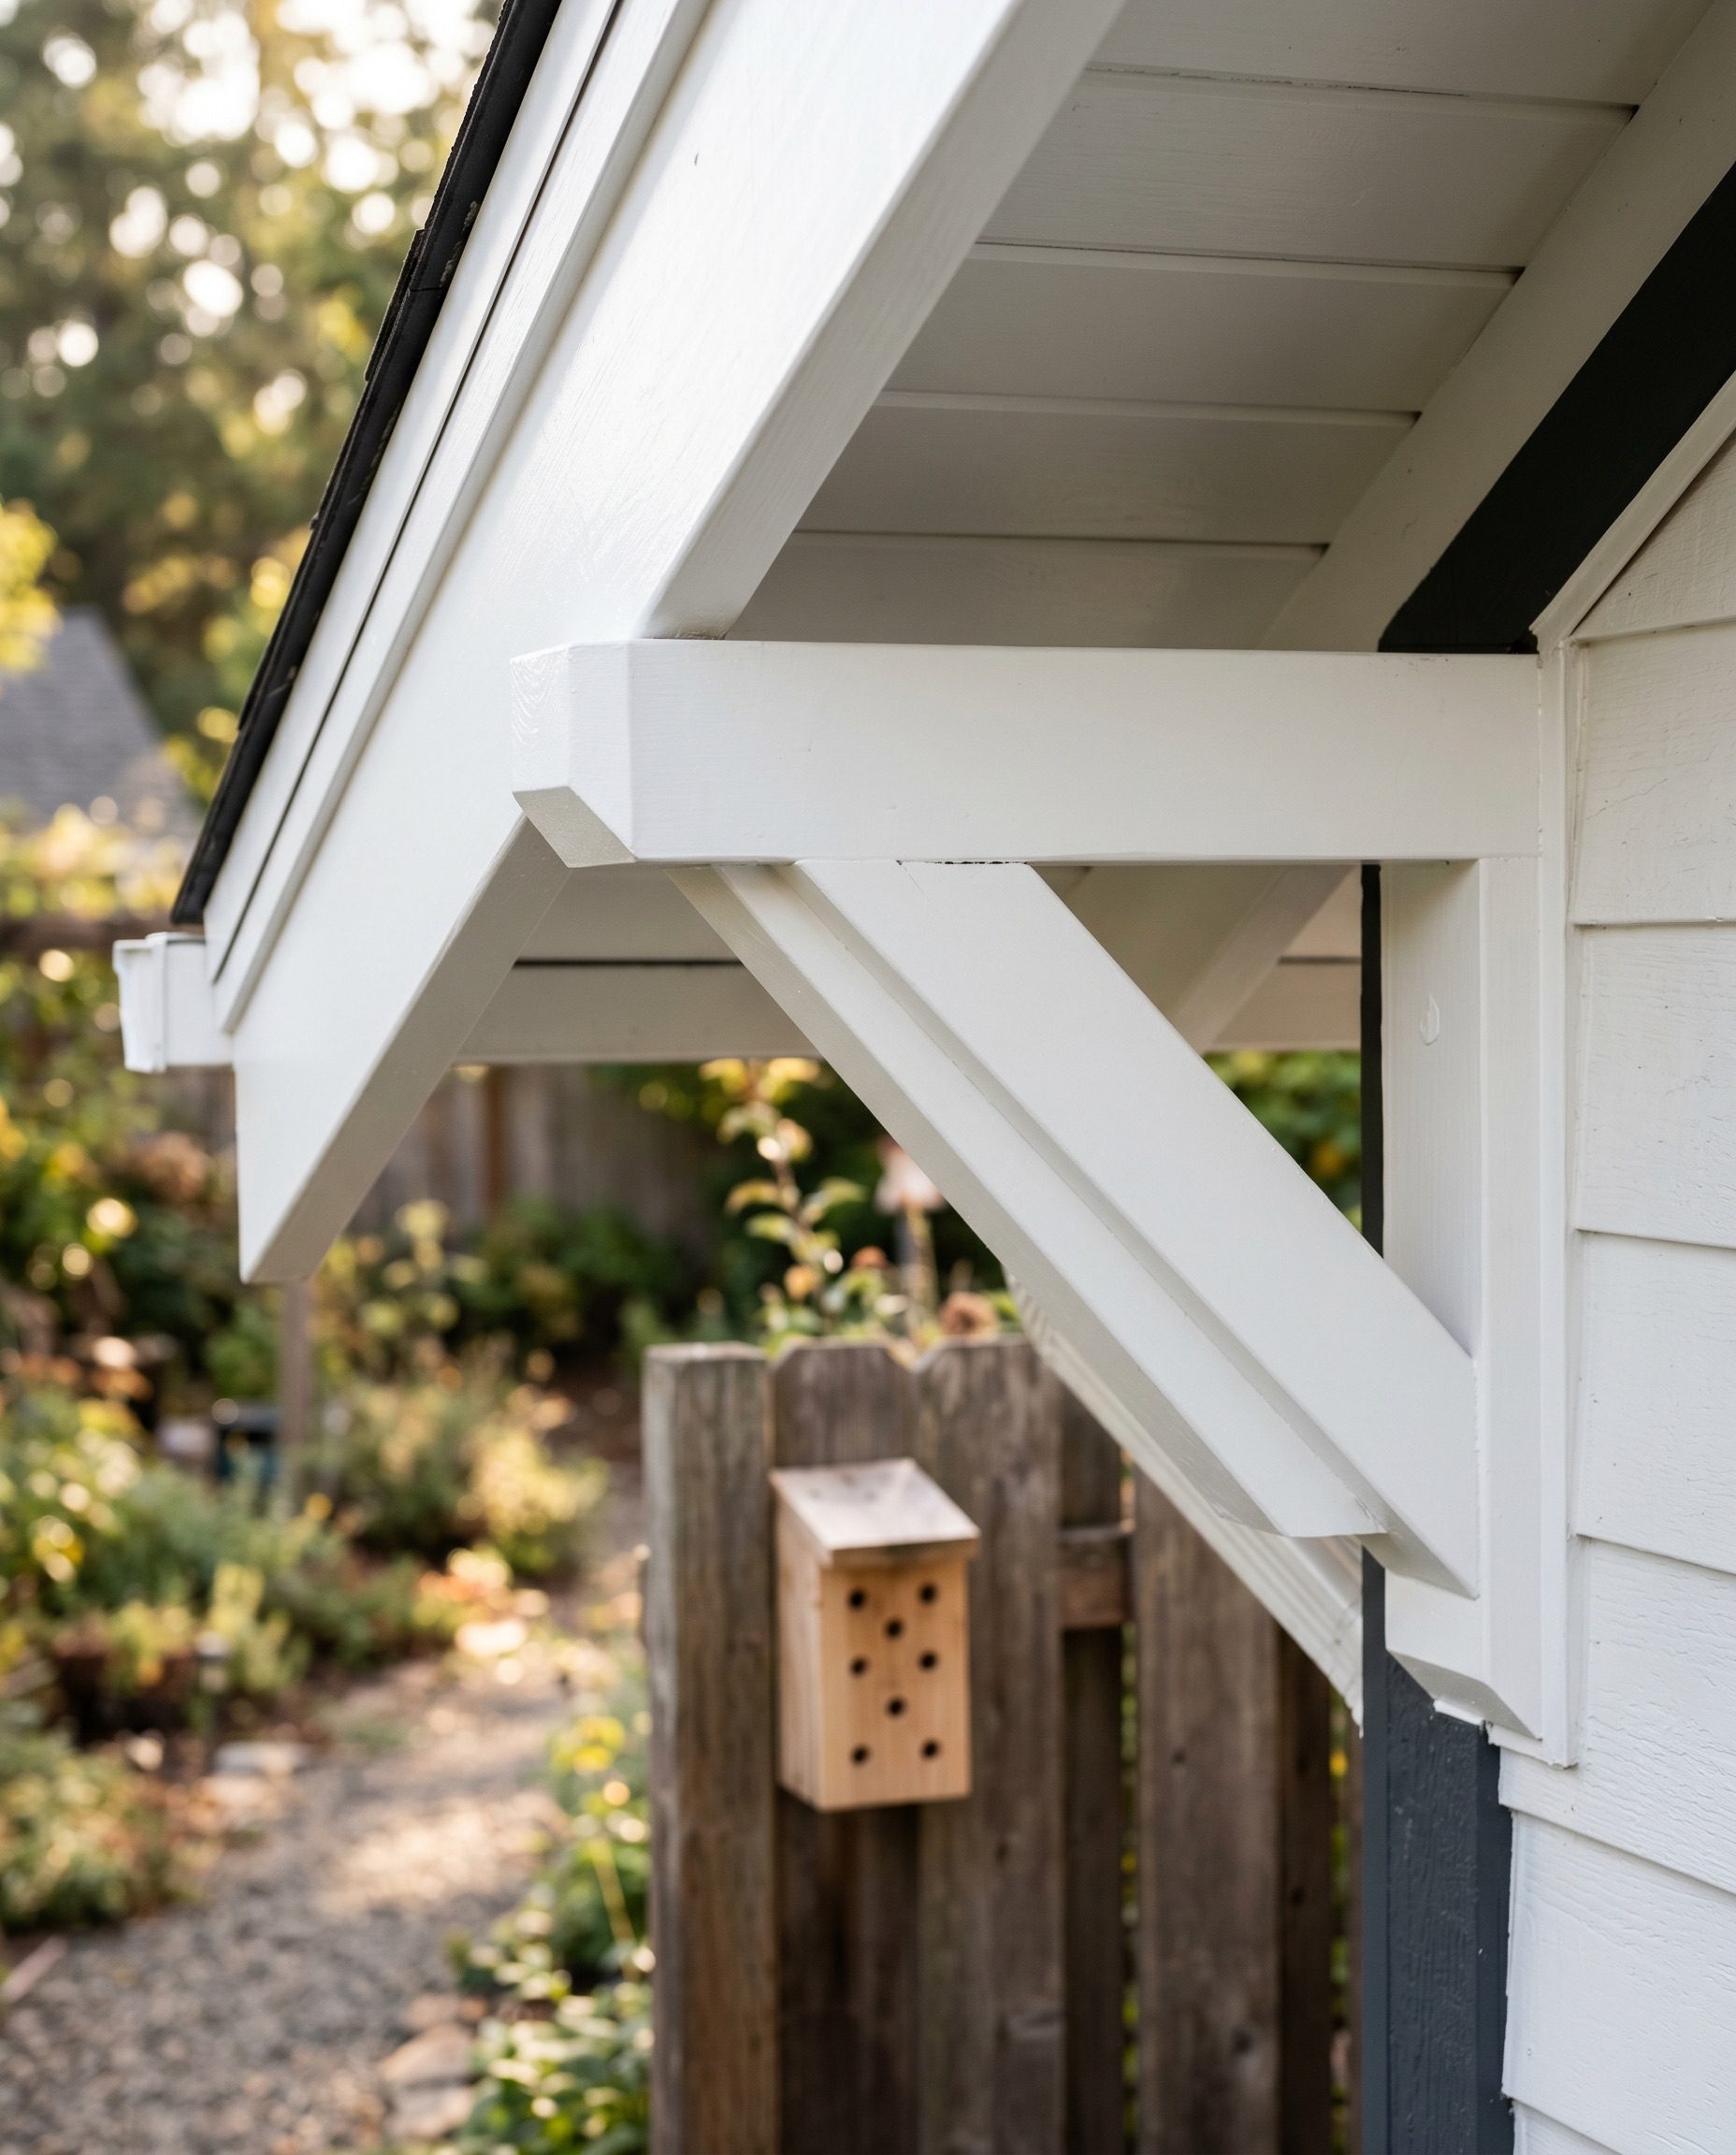
Then redirect the bees you cannot fully exclude. Mount a carpenter-bee decoy or nesting block on a fence post or a far corner of the yard, well away from the structure, and you give the females a legal place to nest that pulls them off your eaves. It is the same logic as steering wasps to a far corner rather than the porch: give the insect a better option and it usually takes it.
Seal tunnels in the fall
This is the timing rule that makes the difference between a fix and a mess. Do not plug a tunnel in spring or summer, because there is live brood inside that will either die sealed in or, worse, chew a fresh exit hole right next to your plug. Wait until late fall, once the new adults have matured and left the gallery for the season, then close it for good. Sealing galleries after the bees leave is the approach University of Kentucky entomologists recommend for exclusion and sealing galleries after the bees leave.
The method is simple. Push a wooden dowel coated in wood glue into the tunnel, trim it flush, then cover the entrance with wood filler or caulk and paint over the whole repair. A plug plus paint is what stops a bee from reopening the same easy hole next spring. Work through every hole you can find, including the ones on the underside of beams and behind gutters where they are easy to miss. The table below maps the right move to where the tunnel is.
| Where the tunnel is | Best approach | Watch out for |
|---|---|---|
| Painted or finished trim | Repaint bare spots, plug holes in fall | Keep the film finish intact |
| Bare softwood eave or fascia | Plug in fall, then prime and paint | Do not seal live brood in spring |
| Deck rail or fence post | Plug and seal, or swap to hardwood | Sand smooth so a new hole is harder |
If a structure has been hit hard year after year, the bigger long-term concern is not the bees themselves but the woodpeckers that tear open the wood to eat the larvae and the moisture that follows. That structural angle, plus heavy recurring damage, is the point where a licensed pest-control professional or a carpenter earns the call.
When treatment is the last resort
Sometimes a gallery is in a high-traffic spot like a doorway, a deck the kids use, or a porch beam over a seating area, and you genuinely need that one tunnel dealt with before you can wait for fall. That is the only case where treatment belongs in the plan, and even then it is one tunnel, not a yard-wide spray. Blanket-spraying every bee you see is the move to skip, and University of Kentucky’s guidance on managing wasps and bees around the home frames the same targeted, least-toxic-first approach for these insects.
If you do treat an active tunnel, puff a small amount of a labeled insecticidal dust into the entrance rather than spraying a cloud, then leave the hole open for a few days so returning bees track the dust deeper before you plug it in the fall. Always read and follow the product label, because under federal law the label is the law, and use only a product labeled for the site. Treat at dusk when the bees are inside and least active, the same way the timing and dusk-treatment rules used for social wasps keep you safer, and never spray from an unstable ladder or in a way that drips onto plants below. Keep children and pets off treated areas until everything is dry, and store any product out of reach. If you have a high gallery, a wall void, or any doubt, our guide to removing a nest safely covers when to hand the job to a pro instead.
Common questions
Will carpenter bees sting me?
Mostly no. The males that hover and dart at your face in spring are defending territory but have no stinger, so they cannot sting at all. Females can sting but are not aggressive and almost never do unless you handle or trap one against your skin. If a sting does happen, how to care for a sting and the warning signs of a serious reaction covers basic first aid.
Do carpenter bees cause real damage to a house?
A single tunnel is minor, but the same gallery reused and extended by many bees over several years can weaken trim, and woodpeckers digging out the larvae often do more damage than the bees. Sealing tunnels in fall and keeping wood painted stops that cycle before it adds up.
What is the best natural way to deter them?
Paint and hard finishes are the most effective non-chemical deterrent, since the bees want bare wood. Some people report short-term success with citrus or almond-oil sprays in the holes, but the durable fix is sealing the wood and offering a decoy block away from the house, not a scent that wears off.
Can I just plug the holes now?
Not in spring or summer. If you seal a tunnel with live brood inside, the bees often chew a new exit nearby, and you have lost the pollinator and gained a second hole. Wait until late fall when the brood has left, then plug and paint.
Will they come back next year?
They return to the same easy, unpainted wood, so an open old tunnel is an open invitation. Plug and paint every hole, keep exposed wood finished, and leave a decoy block up, and the pressure on your house drops year over year.
Final verdict
The right way to get rid of carpenter bees is to manage them, not wipe them out, because you are dealing with a native pollinator that responds well to a little planning. Protect bare wood with paint or a hard finish first, since that is the free-to-cheap step that prevents the most. Give the bees a decoy nesting block away from the house so they have somewhere legal to go. Then wait for fall, plug each empty tunnel with a dowel and filler, and paint over the repair so no bee reuses it. Reserve any insecticidal-dust treatment for the rare active tunnel in a spot you cannot avoid, treat it at dusk and by the label, and otherwise let the bees do their pollinating. Skip the spray-on-sight habit; the loud ones cannot even sting, and a managed approach keeps both your wood and the pollinators intact.
Next steps:
– Confirm you actually have carpenter bees and not look-alikes with our bee versus wasp versus hornet comparison.
– Pull the bees off your structure for good using the habits in our prevent nests on your property guide.
– If a gallery is high, hidden, or heavily reused, weigh calling a pro with our guide to removing a nest safely.
Reviewed by Daniel Brooks, licensed pest control professional, focused on safe and effective control.