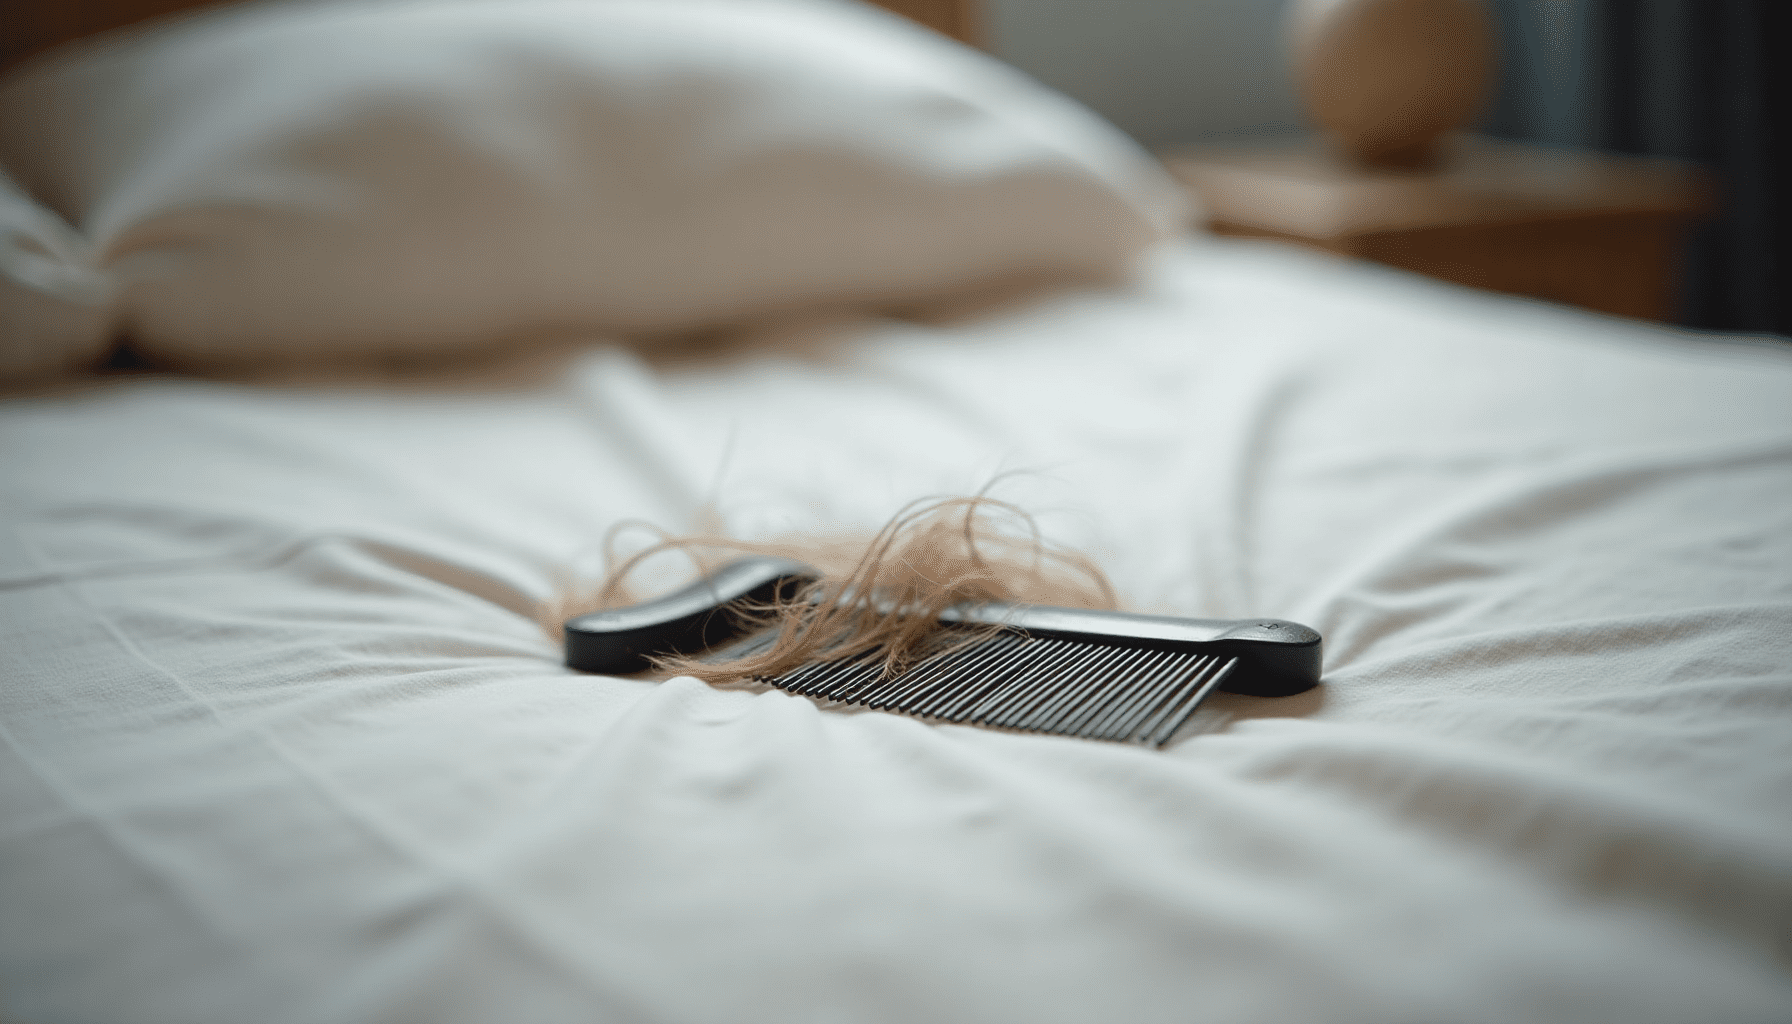
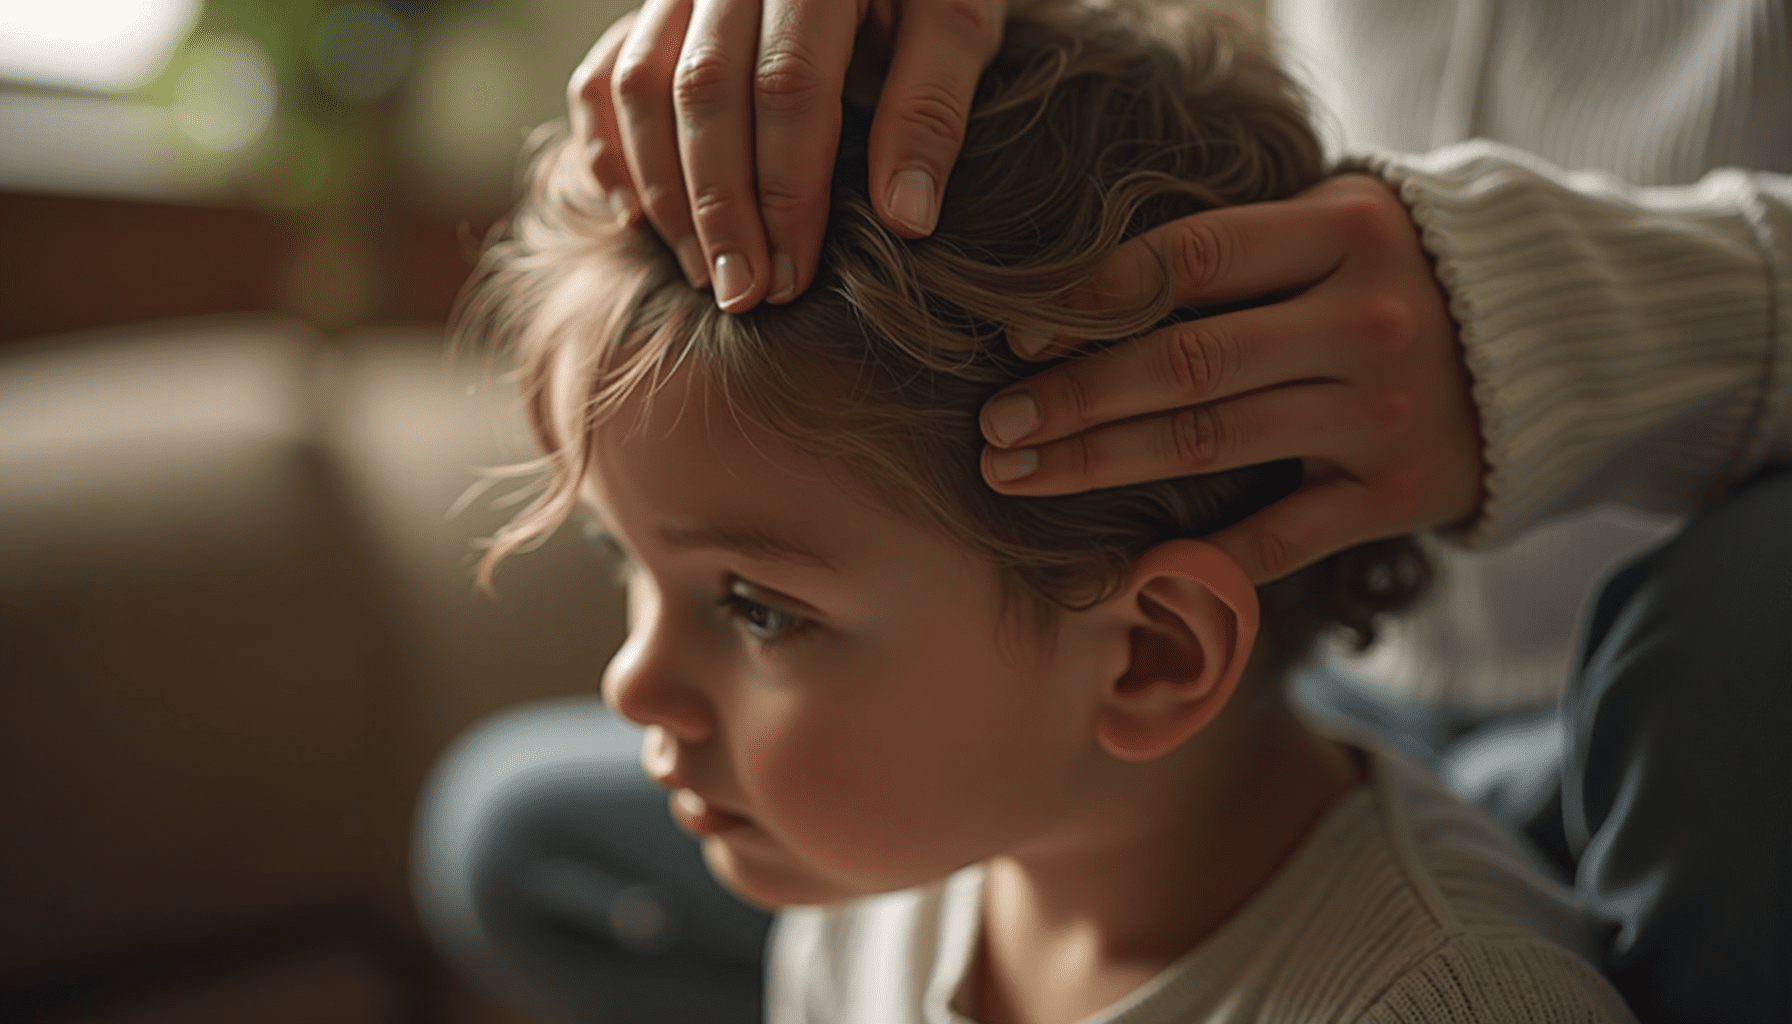
Finding tiny, unwelcome guests in your child's hair can be a concerning moment for any parent. Head lice infestations are surprisingly common, affecting millions of children annually, and knowing how to check for lice effectively is the first crucial step in addressing the issue. This comprehensive guide will walk you through the precise methods entomologists and medical professionals recommend for detecting these elusive insects, ensuring you can confidently identify an infestation and take appropriate action.
Bottom line: To check for lice, use a fine-toothed lice comb on wet, conditioned hair under bright light. Systematically comb small sections of hair from the scalp to the ends, wiping the comb on a white paper towel after each stroke to inspect for tiny, tan-brown lice or firmly attached, oval nits (eggs) near the scalp, especially behind the ears and at the nape of the neck.
Quick answer
Detecting head lice requires a thorough, systematic approach. Here's a quick overview of the essential steps:
- Gather Tools: You'll need a bright light, a fine-toothed lice comb (metal is best), hair conditioner, hair clips, and a white paper towel.
- Prepare Hair: Wash hair and apply a generous amount of conditioner, leaving it in. This slows down lice and makes combing easier.
- Section Hair: Divide the hair into small, manageable sections using clips.
- Systematic Combing: Starting at the scalp, comb each section from root to tip.
- Inspect the Comb: After each stroke, wipe the comb on a white paper towel and look for live lice (small, sesame-seed-sized insects) or nits (tiny, oval, firmly attached eggs).
- Focus on Hotspots: Pay extra attention to the hair behind the ears and at the nape of the neck, as these are common areas for nits.
- Confirm Infestation: A definitive diagnosis requires finding a live louse (nymph or adult), not just nits.
Lice basics
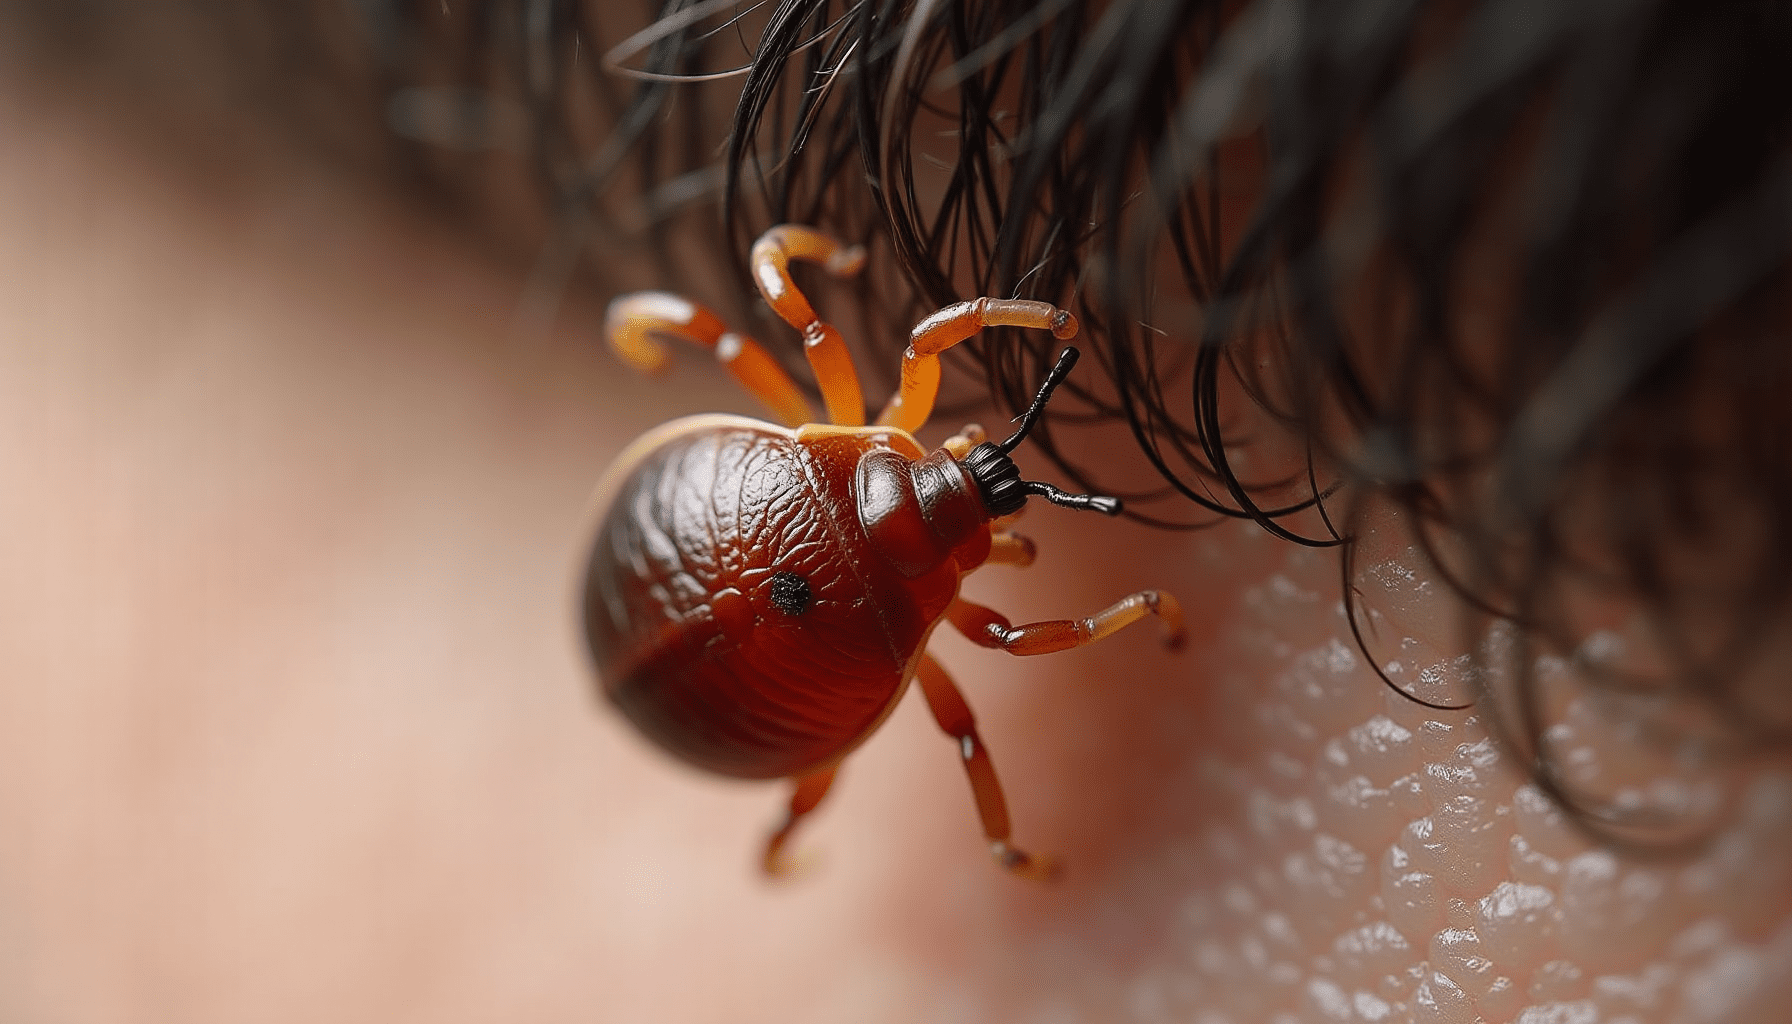
Head lice, scientifically known as Pediculus humanus capitis, are tiny, wingless insects that live exclusively on the human scalp. These obligate human parasites feed on human blood several times a day. They are about 2–3 mm long, roughly the size of a sesame seed, and range in color from pale gray to brown, often appearing darker on darker hair. It's important to remember that head lice do not infest pets; they are human-specific parasites, as highlighted by the Centers for Disease Control and Prevention (CDC).
Infestations are incredibly common, with an estimated 6–12 million cases occurring annually among children aged 3–11 in the U.S., particularly in childcare and elementary school settings, according to the CDC. While they affect all socioeconomic groups, children, especially girls, are more susceptible due to hair length and common play behaviors involving head-to-head contact.
Lice spread primarily through direct head-to-head contact. They cannot jump or fly; they only crawl. Indirect spread via shared hats, brushes, or bedding is uncommon but possible. Understanding their lifecycle is key to effective detection and treatment:
- Eggs (Nits): These are laid by adult females and firmly glued to the hair shaft, typically within ¼ inch (about 0.6 cm) of the scalp. They hatch in 8–9 days.
- Nymphs: These are immature lice that emerge from the nits. They mature into adults in about 9–12 days after hatching.
- Adult Lice: They live up to 30 days on the scalp but die within 1–2 days if they fall off their human host.
Knowing these facts helps in understanding why consistent checking and re-checking are so vital. Nits found further than ¼ inch from the scalp are usually nonviable or empty eggshells, indicating a past, rather than active, infestation.
When to check
Regular checks can help catch an infestation early, but certain situations warrant immediate inspection. You should consider checking for lice if your child exhibits persistent scalp itching, especially at night. Itching is a common symptom, caused by an allergic reaction to lice saliva, though it can take 4–6 weeks to develop in a first infestation, meaning a child can have lice without itching initially, as noted by the American Academy of Pediatrics (AAP).
Other triggers for a lice check include:
- Known Exposure: If you hear about lice cases in your child's class, among close friends, or after activities like sleepovers, camps, or sports tournaments where head-to-head contact is likely.
- Visual Cues: If you or your child spot tiny bugs or small, egg-like structures "glued" to hairs near the scalp.
- Routine Screening: Many experts suggest a monthly check during school terms as a proactive measure.
The consensus among major public health and medical bodies, including the CDC, AAP, and Mayo Clinic, emphasizes that a definitive diagnosis of head lice requires finding live lice (nymphs or adults) on the scalp or hair. Finding nits alone, particularly if they are more than ¼ inch from the scalp, may indicate a past infestation rather than an active one. This distinction is important because treatment is generally recommended only when live lice are found.
Step-by-step check
Performing a thorough lice check is a systematic process that takes patience but is highly effective. A systematic review published in the BMJ found that wet combing with a fine-toothed lice comb is more sensitive than visual inspection alone for detecting active infestations.
Tools You'll Need
Gathering the right tools before you start makes the process smoother:
- Bright Light: Natural daylight is ideal, but a strong lamp or even a flashlight can help illuminate the scalp.
- Fine-Toothed Lice Comb: Metal combs are often more effective than plastic ones for dislodging nits and lice.
- Regular Wide-Toothed Comb or Brush: For detangling hair.
- Hair Conditioner or Detangling Spray: Essential for the wet-combing method.
- Hair Clips or Elastics: To section hair neatly.
- White Paper Towel or Tissue: To wipe the comb and easily spot any findings.
- Optional: A magnifying glass for closer inspection, and disposable gloves if you prefer.
- Non-Upholstered Chair: Seat your child on a chair that is easy to clean, reducing the chance of lice transferring to furniture.
Preparation
- Set the Scene: Have your child sit comfortably in a well-lit area.
- Protect Clothing: Drape a light-colored towel around their shoulders to catch any falling lice or debris.
- Detangle Hair: Use a regular comb or brush to remove any knots.
- Wet-Combing Prep: This method is highly recommended. Wash your child's hair with regular shampoo, then apply a generous amount of hair conditioner to the damp hair. Do not rinse it out yet. The conditioner slows down lice, making them easier to see and comb out.
The Combing Process
- Section the Hair: Use clips to divide the hair into small, manageable sections. For longer hair, parting it down the middle and then dividing each half again creates four main sections. Work through each of these sections in thin, narrow rows.
- Visual Inspection: Before combing, use your fingers or the comb handle to part the hair within each section. Look closely at the scalp for any movement, redness, or small sores. Pay special attention to the areas behind the ears and at the nape of the neck, as these are prime locations for lice and nits.
- Detection Combing:
- Place the fine-toothed lice comb's teeth flat against the scalp, starting at the base of the neck or one side of the head.
- Pull the comb slowly and firmly from the scalp all the way to the hair ends in a single, smooth motion.
- After each stroke, wipe the comb thoroughly on a white paper towel or tissue. Carefully inspect the debris for any signs of lice or nits. A magnifying glass can be helpful here.
- Comb each narrow row several times, working systematically across the entire scalp. Pin or clip completed sections out of the way to avoid re-combing.
- Rinse and Recheck: Once all sections have been combed, rinse the conditioner from the hair. Repeat the combing process with wet, clean hair, or simply perform another visual check to ensure no areas were missed.
What you found
Knowing precisely what you're looking for is key to accurately diagnosing a head lice infestation. It's easy to mistake common hair debris for lice or nits.
- Adult Lice: These are tiny, about 2–3 mm long (the size of a sesame seed). They are typically pale gray to brown and move quickly across the scalp when disturbed. Remember, lice crawl; they cannot jump or fly.
- Nymphs (Young Lice): Smaller than adults (around 1–2 mm), nymphs have a similar shape but are lighter in color.
- Nits (Viable Eggs): These are tiny, oval-shaped (about 0.8–1.0 mm), and firmly cemented to one side of the hair shaft. Before hatching, they appear yellowish-white to brown. They are most commonly found within ¼ inch of the scalp, especially behind the ears and at the nape of the neck. A key differentiator: nits will not easily slide off the hair shaft if you try to move them.
- Empty Nits: After hatching, nits appear more white or clear but remain firmly attached to the hair shaft. If they are found more than ¼ inch from the scalp, they are likely old, empty eggshells, indicating a past infestation rather than an active one.
Common Look-Alikes:
- Dandruff: White or flaky, irregular shapes. Unlike nits, dandruff flakes off easily if nudged.
- Hair Casts: Small, cylindrical pieces of keratin that encircle the hair shaft. They can be slid along the hair shaft.
- Lint or Dirt: These are typically irregular in shape and can be easily removed from the hair.
- Hair Product Residue: Can appear as small, white flakes but will easily brush out.
If you find live lice, your child has an active infestation. If you find only old, empty nits far from the scalp and no live lice, this may reflect a past infection. However, if there was recent exposure, consider rechecking in a few days. If you find nothing but itching persists, repeat the check in several days and consider other causes of scalp itch, such as dry skin, eczema, or dermatitis. Consulting a healthcare provider or a lice specialist can provide a definitive confirmation if you are unsure.
Recheck plan
After a thorough inspection, your next steps depend on what you've found. If you've confirmed an active infestation by finding live lice, treatment and follow-up combing are necessary. The Mayo Clinic and CDC both provide comprehensive guidance on evidence-based lice treatments, including over-the-counter pediculicides and prescription options, as well as non-chemical wet-combing approaches.
How Often to Recheck
The lifecycle of head lice dictates the importance of repeat checks:
- After Known Exposure (No Lice Found): If you suspect exposure but find no lice during your initial check, inspect daily for approximately two weeks. This covers the typical egg-hatching window, ensuring you catch any newly hatched nymphs.
- After Treatment for Confirmed Lice: Regular rechecking is critical to confirm clearance and prevent re-infestation. Comb and check every 2-3 days for at least two weeks after treatment. This helps catch any newly hatched lice that might have survived the initial treatment.
When to Call a Doctor or Lice Specialist
While many lice infestations can be managed at home, there are situations where professional guidance is recommended:
- Treatment Failure: If over-the-counter treatments don't seem to work, or if you continue to find live lice after following product instructions carefully.
- Signs of Infection: If repeated scratching has led to skin breakdown, redness, pus, or other signs of a secondary bacterial infection (like impetigo).
- Age Considerations: For infants under two months old, as some lice treatments are not recommended for very young children.
- Uncertainty: If you're unsure whether what you're seeing is actually lice versus dandruff or other scalp conditions, a healthcare provider or professional lice removal service can confirm the diagnosis.
Remember, early detection and consistent follow-up are your best defenses against head lice. If you're concerned about other common household pests, you might also be interested in learning how to check for bed bugs or understanding the signs of bed bugs.
Common myths
Head lice carry a surprising amount of misinformation, often leading to unnecessary stress and ineffective actions. Let's clear up some common misconceptions:
- Myth 1: Only dirty people get lice.
- Myth 2: Lice can jump or fly from one head to another.
- Reality: Lice have no wings and cannot jump. They only crawl, and most spread occurs through direct head-to-head contact.
- Myth 3: Pets can catch or spread head lice.
- Reality: Head lice are human-specific parasites. Dogs, cats, and other pets cannot get or spread head lice.
- Myth 4: Any itching means lice.
- Reality: Many conditions, such as dandruff, dry skin, product reactions, or eczema, can cause scalp itch. Only finding live lice or viable nits confirms an infestation.
- Myth 5: You must treat everyone in the household if one person has lice.
- Reality: Experts recommend checking all household members and treating only those with evidence of an active infestation. Preventive treatment without evidence is discouraged by the Mayo Clinic.
- Myth 6: You need to "fumigate" the house or use harsh pesticides on the environment.
- Reality: Lice survive only 1–2 days off the human scalp, and nits die if away from the scalp for more than about a week. Routine measures like washing bedding and clothing used in the previous two days in hot water (≥130°F / 54°C) and vacuuming are sufficient. Spraying the home with insecticides is not recommended by the CDC.
- Myth 7: Children with nits must stay home from school until nit-free.
- Reality: The AAP and CDC discourage "no-nit" policies, as nits alone do not prove active infestation and such policies lead to unnecessary absenteeism. Children who have started appropriate treatment generally do not need to be excluded from school.
Understanding these facts can help reduce anxiety and ensure that your efforts are focused on effective detection and treatment rather than unnecessary or harmful actions.
Final checklist
Detecting head lice can feel daunting, but with the right knowledge and tools, you can confidently check for lice and address any infestation effectively. Remember that persistence and a systematic approach are key. By following the step-by-step guide—using a fine-toothed comb on wet, conditioned hair under bright light, and meticulously checking the scalp, especially behind the ears and at the nape of the neck—you can accurately identify live lice or viable nits.
Early detection not only helps in prompt treatment but also minimizes the spread to others. If you confirm an infestation, consult reliable sources like the CDC for treatment options and remember to recheck frequently to ensure complete eradication. Don't let common myths or the stigma surrounding lice add to your stress; they are a common, treatable nuisance. For more insights into identifying and managing various insect encounters, explore our guides on how to differentiate between various insect bites or learn more about flea bites on humans.
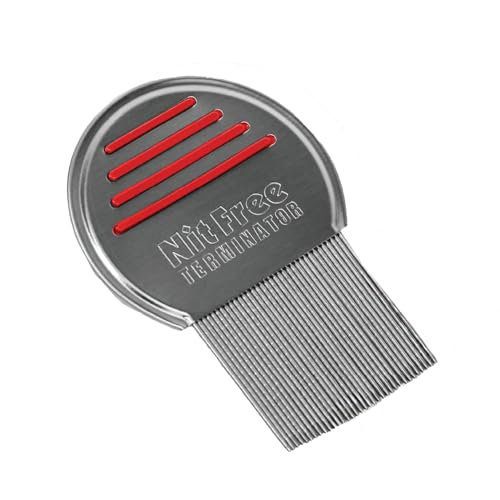
This metal, fine-toothed comb is explicitly recommended in the article’s ‘Gather Tools’ section and ‘Bottom line’ as the most crucial tool for effective lice and nit detection and removal.
- Effectively removes lice and nits, including very small eggs
- Sturdy stainless-steel build with fine micro-grooved teeth
- Easy to use for thorough head checks and regular combing
- Can be time-consuming and requires careful section-by-section combing
- Some users find it uncomfortable or tuggy on thicker or tangled hair
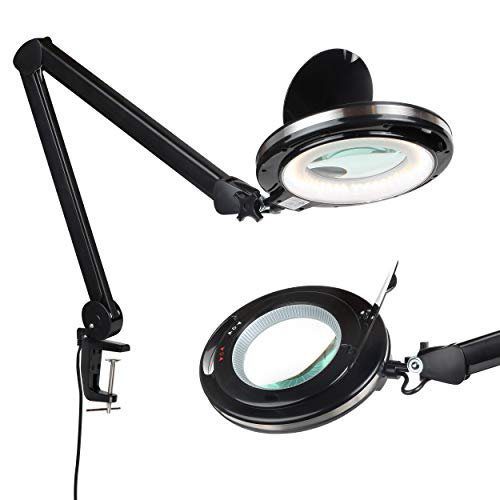
The article emphasizes the need for ‘bright light’ for effective detection. A magnifying lamp enhances visibility, making it easier to spot tiny lice and nits, especially in hard-to-see areas.
- Bright, even LED illumination combined with the 2.25x glass magnifier makes detailed close work (crafts, sewing, electronics, reading small print) much easier on the eyes.
- Sturdy clamp and adjustable/swing-arm design hold position well and allow users to place the lens exactly where they need it without drooping.
- Solid build quality and long-lasting integrated LEDs are frequently noted as durable and reliable for daily use over years.
- Some users report that the arm or gooseneck can be a bit stiff or, over time, may not hold heavier positions as firmly as they’d like.
- A few reviewers dislike that the LED color temperature is on the cooler side and wish there were warmer or more adjustable color options.
As an Amazon Associate, I earn from qualifying purchases. Product recommendations are based on real reviews and independent research.