To raise crickets successfully at home, you need three things dialed in: warm temperatures (about 80-90°F), safe water (no open bowls), and a simple egg-laying setup you can rotate into a separate nursery bin. Once those pieces are in place, house crickets (Acheta domesticus) can hatch in about 7-14 days and reach adulthood in roughly 6-8 weeks under good conditions. This guide walks you through an easy bin setup, feeding, breeding, cleaning, and harvesting so your colony stays productive instead of crashing.
Bottom line: Raising crickets at home is mostly about stable warmth, dry ventilation, clean egg-laying substrate, and separating tiny nymphs from adults before they are eaten or crushed.
- A ventilated plastic bin works for most small colonies.
- Track temperature and humidity before adding more heat.
- Keep moisture contained with water gel or vegetables, not open water.
Quick answer
If you want to raise crickets at home with steady results, follow this minimal, repeatable system:
- Use 2 bins, not 1: one for adults (breeders) and one for eggs/nymphs (nursery).
- Heat: keep the warm side 80-90°F (26-32°C). Growth slows hard below ~72°F.
- Ventilation: big screened lid vents (metal screen, not plastic).
- Water: offer moisture with water gel or damp cotton/paper towel in a shallow dish.
- Food: crushed non-medicated poultry feed as the base, produce as a supplement.
- Egg tray: a small tub of moist coco coir/topsoil covered with mesh; rotate it out every 3-7 days.
- Hygiene: keep the bin dry, remove moldy produce and dead crickets quickly.
Simple timeline
- Eggs: ~7-14 days to hatch (warm + moist egg tray)
- Nymphs: ~6-8 weeks to adult (warm + not crowded)
Setup basics
Most home colonies fail for one boring reason: the bin turns into a damp, poorly ventilated box. Crickets do best in warm, dry air with moisture offered in controlled ways. Think of the bin like a small barn – airflow and clean feed matter more than fancy equipment.
What you need (home-friendly checklist)
- Plastic tote (14-20 gallons is a sweet spot for manageability)
- Lid ventilation: cut 1-2 large openings and attach metal window screen
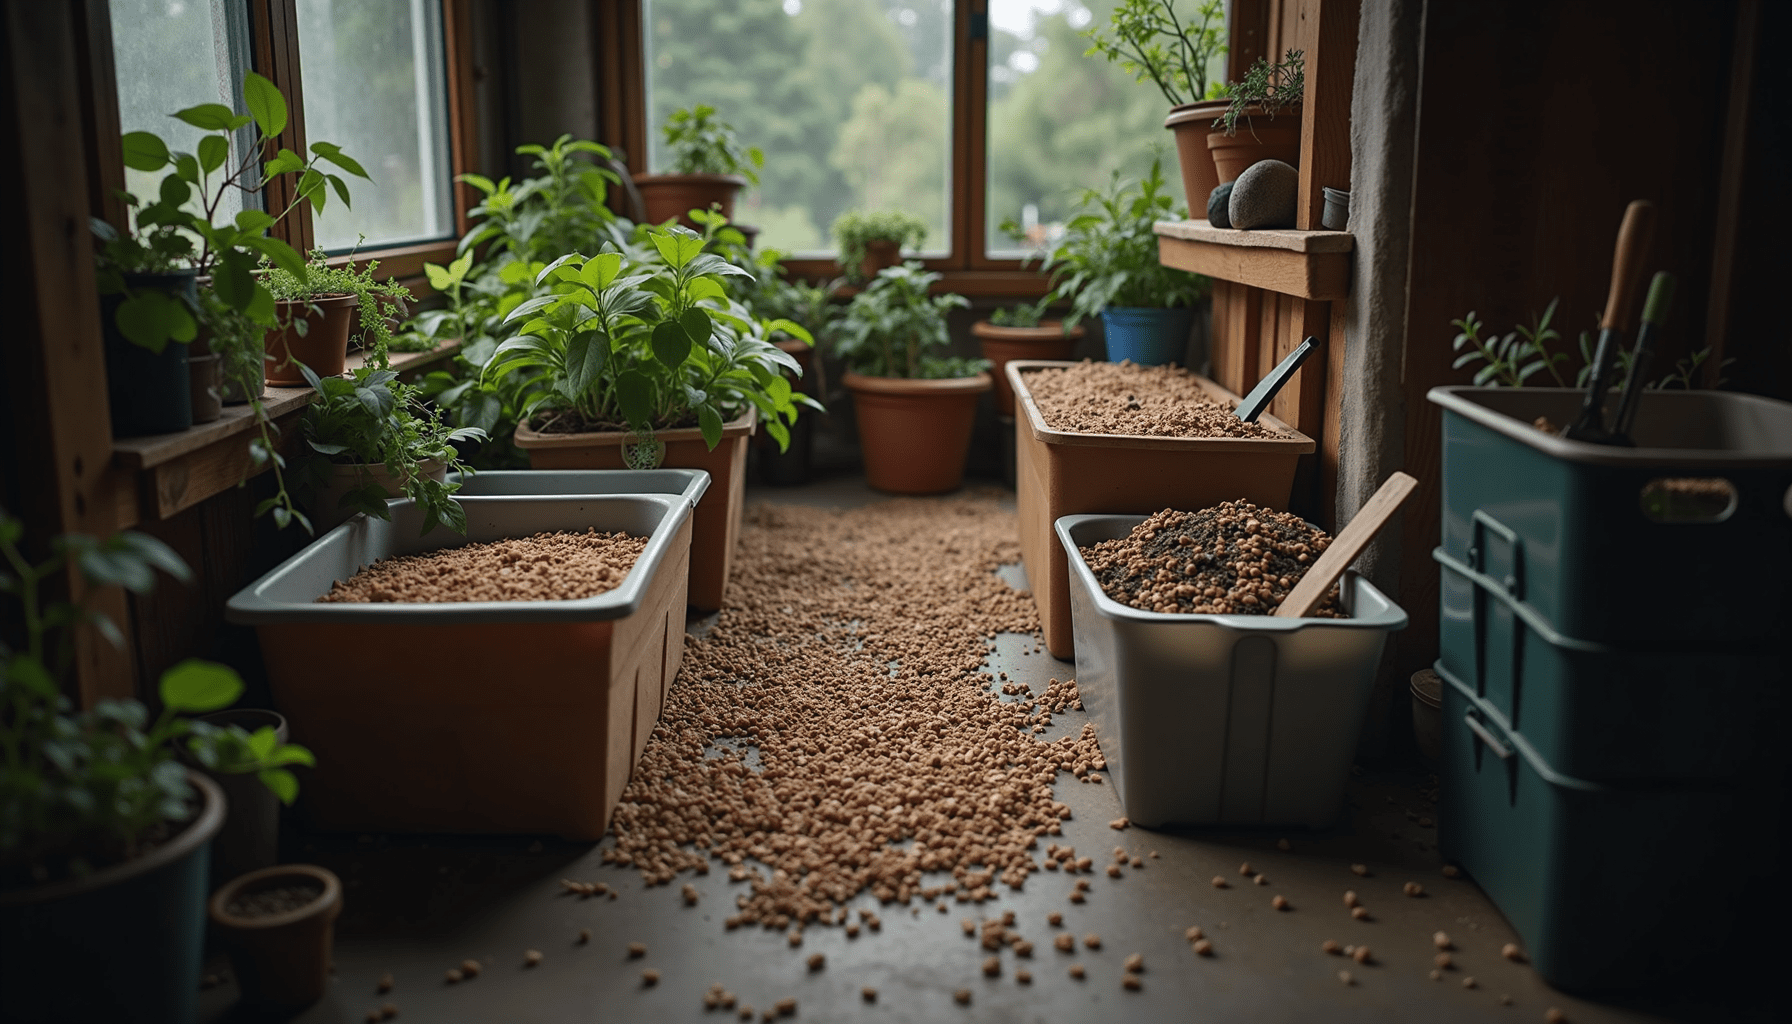
- Substrate: 1-2 inches of vermiculite or another soil-free, low-dust bedding
- Hides: egg cartons stacked vertically (more surface area, less fighting)
- Heat source: seed-starting heat mat under one side, or a ceramic heat emitter above
- Thermometer (and ideally a thermostat)
- Food dishes and water gel dish
- 1-2 small “egg-laying tubs” (quart-size works well)
A simple bin layout (visual map)
- Warm side: heat mat under the tote + egg cartons stacked above it
- Cool side: food dish + water gel + open floor space
- Center: removable egg-laying tub (only during laying windows)
Stocking density: how many is “too many”?
Crowding drives stress, cannibalism, overheating, and disease. As a practical benchmark, many keepers can manage hundreds of adults in a 14-20 gallon tote if ventilation and cleaning are consistent. If the bin smells sharp, feels humid, or you see frequent die-offs, reduce numbers and add airflow.
Actionable takeaway: Start smaller than you think you need. It is easier to scale up by adding a second tote than to rescue an overcrowded, crashing colony.
If you’re also managing other home pests, keep your cricket area clean and dry so you do not attract nuisance insects. For example, standing water and damp corners can invite mosquitoes indoors – see How to Get Rid of Mosquitoes Inside Your House for practical prevention ideas that also complement insect-rearing spaces.
Heat and humidity
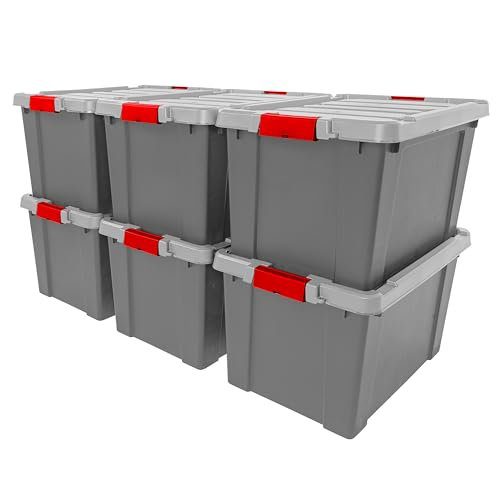
A latching plastic tote can become a small cricket breeding bin once you add ventilation, egg crate, food, and a removable laying container.
- Roomier and cheaper than many specialty cages
- Latching lid helps reduce escapes
- Smooth walls are easier to wipe clean
- Ventilation holes or mesh must be added
- Not ready for crickets without setup work
Temperature is the “throttle” for cricket growth. If your colony is sluggish, not breeding, or taking forever to mature, the cause is often simple: it is too cool for too long. Research and husbandry guides consistently place house crickets in a warm band where feeding, molting, and egg development run on schedule.
Target ranges (easy reference)
- Adults and nymphs: 80-90°F (26-32°C)
- Egg incubation zone: mid-80s to ~90°F (29-32°C) with a moist egg substrate
- Relative humidity: often works best around 50-70%, but avoid “wet bin” conditions
According to the Texas A and M AgriLife Extension cricket rearing guide, warmth and ventilation are core drivers of growth and colony stability, especially as density increases.
Heating options (comparison cards)
-
Heat mat under one side
- Best for: steady warmth + safe gradient
- Watch out: overheating if the mat runs full-time without a thermostat
- Next step: place a thermometer probe at cricket level on the warm side
-
Ceramic heat emitter above
- Best for: larger rooms and cooler climates
- Watch out: drying the air too much or heating the lid unevenly
- Next step: use a thermostat and keep plastics away from direct contact
Humidity: where people go wrong
Crickets need moisture, but they do not need a wet habitat. A wet bottom layer plus spilled produce is how you get mold, mites, and sudden die-offs.
Use this rule:
- Keep the bin mostly dry
- Keep the egg-laying tub moist
- Offer water safely (gel or damp media, never an open bowl)
Mini troubleshooting list
- Condensation on walls = too humid, add ventilation and reduce wet foods
- Slow growth = often too cool, especially at night
- Frequent cannibalism = crowding, low protein, or not enough hiding space
Feeding and watering

A small thermometer-hygrometer helps keep cricket bins warm and dry enough without guessing from room temperature alone.
- Makes temperature and humidity visible at a glance
- Useful before adding heat or changing ventilation
- Small enough to move between bins
- Basic display without logging or alerts
- Readings can vary slightly between units
A cricket colony is like a small livestock system. You are not just “keeping bugs alive” – you are managing nutrition, hydration, and sanitation in a tight space. The good news is that the diet can be simple and inexpensive.
The best base diet (what to use daily)
For most home setups, a reliable base is:
- Non-medicated chicken grower feed (crushed or ground)
- Or a commercial cricket diet or gut-load feed (especially for reptiles)
This matches common recommendations in practical rearing guides such as the Hobby Farms cricket-raising tutorial and long-running keeper references like the Anapsid cricket care guide.
Produce as a supplement (not the whole diet)
Offer small amounts of:
- Carrot, sweet potato, apple slices
- Leafy greens (in moderation)
- Squash or other firm vegetables
Feeding rhythm (visual schedule)
- Keep dry feed available at all times in a shallow dish.
- Add produce 1 time daily or every other day.
- Remove leftovers before they mold (usually within 24-48 hours).
Water: the fastest way to lose a colony
Crickets dehydrate quickly, but they also drown easily. Avoid open water dishes.
Safe watering options
- Water gel crystals in a shallow lid
- Damp cotton balls or folded paper towel in a dish (rewet daily)
- Moisture from produce as a supplement, not the only source
Actionable takeaway: If your crickets are dying “randomly,” check water first. A dried-out gel dish or forgotten damp towel can wipe out a bin faster than most diseases.
If you’re raising crickets as feeders, remember that what they eat becomes what your pet eats. For household health topics involving bites and irritation, keep separate routines and storage areas. If mosquitoes are part of your seasonal headache, Best Mosquito Bite Relief Products can help you build a simple first-aid kit without mixing it into your insect-care supplies.
Breeding and incubation
Breeding is where a home colony becomes self-sustaining. The trick is not getting them to lay eggs – it is protecting eggs and hatchlings from adults, which will happily eat them if given the chance.
How to tell males from females (quick ID)
- Males: chirp; no long “tail spike”
- Females: have a long, straight ovipositor between two shorter cerci
Egg-laying tub setup (step-by-step)
- Fill a small plastic container with coco coir, peat, or clean topsoil (no fertilizers, no pesticides).
- Moisten to “wrung-out sponge” level – damp, not dripping.
- Cover the top with mesh or hardware cloth so adults can insert the ovipositor but cannot dig and eat eggs.
- Place the tub in the breeder bin for 3-7 days.
Visual checklist: egg tub moisture test
- Squeeze a handful:
- If water drips: too wet
- If it holds shape and feels cool: about right
- If it falls apart and feels dusty: too dry
Incubation: the separation step that matters
After the laying window:
- Move the egg tub to a nursery bin with similar heat and ventilation.
- Keep the egg substrate moist using a spray bottle.
- Maintain warm incubation temperatures in the mid-80s to around 90°F if possible.
Under warm conditions, house cricket eggs often hatch in 7-14 days, and nymphs can reach adulthood in 6-8 weeks. These ranges align with common keeper observations and husbandry references such as the Anapsid care resource.
Continuous production (rotation plan)
To avoid feast-or-famine cycles, rotate trays:
- Tray A: breeders days 1-4, then nursery
- Tray B: breeders days 5-8, then nursery
- Tray C: breeders days 9-12, then nursery
Label each tray with the date. This one habit makes your output predictable.
Actionable takeaway: If you only change one thing, separate eggs from adults. It is the difference between “some babies” and a steady pipeline.
Raising nymphs and preventing crashes
Newly hatched crickets are tiny, fast, and surprisingly easy to lose through dehydration, drowning, or gaps in lids. The nursery bin should be simpler than the adult bin: warm, clean, and designed around safe water and fine food.
Nursery bin essentials
- Same tote + screened ventilation
- Egg cartons for surface area (smaller pieces work well)
- Dry feed ground finer than for adults
- Extra-safe water source (very shallow, no puddles)
Nymph care (what changes from adults)
- Food particle size: grind or crush feed so nymphs can eat it easily.
- Water safety: use water gel or a barely damp pad in a shallow lid.
- Crowding control: as they grow, split into additional bins.
Common crash causes (and what to do)
1) Damp bin + mold
- What you see: fuzzy growth on food, sour smell, lethargic crickets
- Fix:
- Reduce produce amounts
- Increase ventilation
- Replace damp substrate and clean surfaces
2) Overcrowding
- What you see: missing legs, cannibalism, uneven growth
- Fix:
- Add more egg cartons
- Split into a second tote
- Harvest earlier
3) Disease introduction
House crickets can be vulnerable to viruses like densovirus, which has affected commercial production. Alternatives such as banded crickets (Gryllodes sigillatus) are often considered hardier in larger systems, as discussed in industry and keeper summaries including the University-linked and extension-style overviews referenced by Texas A and M AgriLife Extension.
Quarantine rule (simple but effective)
- Do not dump new store-bought crickets into your established colony.
- Keep new arrivals separate for 1-2 weeks and watch for die-offs.
Cleaning routine (visual schedule)
-
Daily or every other day
- Remove dead crickets
- Remove moldy produce
- Refill water gel and dry feed
-
Every 2-4 weeks (or between batches)
- Move crickets to a temporary container
- Wash tote with hot soapy water
- Disinfect with a mild bleach solution, rinse thoroughly, dry completely
Actionable takeaway: A “dry bin mindset” prevents most problems. Moisture belongs in the egg tub and water station, not everywhere else.
If you’re thinking about insect life cycles in general, the “stages and timing” approach you use here applies to other insects too. For a clear example, see Mosquito Life Cycle: From Eggs to Adults to compare how different insects depend on temperature and moisture in very different ways.

Harvesting and humane handling
Harvesting is where your setup pays off. Whether you’re feeding reptiles, chickens, fish, or raising crickets for personal use, you will get better quality (and less odor) if you harvest cleanly and humanely.
When to harvest (by use)
- Small reptiles and fish: subadults (softer bodies, easier to digest)
- Chickens: subadults or adults (larger, more rewarding prey)
- Bait: adults are durable and active
- Human food: typically adults for better yield
Easy harvest method (low mess)
- Remove food for 12-24 hours (optional, helps “clear” the gut).
- Lift an egg carton stack with crickets clinging to it.
- Tap into a collection tub with a lid.
Humane euthanasia (recommended approach)
A common low-stress method is:
- Cool first in a refrigerator for 15-30 minutes to slow activity
- Freeze for several hours to ensure death
This aligns with commonly recommended handling approaches in edible insect guidance and welfare discussions summarized in resources such as the Texas A and M AgriLife Extension cricket rearing guide.
Food safety notes (especially for human consumption)
Crickets can carry microbes from feed, surfaces, and handling. If you plan to eat them:
- Use clean feed inputs and clean containers
- Cook thoroughly (boil, roast, or bake) to reduce microbial risk
- Be aware of allergy cross-reactivity: people allergic to shellfish may react to insects
For a science-based overview of insect food safety considerations, see guidance summarized through academic channels like the FAO resources on edible insects (broad context, not a home-kitchen rulebook).
Actionable takeaway: Good sanitation upstream (feed, water, dry bin) matters more than any “after-the-fact” cleaning step.
Final verdict
To raise crickets at home without constant die-offs, focus on a repeatable system: warm temps (80-90°F), strong ventilation, safe water, a balanced dry diet, and an egg-laying tub that rotates into a separate nursery bin. Keep the main habitat dry, remove moldy food quickly, and split bins before crowding becomes a problem. Once your tray rotation is running, you can harvest on a schedule instead of guessing.
Next step: set up your first two-bin system, then mark your egg tray dates on masking tape so you can track hatching and growth. For more home pest and insect-life-cycle help, keep these handy: How to Get Rid of Mosquitoes Inside Your House and Mosquito-Borne Diseases: Complete Prevention Guide.