If you want to fill a carpenter bee hole and have it stay filled, the one rule that saves you from doing it twice is to make sure the tunnel is empty before you plug it. Dust the open hole and wait a few days, or do the repair in late fall after the brood has emerged, because sealing a tunnel with live bees inside just sends them chewing a fresh exit a few inches away. Once the gallery is clear, pack it with a cork, a snug wood dowel, or steel wool and wood filler, sand the patch flush, then prime and paint so the wood is sealed and no longer inviting. The patching itself is easy. Timing the plug is the part that actually matters.
Clear the tunnel before you seal it, then plug, sand, and paint. Plugging an active hole only makes the bees chew a new one, so dust and wait, or repair in late fall once the brood has left.
- Do first (free): Confirm the tunnel is empty, either by dusting the hole and waiting a few days or by repairing in late fall after the brood emerges.
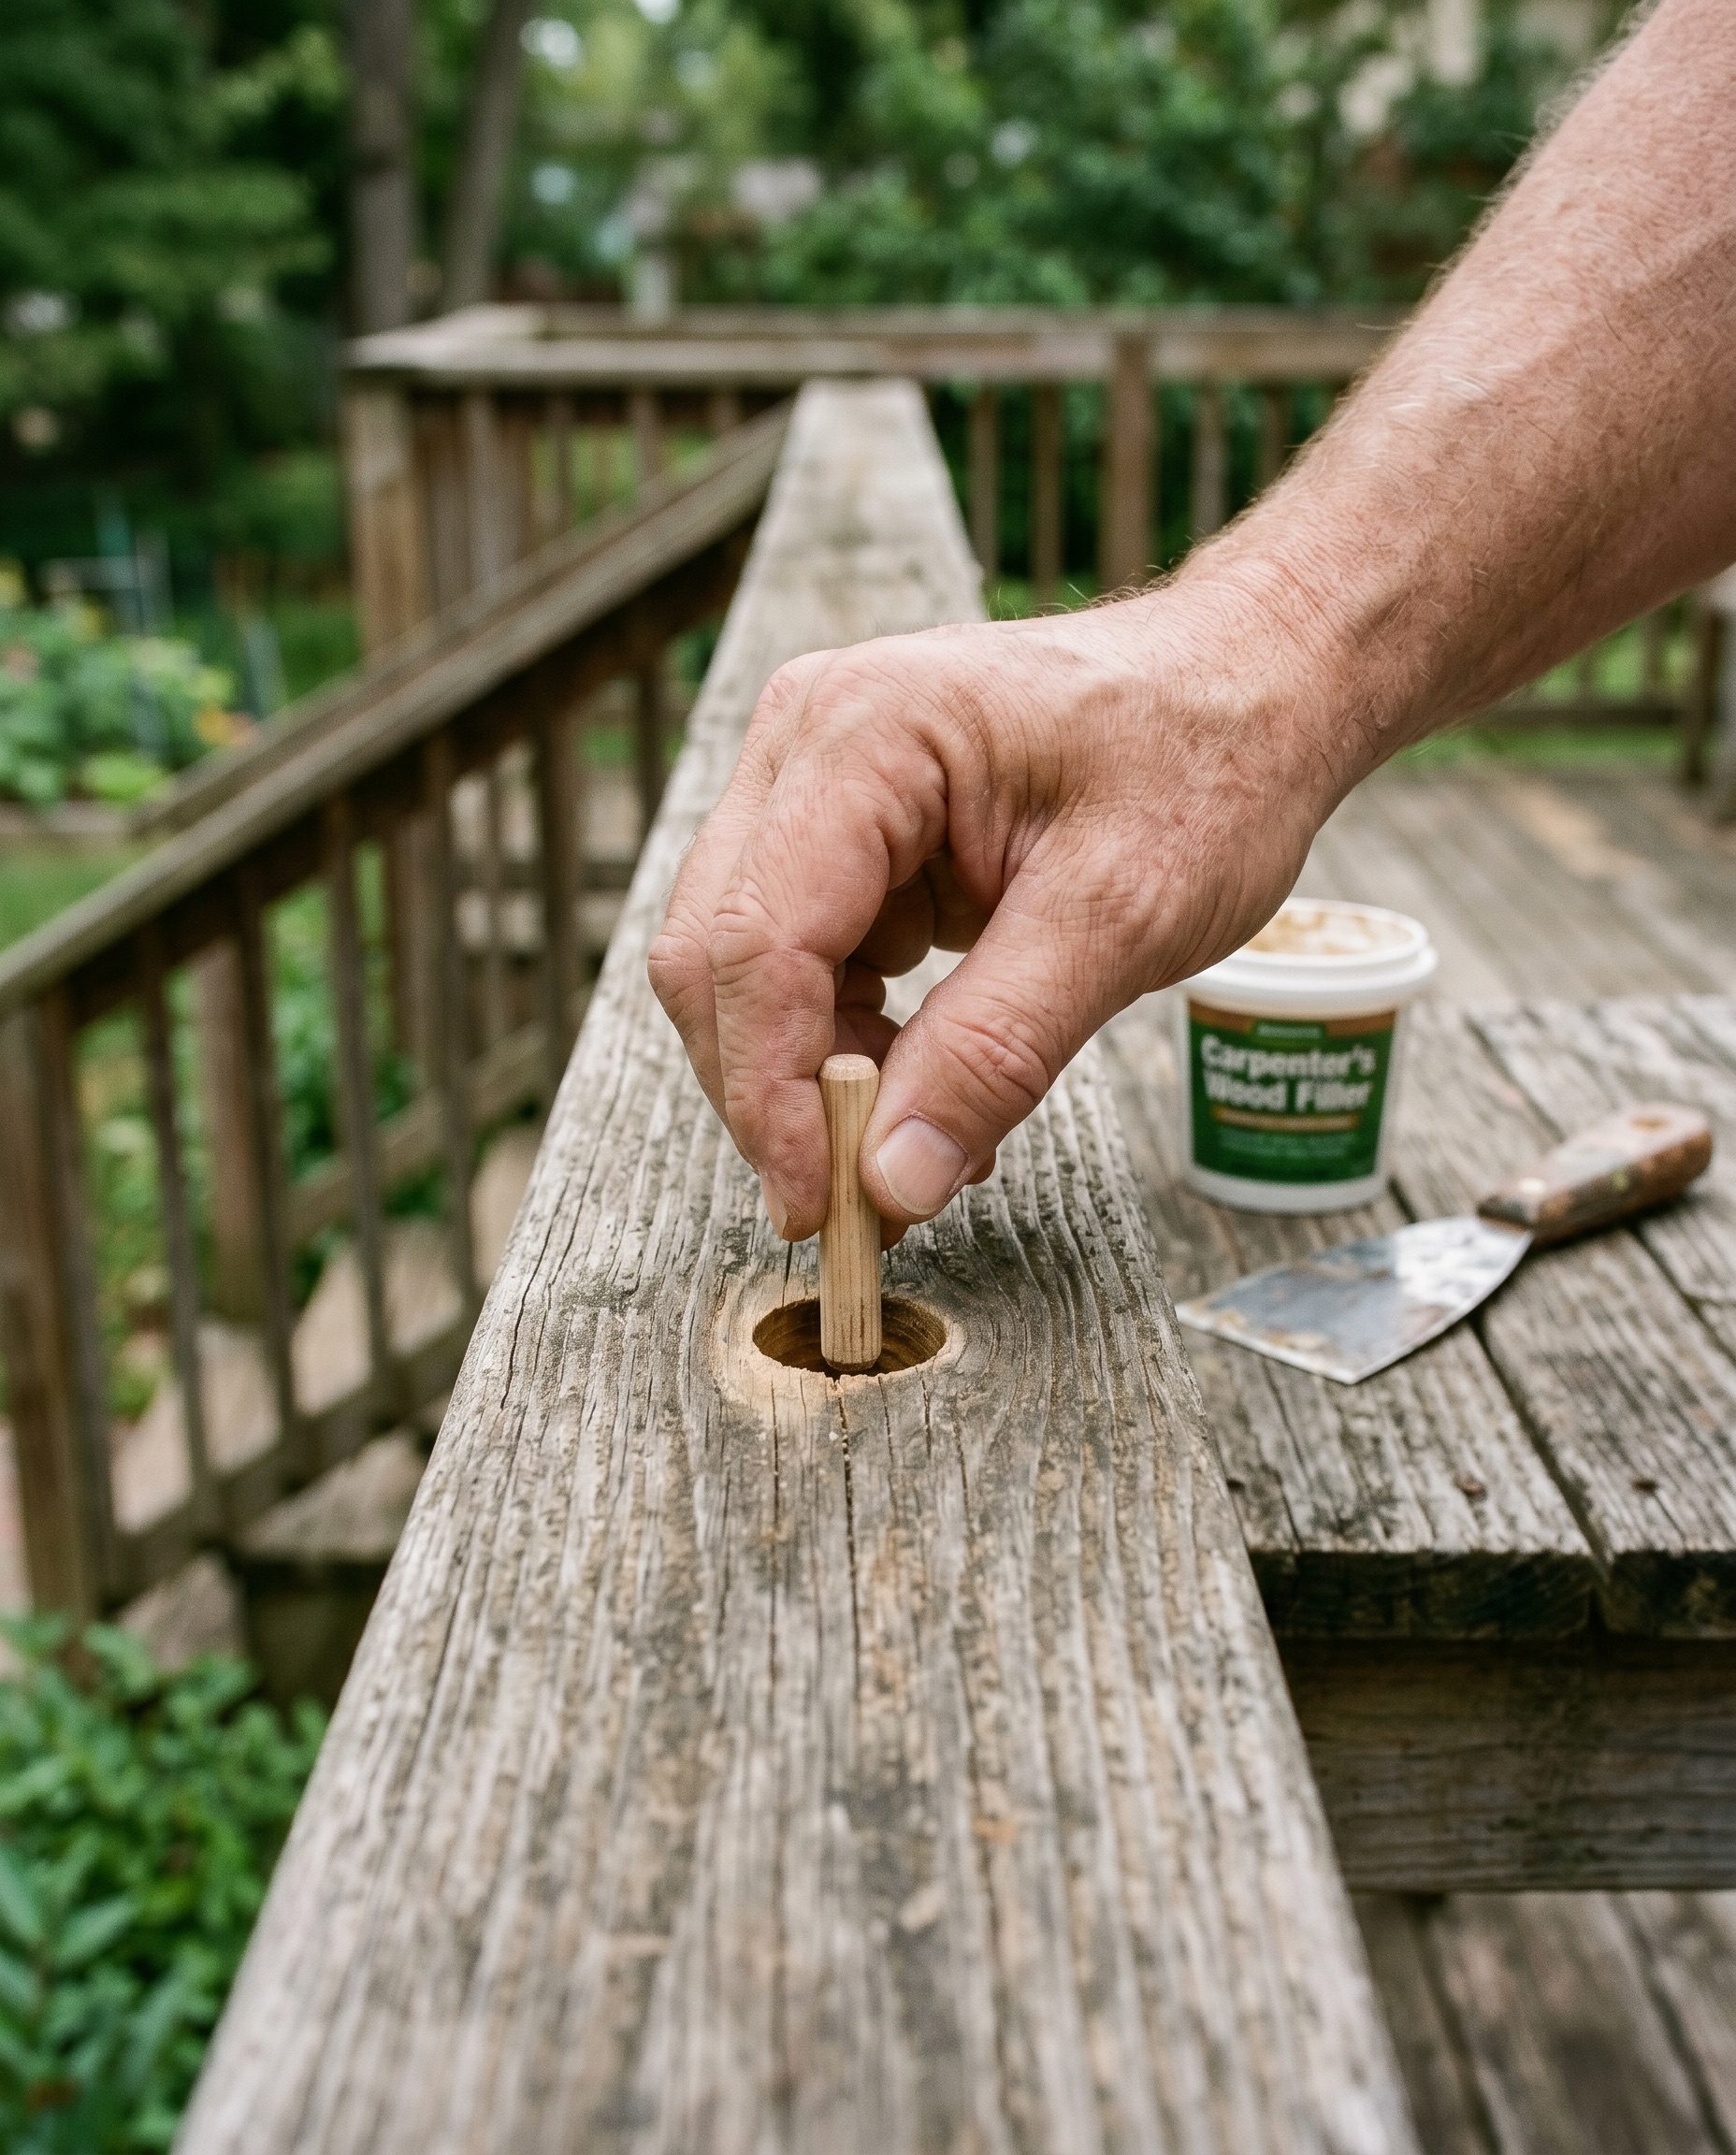
- Best for the common case: Pack the cleared tunnel with a dowel, cork, or steel wool and wood filler, sand it flush, then prime and paint the whole board.
- Skip: Caulking a fresh active hole on impulse; trapped bees just bore a new exit nearby and you patch twice.
Why timing beats the patch
The patching is the easy part. You can fill a hole with a dowel and wood filler in five minutes, and that is exactly why people get it wrong, because they do the quick part and skip the part that matters. A carpenter bee hole is not a dead crack in the wood. It is the entrance to a tunnel, a gallery that can run several inches into the board, and there may be a female, eggs, or developing larvae back in there right now.
Seal a live tunnel and the bees do not just give up. A trapped adult or a maturing brood will simply chew straight back out through the soft spring wood, usually within a few inches of your fresh patch, so you have spent your morning making one new hole and getting a second one for free. Carpenter bees do not eat the wood, by the way. They excavate it to nest, which is why carpenter bees are native pollinators, not a sign of a dirty home, and it is also why the fix is about emptying a tunnel rather than killing a colony.
Clear the tunnel before you plug it
There are two honest ways to be sure a gallery is empty, and you pick based on the calendar. The patient route works any time bees are active: puff an insecticidal dust labeled for carpenter bees into the open hole, then leave it open for a few days. The returning female walks through the dust and carries it back to the brood, which is the whole logic behind why you dust the gallery and then plug the hole rather than sealing first. Read and follow the product label, because under federal law the label is the law and that is the core of least-toxic, label-driven control that protects pollinators. Keep dust off open blooms and out of reach of children and pets, and avoid treating where it can drift onto flowering plants the bees and other pollinators are working.
The simpler route is to wait for late fall. Once the new generation has emerged and the weather turns, the galleries are typically empty, and you can plug them with no dust at all. Either way, before you commit, put your ear or a flashlight to the hole and look for fresh sawdust below it. Fresh, pale frass on the deck means the tunnel is still active and you are not ready to seal. If you want the full treatment-then-seal walkthrough, our guide on how to get rid of carpenter bees covers the dusting step in detail.

Plug, fill, sand, and paint
Once you are confident the gallery is clear, the repair is straightforward and it stacks in order. Start by packing the tunnel itself so a filler has something to bite against. For a clean entrance, tap in a snug hardwood dowel cut to length with a dab of exterior wood glue, or push a cork into the opening. For ragged or oversized holes, steel wool wedged into the tunnel makes a tough backer that bees will not chew through, and it gives the wood filler a base instead of letting it drop into the void.
Next, cover the plug with a quality exterior wood filler or epoxy, slightly proud of the surface so you have material to sand. Let it cure fully, then sand it flush so the patch disappears into the board. Skip the urge to just smear caulk across an open hole. Caulk flexes, shrinks, and reads as a soft target, and it does nothing for the bare wood around it.
The last step is the one that protects your work for years, and it is the same step that prevents the next hole. Prime the patch and then paint or seal the entire board, not just the repair. Carpenter bees strongly prefer bare, weathered, unfinished softwood and tend to leave finished surfaces alone, which is the reasoning behind treating prevention as a finish job in our how to prevent carpenter bees guide.
The right plug for each hole
The fix changes a little with the hole and the spot it is in. Here is the quick map for the common situations on a deck or eave.
| Situation | Best plug | Watch out for |
|---|---|---|
| Clean round hole in solid wood | Snug hardwood dowel plus wood filler | Confirm the tunnel is empty first |
| Ragged or oversized hole | Steel wool backer plus epoxy filler | Pack it tight so filler does not drop in |
| High eave or fascia hole | Cork or dowel, then prime and paint | Use safe ladder footing, not a stretch |
| Many holes in one weathered board | Plug all, then replace or fully repaint | Heavy damage may need a new board |
That last row is the honest limit. A rail or fascia riddled with old galleries has lost structural integrity, and patching twenty holes in punky wood is a losing game. Carpenter bee damage is cumulative precisely because carpenter bees reuse and enlarge old galleries year after year, and woodpeckers worsen it by tearing the wood open to reach the larvae. When a board is that far gone, swap it for new lumber, prime and paint it before you install it, and you stop the cycle instead of chasing it.

Common questions
Can I just caulk a carpenter bee hole?
You can, but it is the weakest fix and it often fails. Caulk alone gives the filler nothing solid to grip, it shrinks over a season, and it does not address the bare wood that drew the bee in the first place. Plug the tunnel with a dowel or steel wool, cover it with wood filler, then prime and paint. The paint is what keeps the next bee from boring in beside your patch.
Will plugging the hole kill the bees inside?
Not reliably, and that is the problem. If you seal a tunnel with a living adult or developing brood inside, they will usually chew out through the soft surrounding wood and make a fresh hole nearby. That is why you clear the gallery first, by dusting and waiting or by repairing in late fall, before you ever plug it.
When is the best time of year to seal the holes?
Late fall is the easiest window, after the new generation has emerged and activity has stopped, because the galleries are typically empty and you can plug them with no treatment. If you are sealing during the active season, dust the hole first and give it a few days so returning bees carry the dust back before you close things up.
Are carpenter bees dangerous to be around while I work?
They are about as docile as bees get. The big bees hovering aggressively at your head are the males guarding territory, and the males cannot sting at all because they have no stinger. The males cannot sting at all and females rarely do, and the females stay back in the wood. You can do the repair calmly without spraying the air around you.
Do I have to kill the bees, or can I just seal the wood?
If the holes are in a snag, fence post, or outbuilding well away from anything structural, the kindest move is to leave them be and protect what matters by finishing the wood that you do care about. These are valuable native pollinators. Reserve treatment for galleries that are causing real structural damage, and prevent the rest by keeping bare wood painted or sealed.
Final verdict
Repairing a carpenter bee hole comes down to one discipline: empty the tunnel before you seal it. Dust the active hole and wait a few days, or do the whole job in late fall once the brood is gone, so you are not trapping bees that will simply chew a new exit. Once the gallery is clear, plug it with a dowel, cork, or steel wool, cover it with exterior wood filler or epoxy, sand it flush, then prime and paint the entire board so the wood is sealed and no longer appealing. Skip the impulse caulk on a fresh hole. And remember these are native pollinators, so treat only the wood that is causing real damage and let the bees nesting out in a post or a snag stay where they are.
Next steps:
– Treat an active gallery before you patch it with our how to get rid of carpenter bees walkthrough.
– Keep new holes from starting with the finish-and-seal routine in how to prevent carpenter bees.
– Compare the fillers, sealants, and deterrents that hold up outdoors in our best carpenter bee deterrents and sealants roundup.
Reviewed by Daniel Brooks, licensed pest control professional, focused on safe and effective control.