n
n
A termite inspection is a room-by-room and perimeter check designed to find active termites, past damage, and the conditions that let colonies thrive. Most homeowners won’t see termites directly because they feed inside wood or travel underground, so the inspection focuses on telltale signs like mud tubes, frass, moisture, and hidden entry points. This guide explains what an inspector actually does, how long it takes, what you should move or clear beforehand, and how to use the results to plan smart termite control without guesswork.
n
What to do first: A termite inspection is mainly a moisture, access, and evidence check. Before the inspector arrives, clear access to walls, crawl spaces, the attic, garage, and any area where you have seen damage or swarmers.
n
- n
- Move stored items away from foundation walls and utility areas.
- Write down where you saw wings, mud tubes, frass, or soft wood.
- Do not spray or disturb suspected evidence before the inspection.
n
n
n
n
n
 n
nn
Quick answer
n
A professional termite inspection typically includes an exterior perimeter walk, interior checks of vulnerable wood and plumbing areas, and (when accessible) attic and crawl space evaluation. Expect 30 minutes to 2 hours depending on home size and access.
n
What to do before your termite inspection (fast checklist):
n
- n
- Clear access to attic hatch and crawl space door
- Empty under-sink cabinets in kitchens and bathrooms
- Pull stored items 6-12 inches away from garage and exterior walls
- Trim shrubs so the inspector can see the foundation and slab edge
- Gather past termite treatment records, warranties, and photos of any signs
n
n
n
n
n
n
What you’ll get afterward:
n
- n
- A written report listing inspected areas, any active termites, damage, conducive conditions, and recommended next steps (monitoring, repair, or treatment).
n
n
nn
Why inspections matter
n
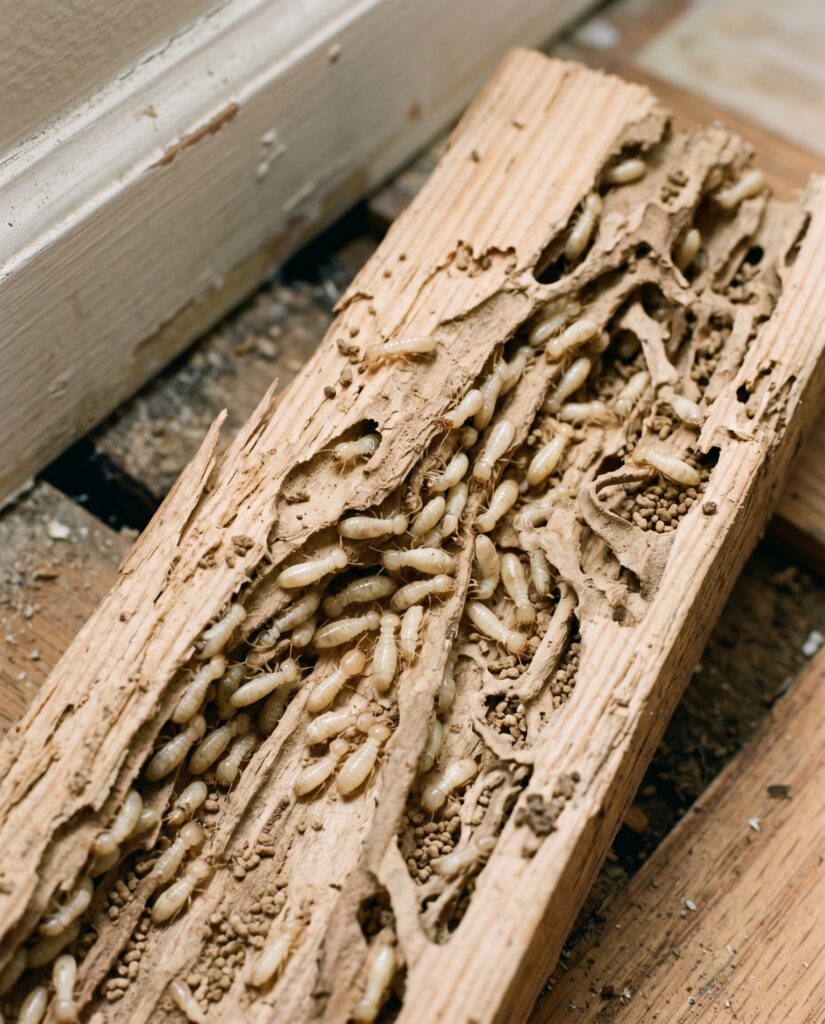
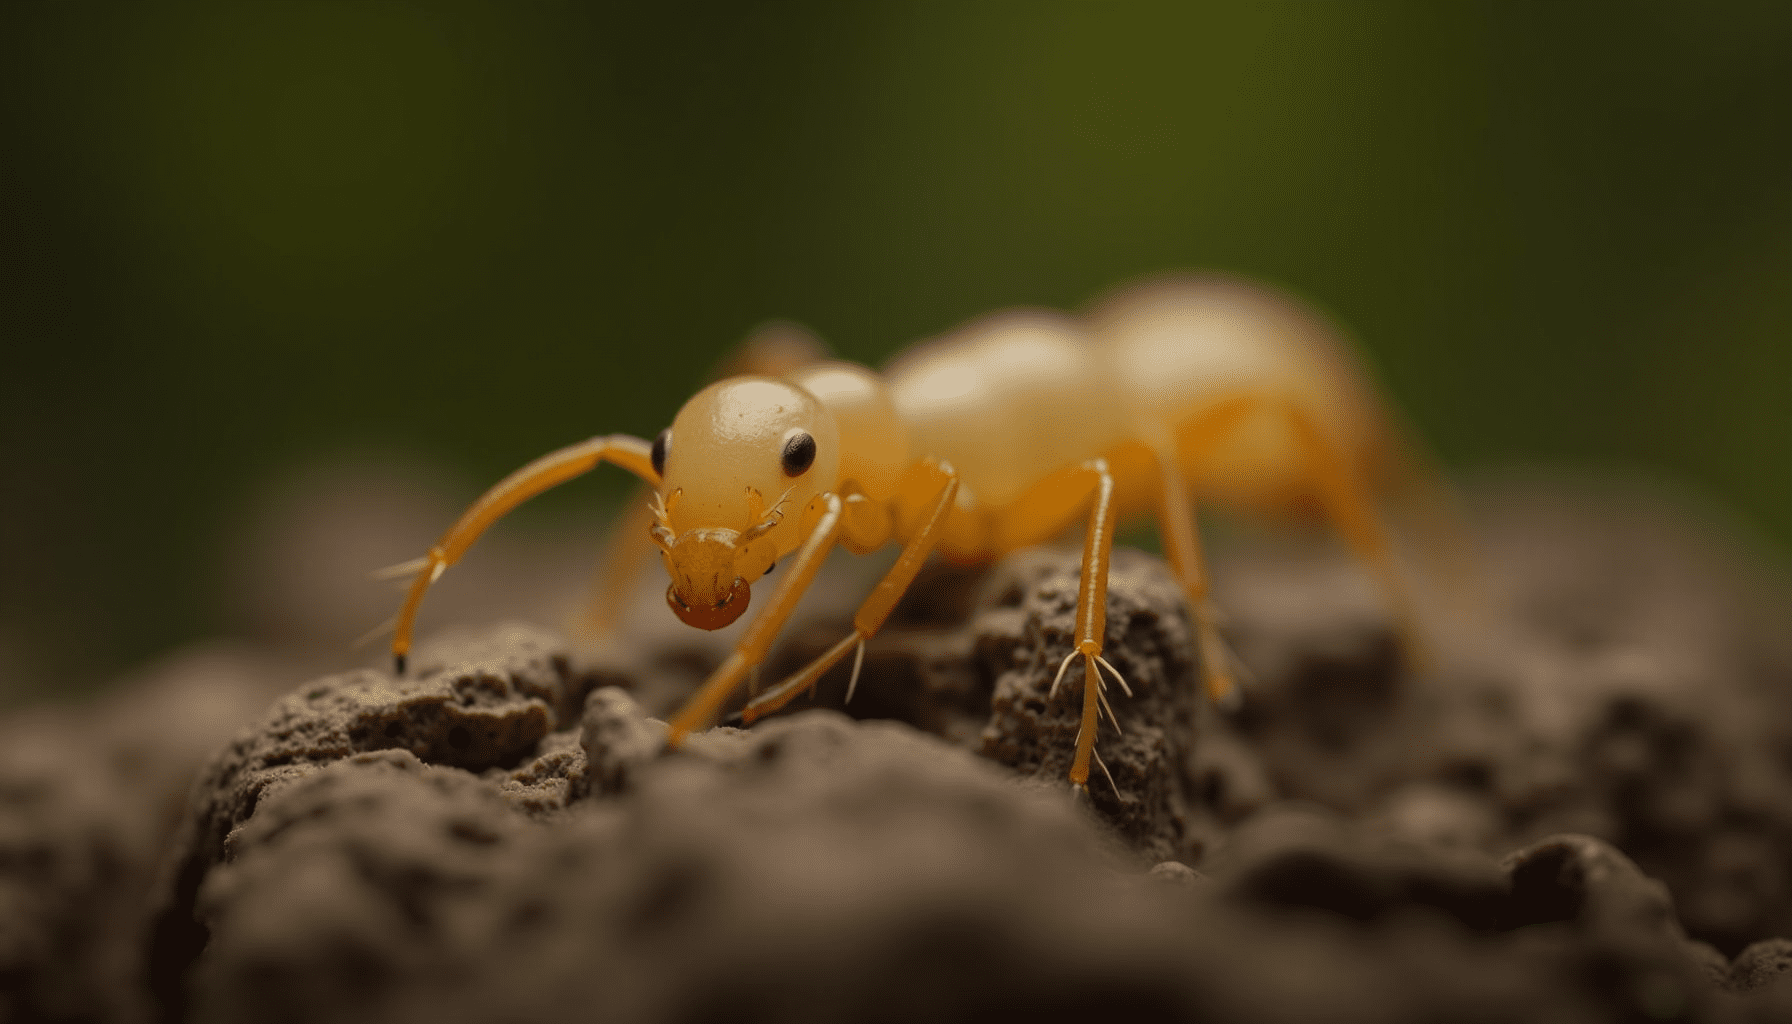
Termites don’t behave like most household pests. They are social insects that can operate like a “hidden workforce,” feeding inside wood while staying out of sight. That’s why many infestations go unnoticed until flooring feels soft, paint blisters, or trim starts to warp.
n
The stakes are real. In the U.S., termites cause over $5 billion in property damage each year, and the costs are often not covered by homeowners insurance because termite damage is usually treated as preventable maintenance. That figure is widely cited in public guidance summarized by the U.S. Environmental Protection Agency and supported by industry reporting from the National Pest Management Association.
n
From an entomology perspective, the “why” is simple: termites can remove a surprising amount of structural wood before the surface looks obviously damaged. Research syntheses such as the Annual Review of Entomology overview on termite biology and management describe how colonies can range from thousands to millions depending on species and colony age. Subterranean termites, in particular, can forage widely from a soil nest, which means the visible sign you notice might be far from the main colony.
n
The practical takeaway: even if you see nothing, an inspection can catch early evidence and the conditions that make future infestations likely.
n
Common “high-risk” situations where annual inspections are especially wise:
n
- n
- Homes in warm, humid regions or documented termite hazard zones
- Crawl spaces with damp soil or poor ventilation
- Mulch, soil, or flowerbeds piled high against the foundation
- Wood touching soil (steps, posts, siding, lattice, deck framing)
- Any prior termite history or an old, expired treatment warranty
n
n
n
n
n
n
Visual: hidden vs visible clues
n
- n
- Often hidden: galleries inside framing, activity behind baseboards, entry through slab cracks
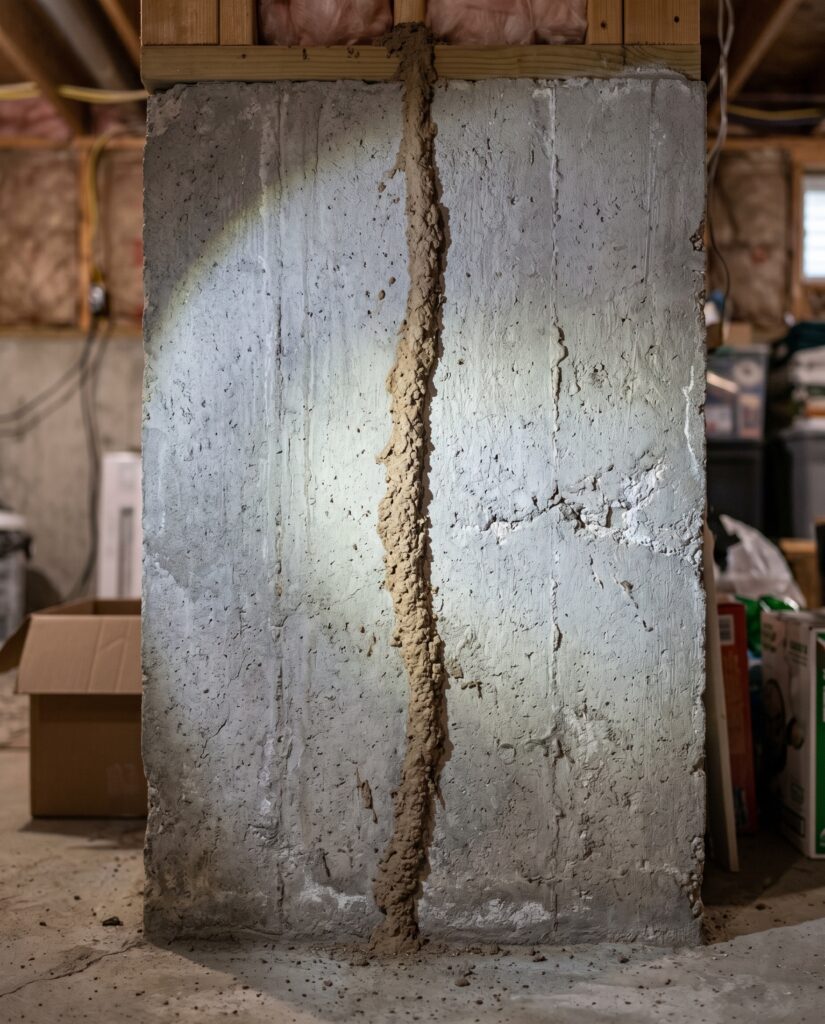
- Often visible: mud tubes on foundation, frass piles, discarded wings near windows, moisture-damaged wood
n
n
n
If you’re unsure whether what you saw is termites or flying ants, use this comparison guide: Flying Ants vs Termites: How to Tell Them Apart.
The detail on the waist, wings and antennae checks sits in bugs that look like ants.
n
Termite inspection basics
nn
n
 n
n
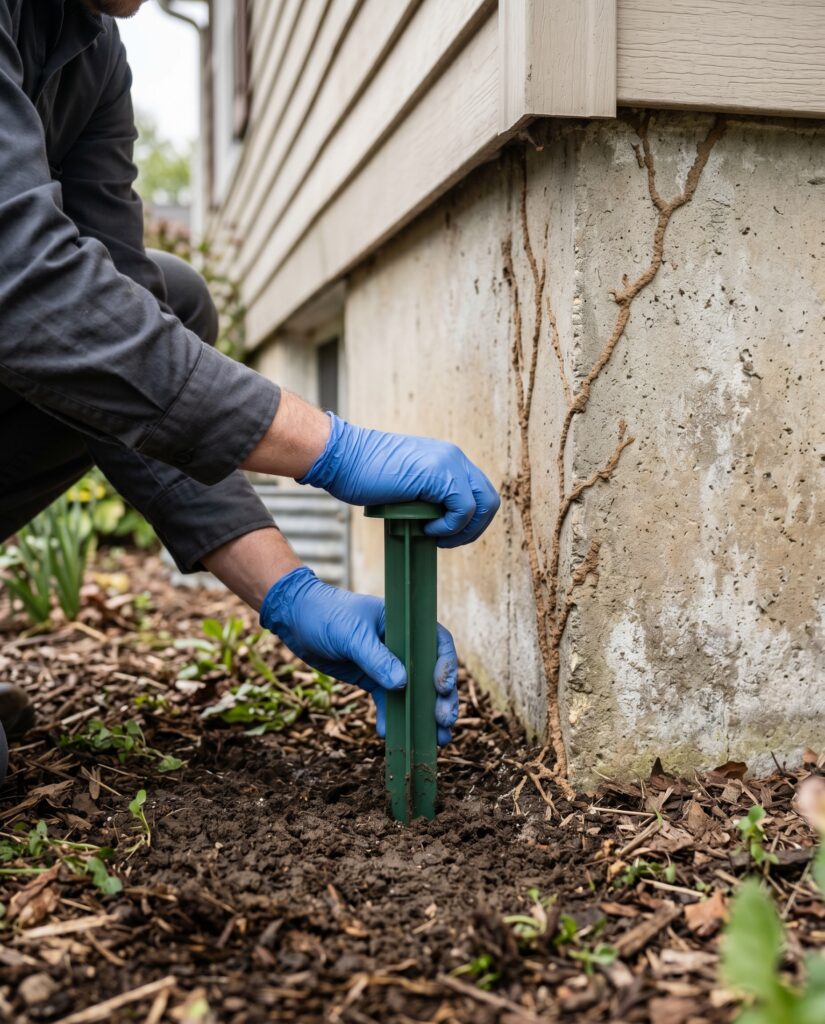
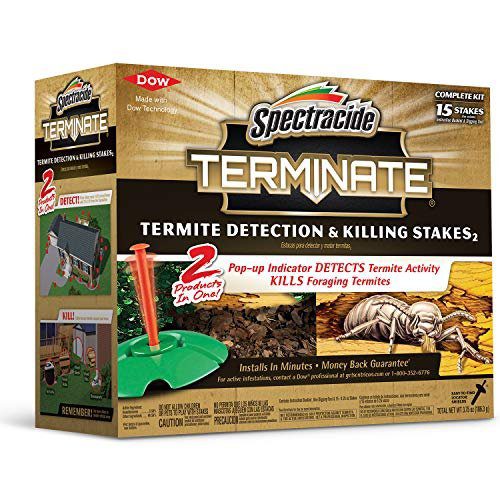
Termite detection stakes can help homeowners monitor for activity, but they do not replace a professional inspection when damage or swarmers are present.
- Useful as a monitoring tool around the home perimeter.
- Can help flag possible foraging activity.
- Relevant before or after a professional inspection plan.
- Not a full inspection or treatment plan.
- Can miss termites that are active away from the stakes.
n
n
nnn
A termite inspection is not the same thing as a general home inspection. Home inspectors may note suspicious wood damage, but they typically do not provide a dedicated wood-destroying insect evaluation or the same level of pest-specific documentation. In many real-estate transactions, a separate wood-destroying insect report is requested or required, completed by a licensed pest professional.
n
What the inspector is looking for
n
Most inspections focus on three termite groups that affect North American homes:
n
- n
- Subterranean termites (family Rhinotermitidae)
Soil-associated termites that often build mud tubes to keep moisture while traveling to wood. - Drywood termites (family Kalotermitidae)
Live entirely inside wood and often leave pellet-like droppings (frass). - Dampwood termites (family Termopsidae)
Prefer very moist, decaying wood and are less common in typical dry structural lumber.
n
n
n
n
The inspector is also watching for other wood-destroying organisms, such as carpenter ants, wood-boring beetles, and wood-decay fungi, because these problems can look similar and sometimes overlap.
n
Common signs that trigger a closer look
n
Subterranean termite indicators
n
- n
- Mud tubes on foundations, piers, or inside crawl spaces
- Wood that sounds hollow when tapped or feels thin when probed
- Swarmers (winged termites) or piles of shed wings near windows and lights
n
n
n
n
Drywood termite indicators
n
- n
- Small “kick-out” holes in wood
- Piles of frass that resemble sand or tiny pellets beneath trim or beams
- Localized damage in attic framing, fascia boards, or older furniture
n
n
n
n
Visual: “what it might mean” cards
n
- n
- Mud tube on foundation
Best next step: don’t scrape everything off. Photograph it and let the inspector confirm activity. - Discarded wings indoors
Best next step: note where you found them and the date. Swarms are seasonal and informative. - Frass pile under a beam
Best next step: avoid vacuuming until it’s documented, then bag and discard after inspection.
n
n
n
n
For a bigger-picture view of what gets checked in a full property evaluation, see our Termite Inspection: What to Expect.
n
What happens during a termite inspection
nn
Most homeowners expect a quick glance at baseboards. A real termite inspection is more like a methodical “map-making” process. The inspector is tracing moisture, wood contact, and entry routes that termites use to move through a structure.
n
Below is the typical flow, based on common industry practice and inspector training approaches, including guidance similar to what’s described by Petri’s Pest Control termite inspection overview and home inspection education resources like the ICA School termite damage training article.
n
1) Pre-visit questions
n
You may be asked:
n
- n
- Have you seen mud tubes, frass, or swarmers?
- Slab, crawl space, or basement construction?
- Any previous treatments, warranties, or known damage?
n
n
n
n
Actionable tip: share photos of anything suspicious. A single clear photo can save time and help the inspector target the right areas first.
n
2) Exterior perimeter inspection
n
The inspector usually walks the entire foundation line and checks:
n
- n
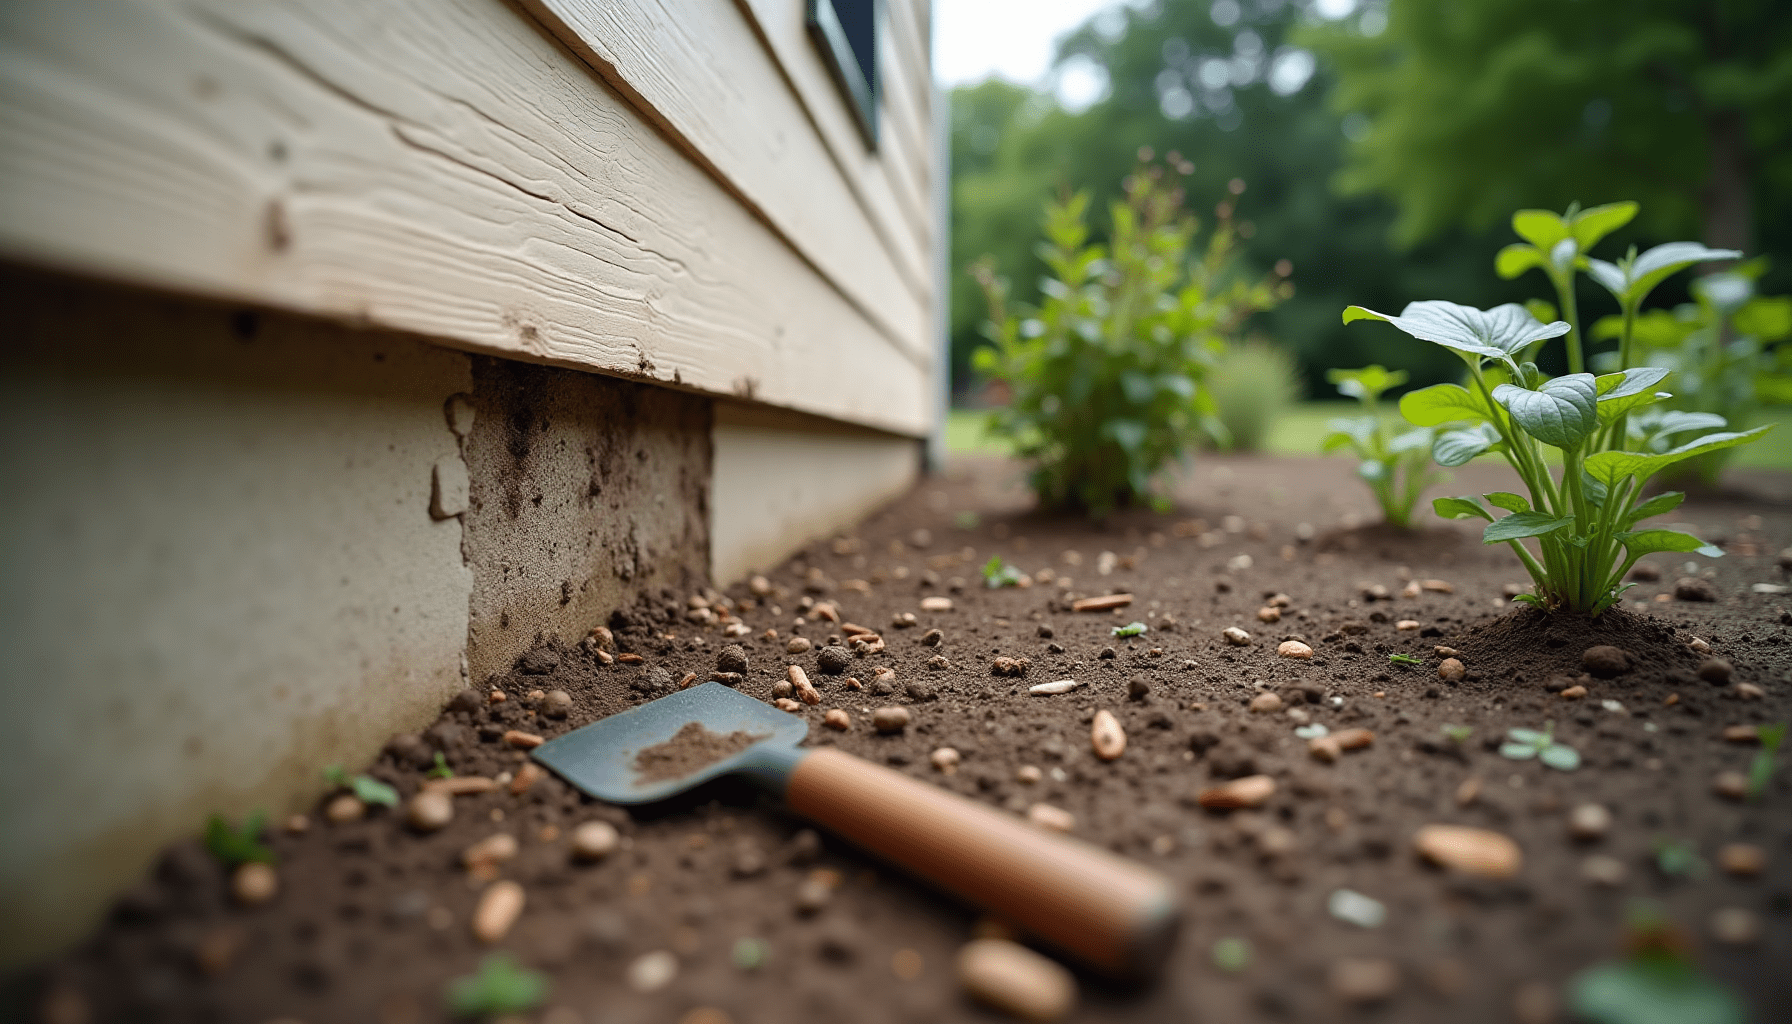
- Slab edges, expansion joints, and cracks
- Plumbing and utility penetrations
- Siding-to-foundation transitions (brick-to-siding is a common “bridge” area)
- Porch and deck attachments, steps, and posts
n
n
n
n
n
They’re also evaluating “conducive conditions,” such as:
n
- n
- Dense mulch against the foundation
- Flowerbeds piled above slab line or covering weep holes
- Wood-to-soil contact (fence pickets, lattice, landscape timbers)
- Firewood stacked against the house
n
n
n
n
n
Visual: exterior hot spots (quick list)
n
- n
- Deck ledger board where it meets the home
- Door thresholds and garage slab edges
- Hose bibs, AC line penetrations, and pipe entries
- Shaded, damp foundation corners with heavy vegetation
n
n
n
n
n
3) Interior inspection (targeted, not random)
n
Inside, inspectors commonly check:
n
- n
- Baseboards and trim along exterior walls
- Window sills and door frames
- Closets on exterior walls (often overlooked and sometimes humid)
- Under sinks, behind toilets, laundry hookups, and water heater areas
n
n
n
n
n
They may use:
n
- n
- Flashlight and mirror
- Probing tools to test suspicious wood
- Moisture meter to identify damp zones that attract subterranean termites
n
n
n
n
4) Attic and crawl space (when accessible)
n
Attic checks often focus on:
n
- n
- Exposed rafters, trusses, and roof sheathing
- Signs of drywood termite pellets or galleries
- Old wings near vents or light-adjacent areas
n
n
n
n
Crawl space checks often focus on:
n
- n
- Sill plates, joists, beams, and subfloor
- Mud tubes on piers and foundation walls
- Plumbing leaks, standing water, and damp soil
n
n
n
n
Visual: tools you might see
n
- n
- Moisture meter (reads moisture levels in wood/drywall)
- Probe or awl (tests for hollow or soft wood)
- Flashlight and inspection mirror (checks tight corners and behind pipes)
n
n
n
n
 n
nnn
5) Reporting and next steps
n
A good report typically includes:
n
- n
- Areas inspected and any access limitations (locked rooms, clutter, sealed crawl space)
- Evidence of active termites vs old damage
- Conducive conditions that raise risk
- Photos and clear recommendations (repair, monitoring, or treatment options)
n
n
n
n
n
If you’re in a real-estate situation, note that some states use specific wood-destroying insect forms and protocols. Ask in advance what documentation you’ll receive and what the buyer or lender expects.
n
How to prepare
nn
Preparing well does two things: it saves time and it reduces “can’t inspect” notes on the report. Access limitations matter because termites often show up in the exact places homeowners store boxes, bins, and seasonal items.
n
Interior prep checklist (15-30 minutes that pays off)
n
Focus on access, not deep cleaning.
n
- n
- Under sinks: remove cleaners, bins, and stored items so the inspector can see plumbing penetrations and cabinet corners.
- Garage perimeter: pull boxes and stored items 6-12 inches away from walls so slab edges and expansion joints are visible.
- Closets on exterior walls: move stacked items away from corners and baseboards.
- Attic access: clear the hatch area and ensure a safe path to visible framing (no need to reorganize the entire attic).
- Crawl space entry: clear the hatch and remove anything blocking entry.
n
n
n
n
n
n
Visual: “move these first” priority list
n
- n
- Under-sink cabinets (kitchen, baths, laundry)
- Garage wall storage along exterior walls
- Closet floor piles against exterior walls
- Attic hatch area
- Crawl space door and the first few feet inside
n
n
n
n
n
n
Exterior prep checklist (the foundation line is the inspection line)
n
- n
- Trim shrubs and plants away from the foundation so tubes and cracks aren’t hidden.
- Move firewood, lumber, and cardboard away from the house. A common guideline is at least 6 feet away and elevated on a rack.
- Rake mulch back so it’s not piled against siding or covering foundation features. Many inspectors prefer a 6-12 inch mulch-free strip next to the foundation when possible.
- Check downspouts and drainage so water is directed away from the foundation.
n
n
n
n
n
Actionable tip: don’t power-wash or scrape suspicious mud tubes right before the visit. If you remove the evidence, the inspector loses information. Photograph it instead.
n
Records to gather (makes recommendations more accurate)
n
Have these ready:
n
- n
- Past termite inspection reports
- Treatment records (soil barrier, bait system, localized treatment)
- Warranty details and renewal dates
- Notes on when and where you saw wings, swarms, frass, or damage
n
n
n
n
n
Pets, alarms, and access
n
- n
- Secure pets so doors and gates can be opened safely.
- Provide access to locked utility rooms, sheds, or detached garages if they’re part of the inspection scope.
- Let the company know if you have an alarm system or special access instructions.
n
n
n
n
Visual: “what not to expect”
n
- n
- Most standard inspections are non-destructive. Inspectors may probe wood and open access panels, but they usually will not cut drywall or remove flooring. If invasive investigation is needed, they’ll recommend it separately.
n
n
Results and next steps
n
Once you have the report, the best next step depends on what was found: active termites, old damage, or simply conditions that raise risk.
n
If active termites are found
n
Active infestation typically means you’ll discuss treatment options such as:
n
- n
- Liquid soil treatments (termiticides) for subterranean termites (creates a treated zone in soil)
- Bait systems that are monitored and replenished over time
- Localized treatments (common for limited drywood activity)
- Whole-structure fumigation (sometimes used for widespread drywood infestations, depending on region and severity)
n
n
n
n
n
Over-the-counter sprays can kill termites you can reach, but they often fail to affect the colony or the hidden galleries. The EPA safe pest control guidance is a good reference for choosing qualified help and understanding pesticide safety basics.
n
When to strongly consider professional treatment quickly:
n
- n
- Swarmers emerging indoors
- Multiple active mud tubes on foundation or interior surfaces
- Widespread frass in more than one room or level
- Structural wood that probes easily or sounds hollow in several areas
n
n
n
n
n
For a deeper walkthrough of treatment types and what they’re best for, read How to Get Rid of Termites: Complete Guide.
n
If only old damage is found
n
Old damage doesn’t always mean the problem is gone. The key questions are:
n
- n
- Is there any evidence of current activity?
- Are there conducive conditions that could allow re-infestation?
- Does the damage affect structural integrity?
n
n
n
n
Actionable next steps:
n
- n
- Repair damaged wood where needed (especially load-bearing elements)
- Correct moisture problems (leaks, drainage, damp crawl spaces)
- Schedule a follow-up inspection interval appropriate for your region and home history
n
n
n
n
If no termites are found (but risk is high)
n
“No visible evidence” is good news, but it’s not a lifetime guarantee. Termites can be present without obvious signs, especially early on.
n
Prevention steps that reduce risk fast:
n
- n
- Fix leaks promptly and reduce damp areas
- Maintain clearance between soil and wood where possible (often suggested around 6-8 inches)
- Avoid wood-to-soil contact for posts, steps, and siding
- Keep mulch from building up against the foundation
- Maintain monitoring if you use bait stations
n
n
n
n
n
n
For a focused checklist of prevention measures, see Best Wood Treatments for Termite Prevention.
n
Common misconceptions (and what’s true)
n
Myth: “If I don’t see termites, I don’t have them.”
Reality: termites are cryptic. Many feed inside wood or underground, which is why inspections matter.
n
Myth: “My home is brick or concrete, so termites can’t attack it.”
Reality: termites don’t eat masonry, but they can enter through cracks and gaps and feed on interior framing.
n
Myth: “A regular home inspection covers termites.”
Reality: a general inspection may note suspicious damage, but a dedicated wood-destroying insect evaluation is different in scope.
n
Myth: “Termite control is one-and-done.”
Reality: barriers and baits require maintenance and monitoring. Long-term protection is a plan, not a single event.
n
Visual: decision guide
n
- n
- Active evidence found -> choose a treatment strategy and schedule follow-up monitoring
- Old damage only -> verify inactivity, repair, and remove risk factors
- No evidence but risk factors present -> prevention upgrades + routine inspection schedule
n
n
n
n
 n
nnn
Conclusion
n
A termite inspection is a targeted search for hidden activity, damage, and the moisture and access points that let termites succeed. If you clear key areas (attic, crawl space, under sinks, and the foundation line) and share past records, you’ll get a more complete report and clearer recommendations.
n
Next step: if you’re comparing treatment approaches after an inspection, continue with How to Get Rid of Termites: Complete Guide and tighten your defenses using Best Wood Treatments for Termite Prevention.
n
As an Amazon Associate, I earn from qualifying purchases. Product recommendations are based on real reviews and independent research.