If wasps are ruining the patio, a trap helps, but only if you understand what it actually does. A wasp trap thins out the foraging wasps and yellowjackets cruising your yard and shows you exactly what you are dealing with, but it does not touch the nest. The trick is placement: hang it at the far edge of the yard to pull wasps away from where you sit, never right next to the table. The short answer: use traps to monitor and divert foragers, and pair them with nest removal whenever there is an active nest. For our own yard we keep one multi-species trap at the back fence and check it weekly. Most lists rank a trap as the fix for a wasp problem; that is the misread the comparison below sorts out.
A wasp trap thins foraging wasps and shows you what you have, but it does not kill the nest; hang it at the far edge of the yard to pull wasps away from where you sit, and pair it with nest removal when a nest is active.
- Do first (free): Cover food and sweet drinks, lid the trash, and spot the nest before you hang anything.
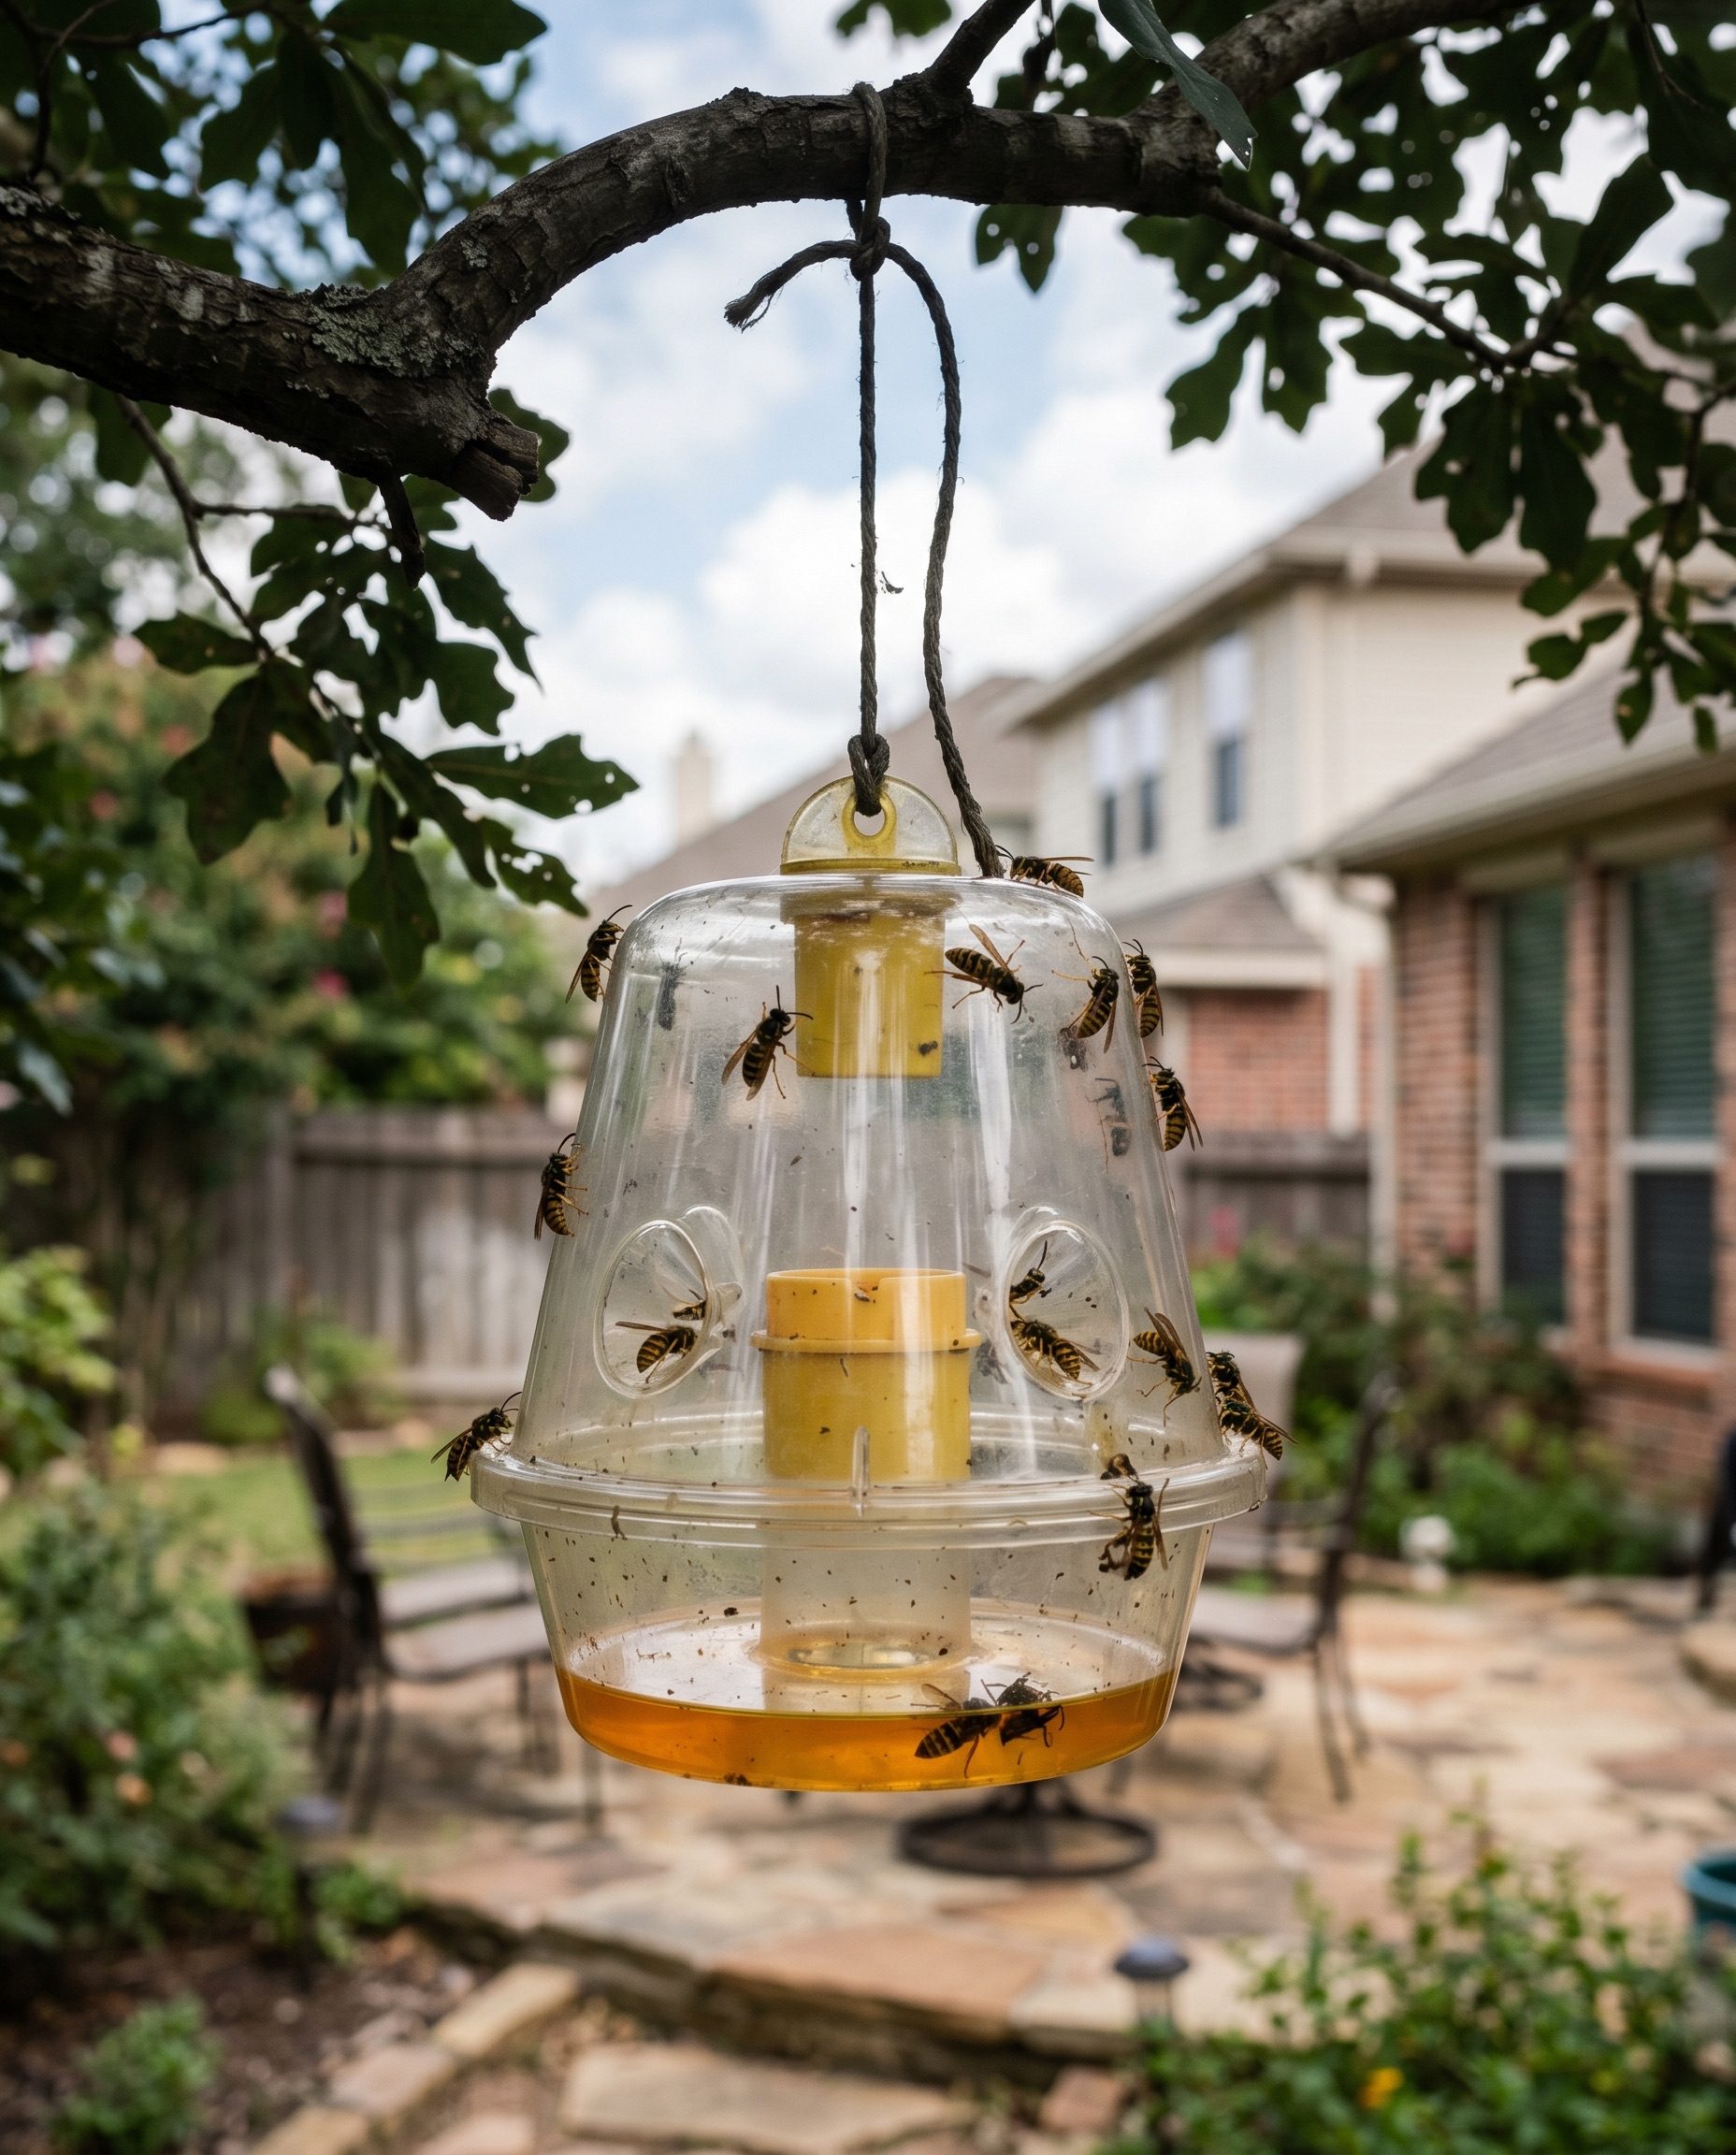
- Best for the common case: A reusable lure trap hung at the yard edge for monitoring and diverting foragers.
- Skip: Treating a trap as nest control, or hanging it right next to the patio where it pulls wasps toward you.
What to do first
Before you hang anything, do the free part, because traps work better when there is less competing for the wasps’ attention. Cover food and sweet drinks at outdoor meals, keep a tight lid on the trash and recycling, and rinse soda cans before they sit out, since late-summer yellowjackets are scavengers drawn straight to protein and sugar. The UC IPM Pest Notes on yellowjackets make the same point: cutting off food sources is the first and cheapest move, and it makes every other tactic more effective.
Then find out whether you have a nest and where it sits, because that decides everything that follows. A trap manages foragers in the open; it does nothing for the colony itself. Paper wasps hang umbrella-shaped combs under eaves and rails, while yellowjackets usually nest in the ground or inside a wall void, and the University of Kentucky guide to social and paper wasps walks through telling them apart by their nests. If you spot an active nest, traps are a supporting tool, not the answer, and our walkthrough on how to get rid of a wasp nest safely covers that job properly.
Why placement makes or breaks a trap
Here is the part most “best trap” lists skip. A trap is an attractant, so where you hang it decides whether it helps you or hurts you. Hang a lure trap right next to the patio and you have invited every wasp in the neighborhood to dinner at your table. The whole point is to place the trap at the far edge of the yard, downwind and well away from the seating area, so it pulls foragers in the opposite direction from where people gather. The UC IPM guidance is explicit that traps reduce foraging wasps in an area but do not eliminate a colony, which is exactly why placement, not the trap brand, is the variable that matters.
The honest call-out: a trap is for monitoring and diversion, not eradication. If you want the wasps gone, the trap is never the thing that finishes it; the nest is. The University of Kentucky’s yellowjacket guidance notes that trapping can thin out workers over a season but rarely solves a serious nest problem on its own, especially once a ground colony is large and defensive. That is also where this stops being a DIY job. A nest in a wall void, a large in-ground yellowjacket colony, or any nest near a doorway where stings are likely is work for a licensed pest-control professional, not a ladder-and-a-can weekend.
Pick the trap by what you have
Once you know whether you are dealing with mixed wasps, yellowjackets specifically, or wood-nesting wasps at the eaves, the choice is short. Decide by two questions: which stinger is the problem, and where do they congregate.
| Trap type | Best for | Watch-out |
|---|---|---|
| Multi-species lure trap | Mixed wasps and yellowjackets when you are not sure which | Refresh the attractant; keep it at the yard edge, not the patio |
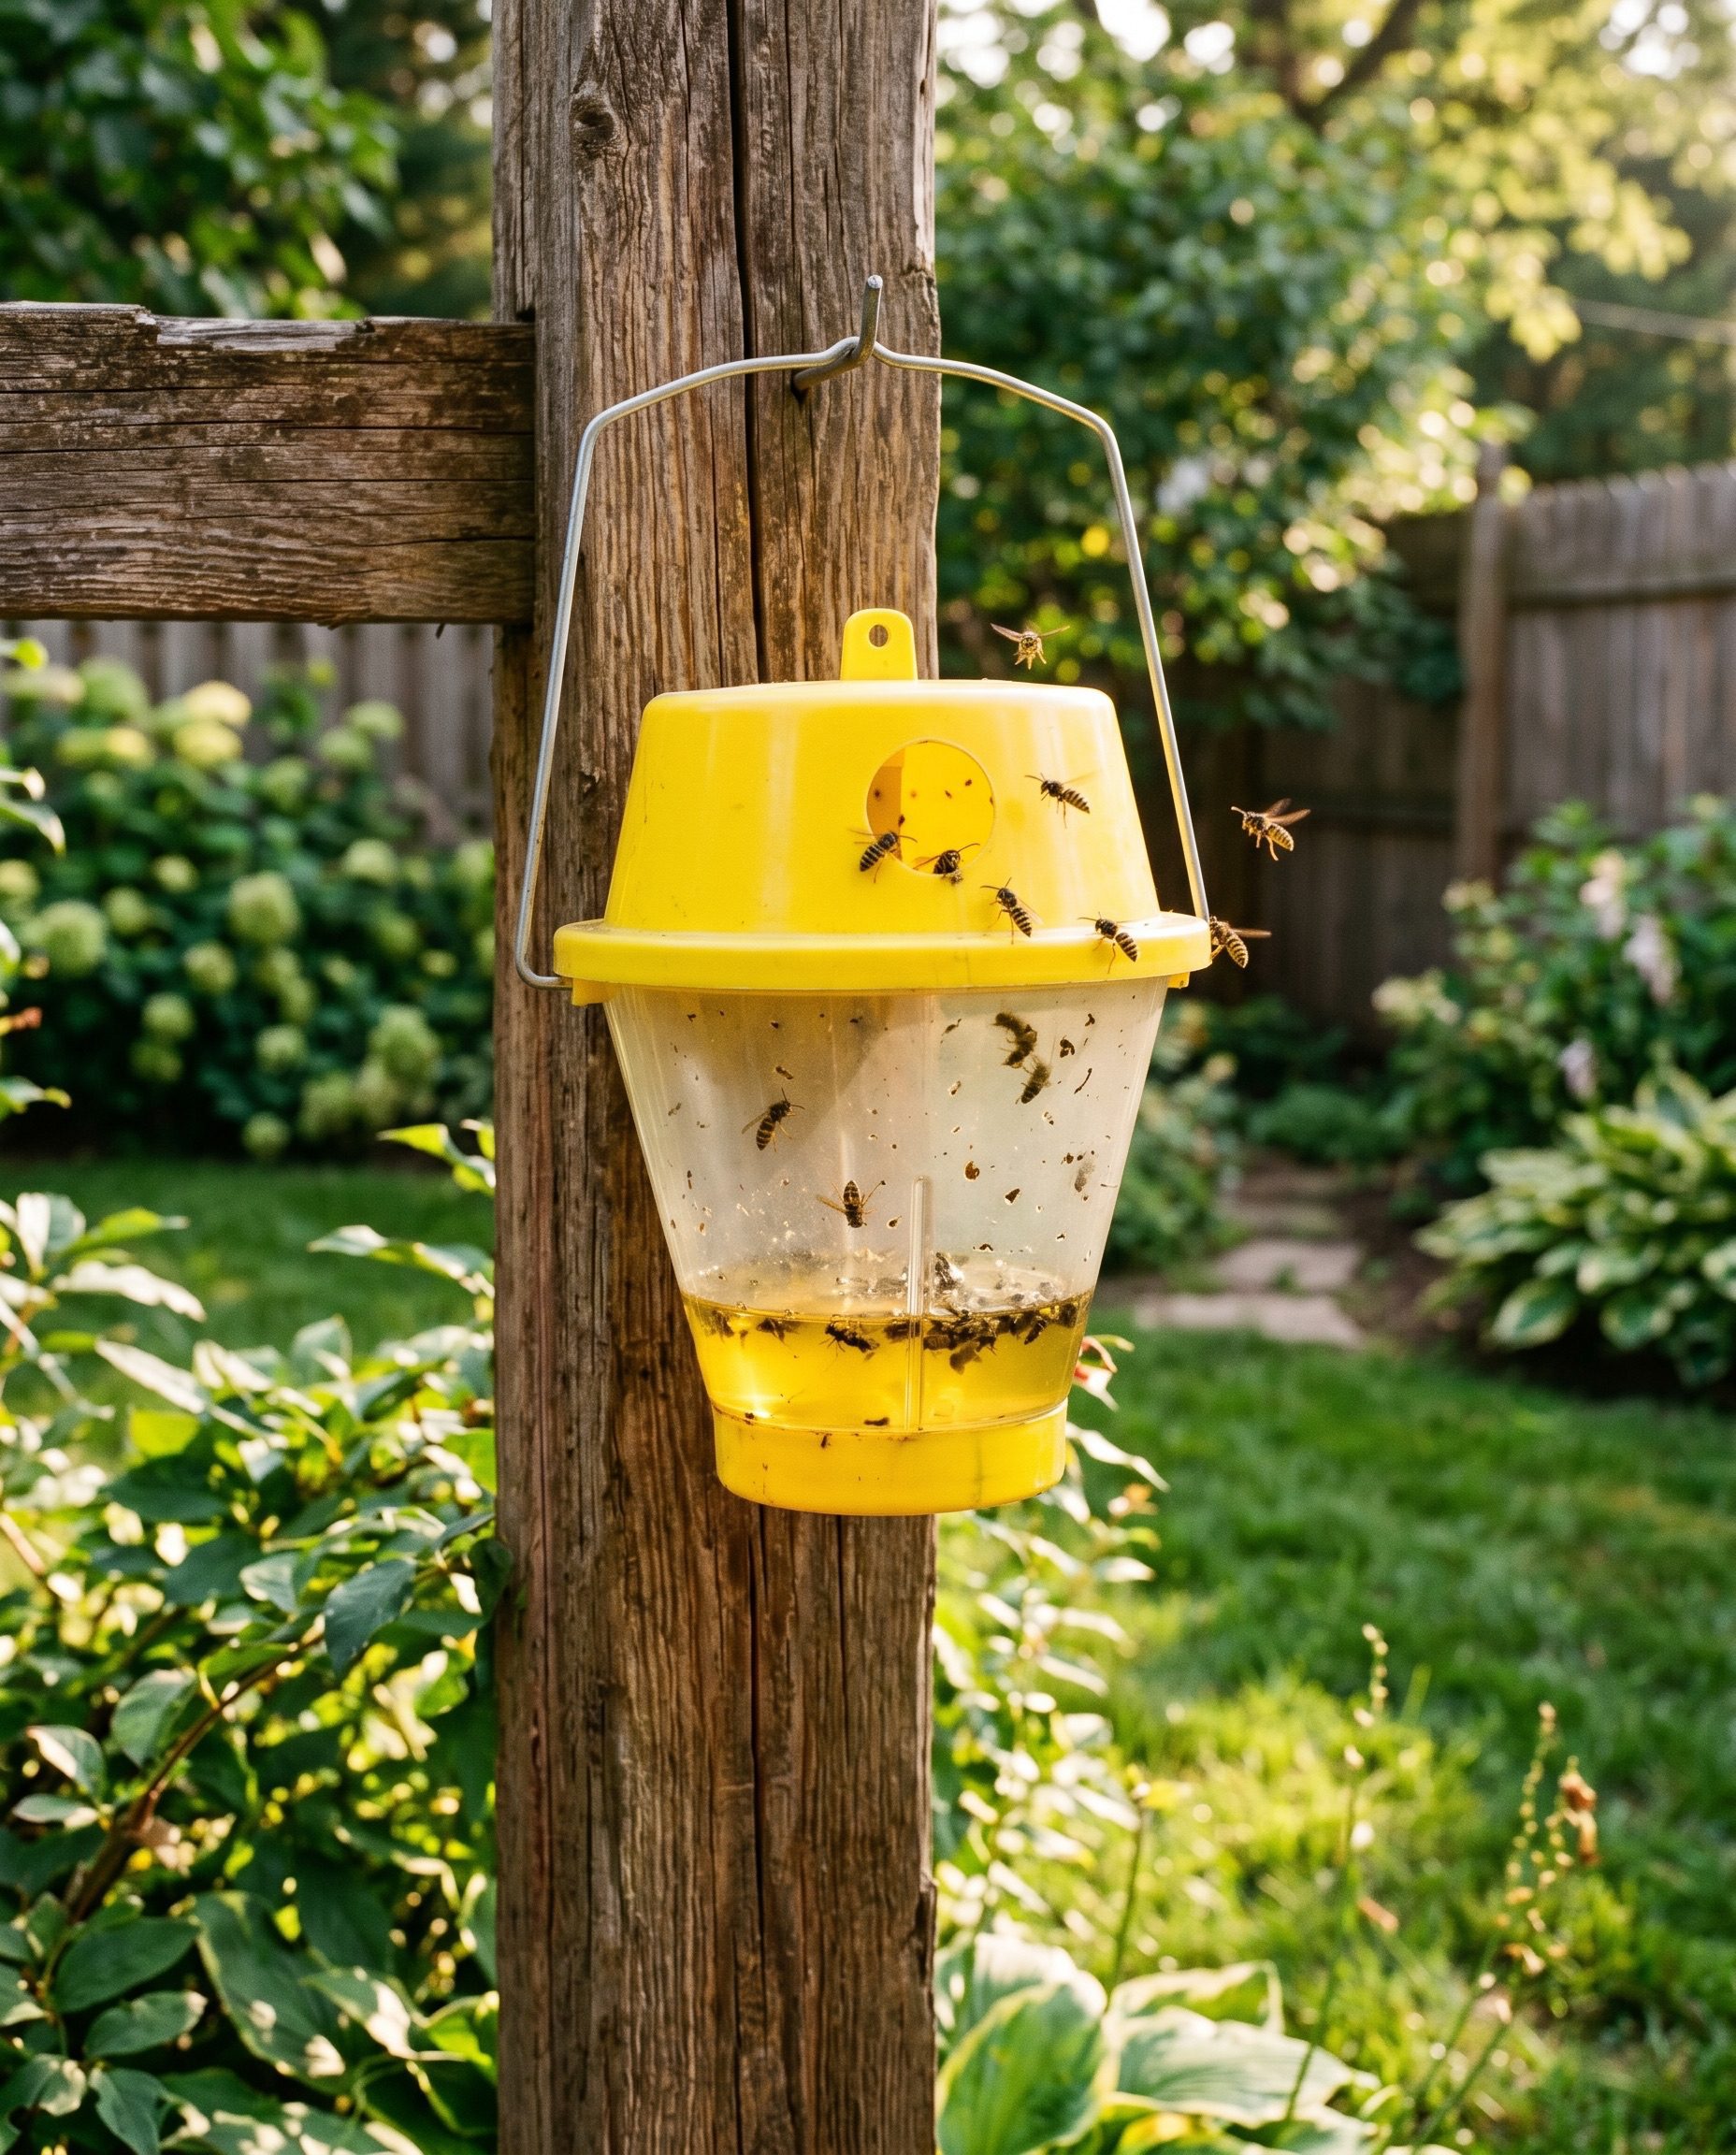
| Yellowjacket lure trap | A confirmed yellowjacket scavenging problem | Targets yellowjackets, so less useful for paper wasps |
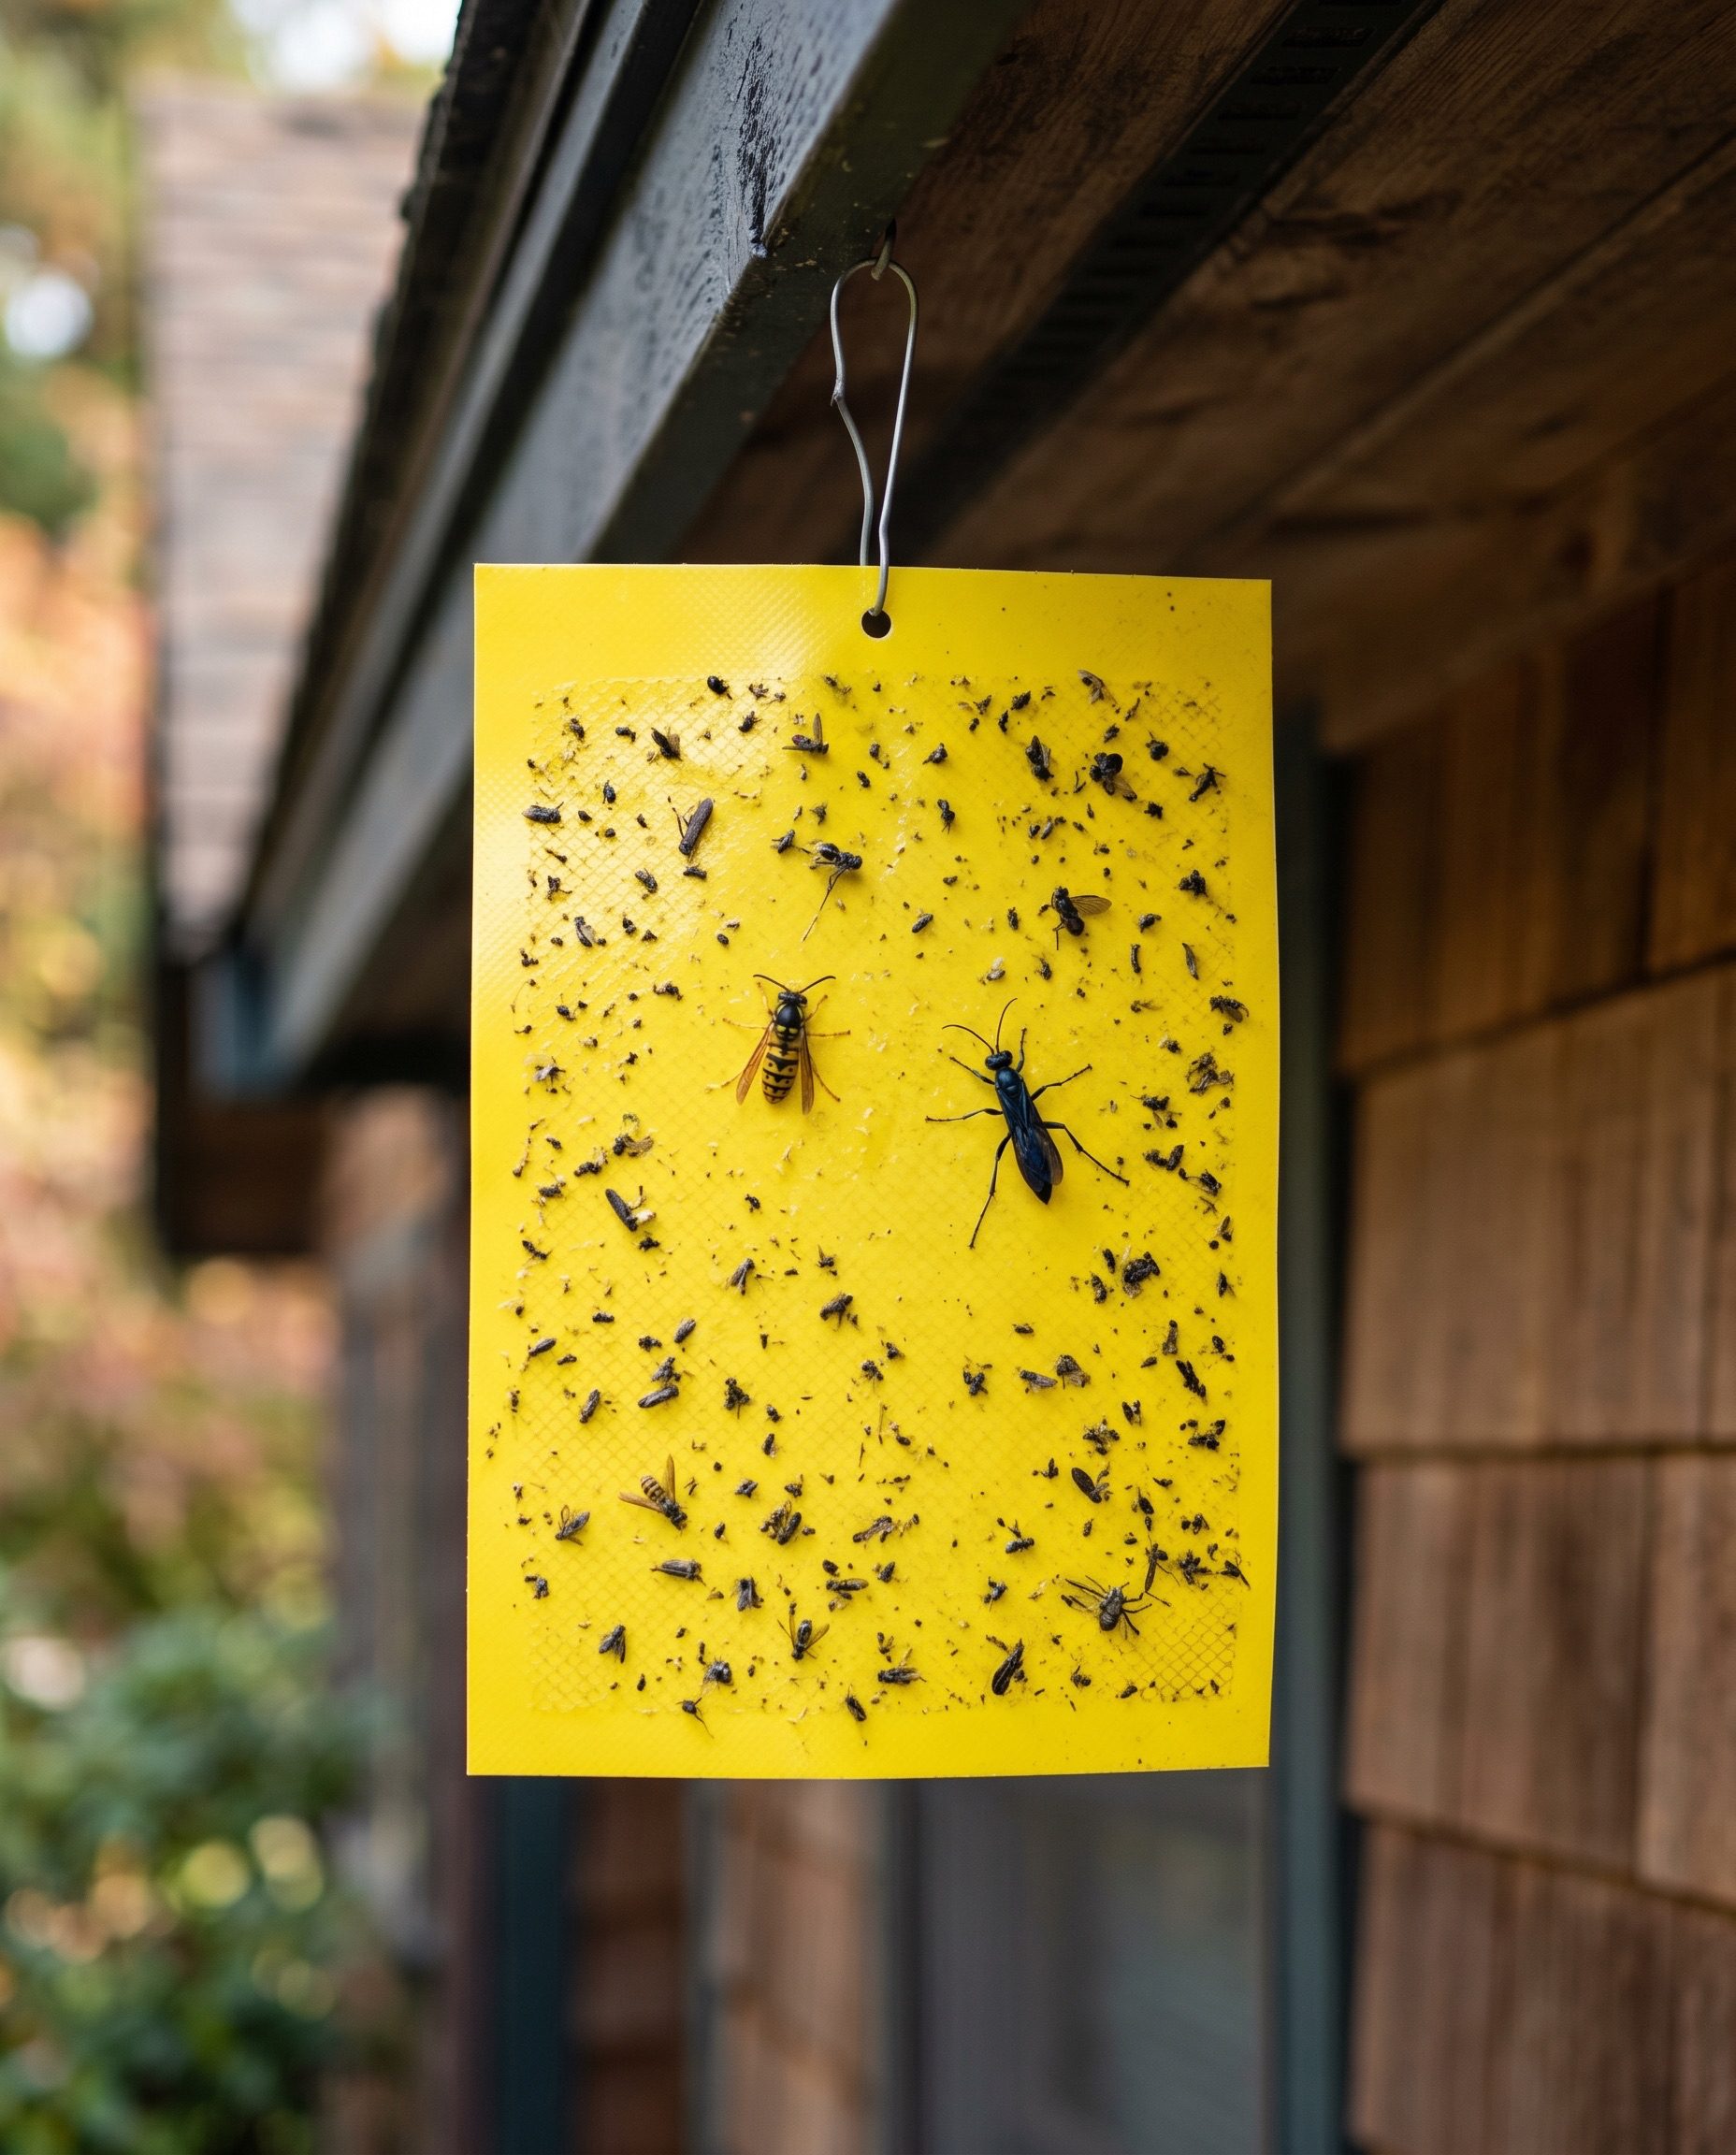
| Sticky (VisiLure) trap | Carpenter bees and mud daubers around eaves and wood | Can catch songbirds; hang away from feeders and active nests |
Why not just hang one trap and forget it? Because the lure has to stay fresh to work, and a dry trap is a dead trap. A multi-species lure trap is the right starting point when you are not sure what is buzzing the yard, since the dual-chamber designs use several attractants to catch a wide range of species. A yellowjacket-specific trap earns its place once you have confirmed yellowjackets are the scavengers, and a sticky trap is the no-spray option for carpenter bees and mud daubers working your eaves. One real caution on the sticky type: the EPA’s safe pest control guidance favors targeted, non-chemical tools, and a bright sticky surface is targeted only if you place it well, away from birds and beneficial pollinators.
Where and how to hang them
Placement is the whole game, so be deliberate. Hang a lure trap about four to six feet off the ground at the far perimeter of the yard, downwind of where people sit, and at least twenty to thirty feet from the patio, the grill, and any doorway. Site it where it draws wasps away from you, not toward the action. Check it weekly, top up or swap the attractant when the catch slows, and empty it when it fills, because a clogged trap stops pulling in new foragers.
One bee-protection rule matters here. Lure traps and sticky surfaces can catch beneficial bees along with wasps, so keep them away from flower beds, vegetable gardens, and anything in bloom, and never set a trap to target honeybees. If a swarm or hive shows up, that is a job for a local beekeeper, not a trap. The same goes for the sticky type near songbird feeders. Prevention does more than any trap anyway, and our guide on preventing wasp nests on your property covers sealing the gaps and capping the spots where nests start.
If you do find a nest and decide to treat it, the trap is beside the point. Read and follow the product label on any wasp spray you buy, because under federal law the label is the law and it sets where, when, and how you can use it. Knock-down sprays are for the nest at dusk when wasps are home and calm, while traps keep working the open yard, and knowing a paper wasp from a yellow jacket tells you which nest you are looking at before you get close.
The picks
Cards come after the analysis on purpose, because what you have decides which trap you buy. These three cover the mixed-species case, a confirmed yellowjacket problem, and the no-spray sticky option for wood-nesting wasps, and all are common, widely available traps.
InsectoGuide is reader-supported. As an Amazon Associate we earn from qualifying purchases at no extra cost to you.
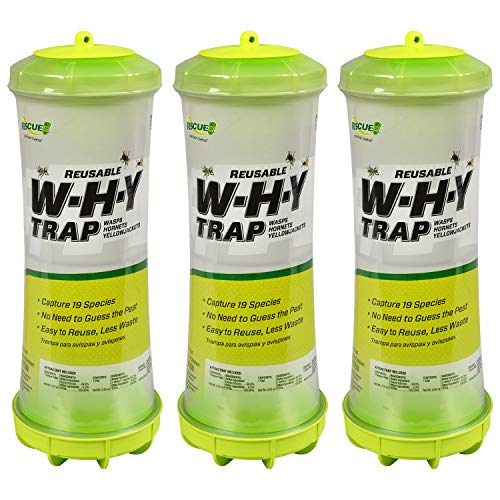
A reusable hanging trap for the yard edge when you are not sure which stinger you have.
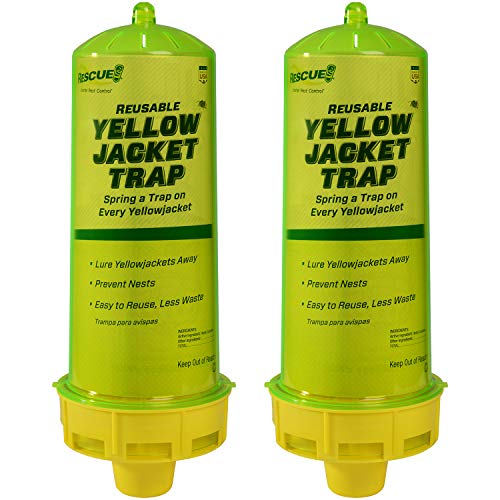
A targeted lure trap for a confirmed yellowjacket scavenging problem.
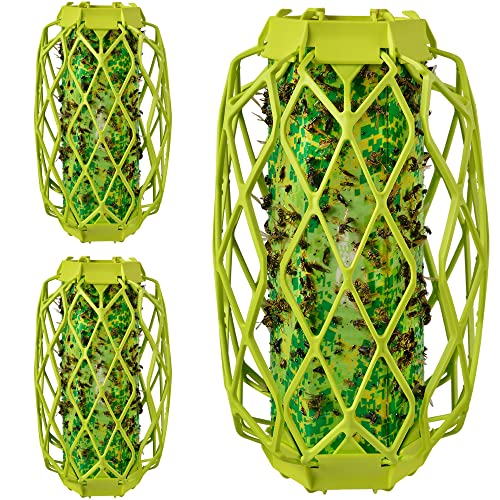
A no-spray sticky trap for carpenter bees and mud daubers working your eaves.
Common questions
Do wasp traps actually get rid of wasps?
They thin out the foragers in your yard and tell you what you have, but they do not get rid of the nest. The UC IPM yellowjacket notes state that trapping reduces foraging wasps without eliminating the colony, so treat a trap as monitoring and diversion, then handle the nest separately.
Where should I hang a wasp trap?
At the far edge of the yard, downwind and well away from the patio, the grill, and doorways. The goal is to pull wasps away from where people sit, so hanging it close to the table only draws them toward you. About four to six feet up, at least twenty to thirty feet from the seating area, is a good rule.
Will a trap catch bees too?
It can. Lure traps and sticky surfaces are not perfectly selective, so they may catch beneficial bees along with wasps. Keep traps away from gardens and flowering plants, never set one to target honeybees, and call a local beekeeper if a hive or swarm turns up rather than trying to trap it.
Are wasp stings dangerous?
For most people a sting is painful but minor, but a severe allergic reaction is a real emergency. Per NIH MedlinePlus on insect bites and stings, get emergency medical help right away for trouble breathing, swelling of the throat or tongue, dizziness or fainting, or hives spreading fast, and use a prescribed epinephrine auto-injector if you have one.
When should I call a professional?
When the nest is in a wall void, when an in-ground yellowjacket colony is large or near a doorway, or whenever getting close means a serious sting risk. The University of Kentucky yellowjacket guidance is clear that big or hidden colonies often need professional treatment that a homeowner cannot safely manage.
Final verdict
A wasp trap is a useful tool as long as you ask it to do its actual job, which is thinning the foragers and showing you what is in the yard, not killing the nest. Start free by covering food and lidding the trash, then find the nest before you hang anything. Reach for a multi-species lure trap when you are not sure what you have, a yellowjacket-specific trap once you have confirmed them, and a sticky trap for carpenter bees and mud daubers at the eaves. Hang it at the far edge of the yard to pull wasps away from where you sit, and skip the idea that a trap replaces nest removal; it never does. Keep every trap away from gardens and bees, and when a nest is hidden, large, or near a door, hand it to a licensed professional.
Reviewed by Daniel Brooks, licensed pest control professional, focused on safe and effective control.